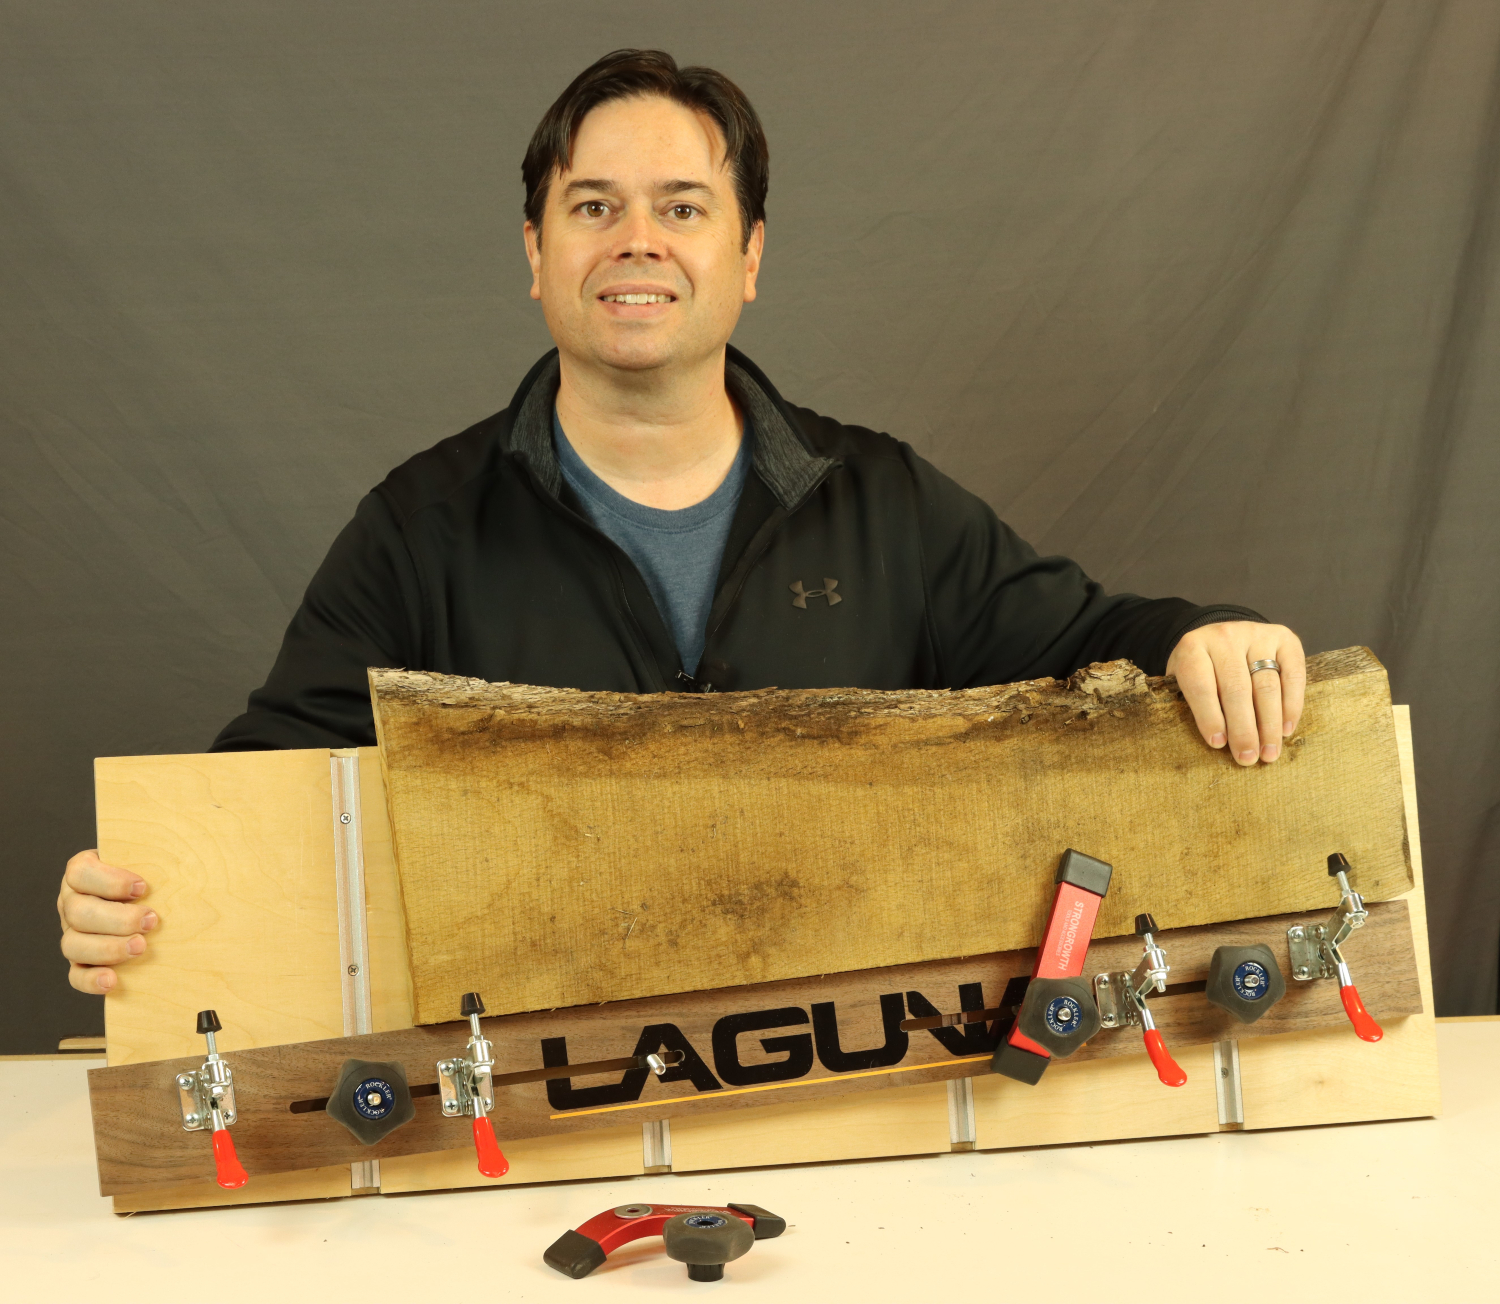
As your tool collection grows, and you start experimenting with more advanced woodworking projects, you may find a need to make long graceful tapered cuts. Adding tapered parts can really elevate the look of your furniture projects, and it’s not hard to do with this simple tablesaw sled. Common examples include tapered legs for a mission style side table, or reverse tapered legs for an Asian inspired nightstand.

The jig starts as a simple piece of ¾” plywood sized about 12-3/4” wide x 36” long. You may want to adjust the size of the jig for the type of projects you intend to do, as well as the size of outfeed table on your tablesaw. Cut several cross-grain dados sized to fit metal T-Track. Adjust your dado blade height so the T-Track will sit flush with the plywood surface.

Mill a hardwood runner to fit in the miter slot of your tablesaw. Here, a piece of straight grain white oak has been planed to ¾” wide x 5/16” deep. You want the runner to slide easily back and forth in the slot, without any binding.

First, elevate the runner on a few coins or washers. Next, place a thin strip of double-sided carpet tape on the runner, to prepare for mounting the sled.

Lower the sled in place. Tip: use the tablesaw fence to position the sled square to the miter slot. Allow one edge to overhang the blade slightly, as this edge will be trimmed off before the jig is used. Press the sled down firmly to temporarily attach the runner.

Add short screws from underneath to permanently anchor the runner to the sled. I find #6 x ¾” screws work best. Make sure to pre-drill and counterbore the holes to avoid “spreading” the runner at the screw locations. Re-test the action of the sled in the miter slot, and make any adjustments as needed.

Trim the sled to final size. Now, simply run the empty sled past a combination blade on the tablesaw. This will trim the sled to final size, and will be very helpful when aligning project parts to be tapered.

Prepare short length screws for mounting the T-track. I usually start with #6 x ½” long screws, and trim them to 3/8” length. A pair of locking pliers is helpful to hold the screw in position as you trim it with wire cutters.

Cut T-Track pieces to fill the dados you made earlier. Luckily, aluminum cuts well with traditional woodworking blades. I usually make these cuts at the miter saw. Tip: make the T-Track a little shorter than the width of the sled. This will keep the aluminum track clear of the saw blade during regular use. Most T-Track kits come with short screws for mounting the track to your sled. However, since there’s only 3/8” thickness of plywood that remains beneath the track, I’ll often use epoxy as well. A thin layer of epoxy in the dado is good insurance that it’ll never come loose. Just make sure your dado is deep enough so the T-Track won’t stand proud of the sled once installed.

Now add the workpiece you’d like to taper. Simply align your layout lines with the edge of the tapering sled, and clamp it in place. Use the fence for accurate positioning of multiple workpieces.
Bonus Use: In addition to making perfect matching tapers, this sled is also perfect for establishing a straight edge on rough sawn lumber.

So Many Uses. Create two-sided tapered legs for furniture projects. Simply make the first cut, then rotate the leg blank and repeat. If you like to incorporate tapers and angles in your woodworking projects, I think this simple sled will elevate your work.
Stay tuned for the "How To" video tutorial dropping soon!
Willie Sandry is a Freelance Writer for all the major woodworking magazines, blogger, crafter and YouTuber. Check out all the latest projects on his channel ‘The Thoughtful Woodworker’


