Often times I get orders for small items, but a large quantity. Depending on how many individual items the order is for, I will sometimes make a design and only cut one at a time. This allows me to use small scrap pieces of wood left behind from previous projects. If the order calls for more than one full sheet of material, I will use new sheets instead of scrap. The following will be a walkthrough of my design and cutting process on a CO2 laser cutter machine, using Adobe Illustrator for design and RD Works for programming.

I first start with an artboard that is slightly larger than the project I am making. In this case it is a small pinball machine with the logo for Midwest Gaming Classics as well as the year engraved on it. I always separate my layers between cutting and engraving. I also take the time to name them as it is easier to determine the difference later.

I then delete the cut the layer from the design.

Then I use "export as" to reformat the image to a bitmap.

I then change the file type in the export menu to BMP.

The color mode needs to be changed to RGB, and for small items I use a resolution of 300. A lower resolution can be used for larger pieces or ones with less fine detail.

After saving the bitmap, I go back to Illustrator and undo my last action. This brings back the cut layer to the design. I then delete the engraved layer and save just the cut layer. I also name this the same as the full file but with “cut” at the end of it. I am very meticulous with file organization, but it does save a lot of time when trying to find the files you need for later.

I then open RD Works. I use a lot of keyboard shortcuts as they save a lot of time. I single left click on the artboard and hit cntrl+i. This opens the import menu. I always start by importing the engraving art first.

After importing the bitmap, I left click one time on the artwork, then hover over the “Handle” menu on the top and click on the “Bitmap Handle”

In the Bitmap Handle menu that pops up, I then select "Dot Graphic", then "Dot Dither." This will tell the laser to treat the image as a bunch of dots to either engrave, or not engrave.

I then left click again on the image in RD Works and use the cntrl+i shortcut to open the import menu. I now will import the cut file for this design. It should be apparent now why having well organized and properly named files is so important.

After importing the cut file, it is obvious that it is not lined up with the engrave layer. There are file prep tricks you can do to not have this problem, but I wanted to show how to align them if you have this issue.

I use the arrow keys to get the image as close as I can. As you can see, the image is too close to the bottom cut line.

Using the down arrow one more time then moves the line too close to the top.

On the top left of the RD Works menu, you will see and x and y value. This is the location of the imported image. When you use the arrows to adjust, it goes in increments of one. Because neither is correct I have to manually input a location, which was “292.5”. This made it lined up perfect.

After changing the speed and intensity for the material, located on the right side of RD Works, I then save the file. The CNC controller only allows for a few characters, so I always abbreviate the names of the files. In this case I used MGCPRD, which is Midwest Gaming Classic Pin RD file.

After test cutting the single piece and verifying everything looked good, I then needed to set up the file to cut multiple of the same piece.

When making a big change to a design file, I always change the name of the file first by using the “save as” function. This ensures that I not only save the new one, but I do not accidentally delete the old one. I also create a subfolder using the keyword “12x20 sheet” instead of “single. This again makes it easier to locate the files I need later.

The next step is to increase the size of the artboard to the size of my sheet. My particular sheet is 12” x 20”. I select the size I want and hit ok.

I then have the new sheet size while maintaining the layers that I had separated for engraving and cutting.

I always want to have as little wasted space as possible, so I flipped the design and stacked it onto itself.

I then make a row.

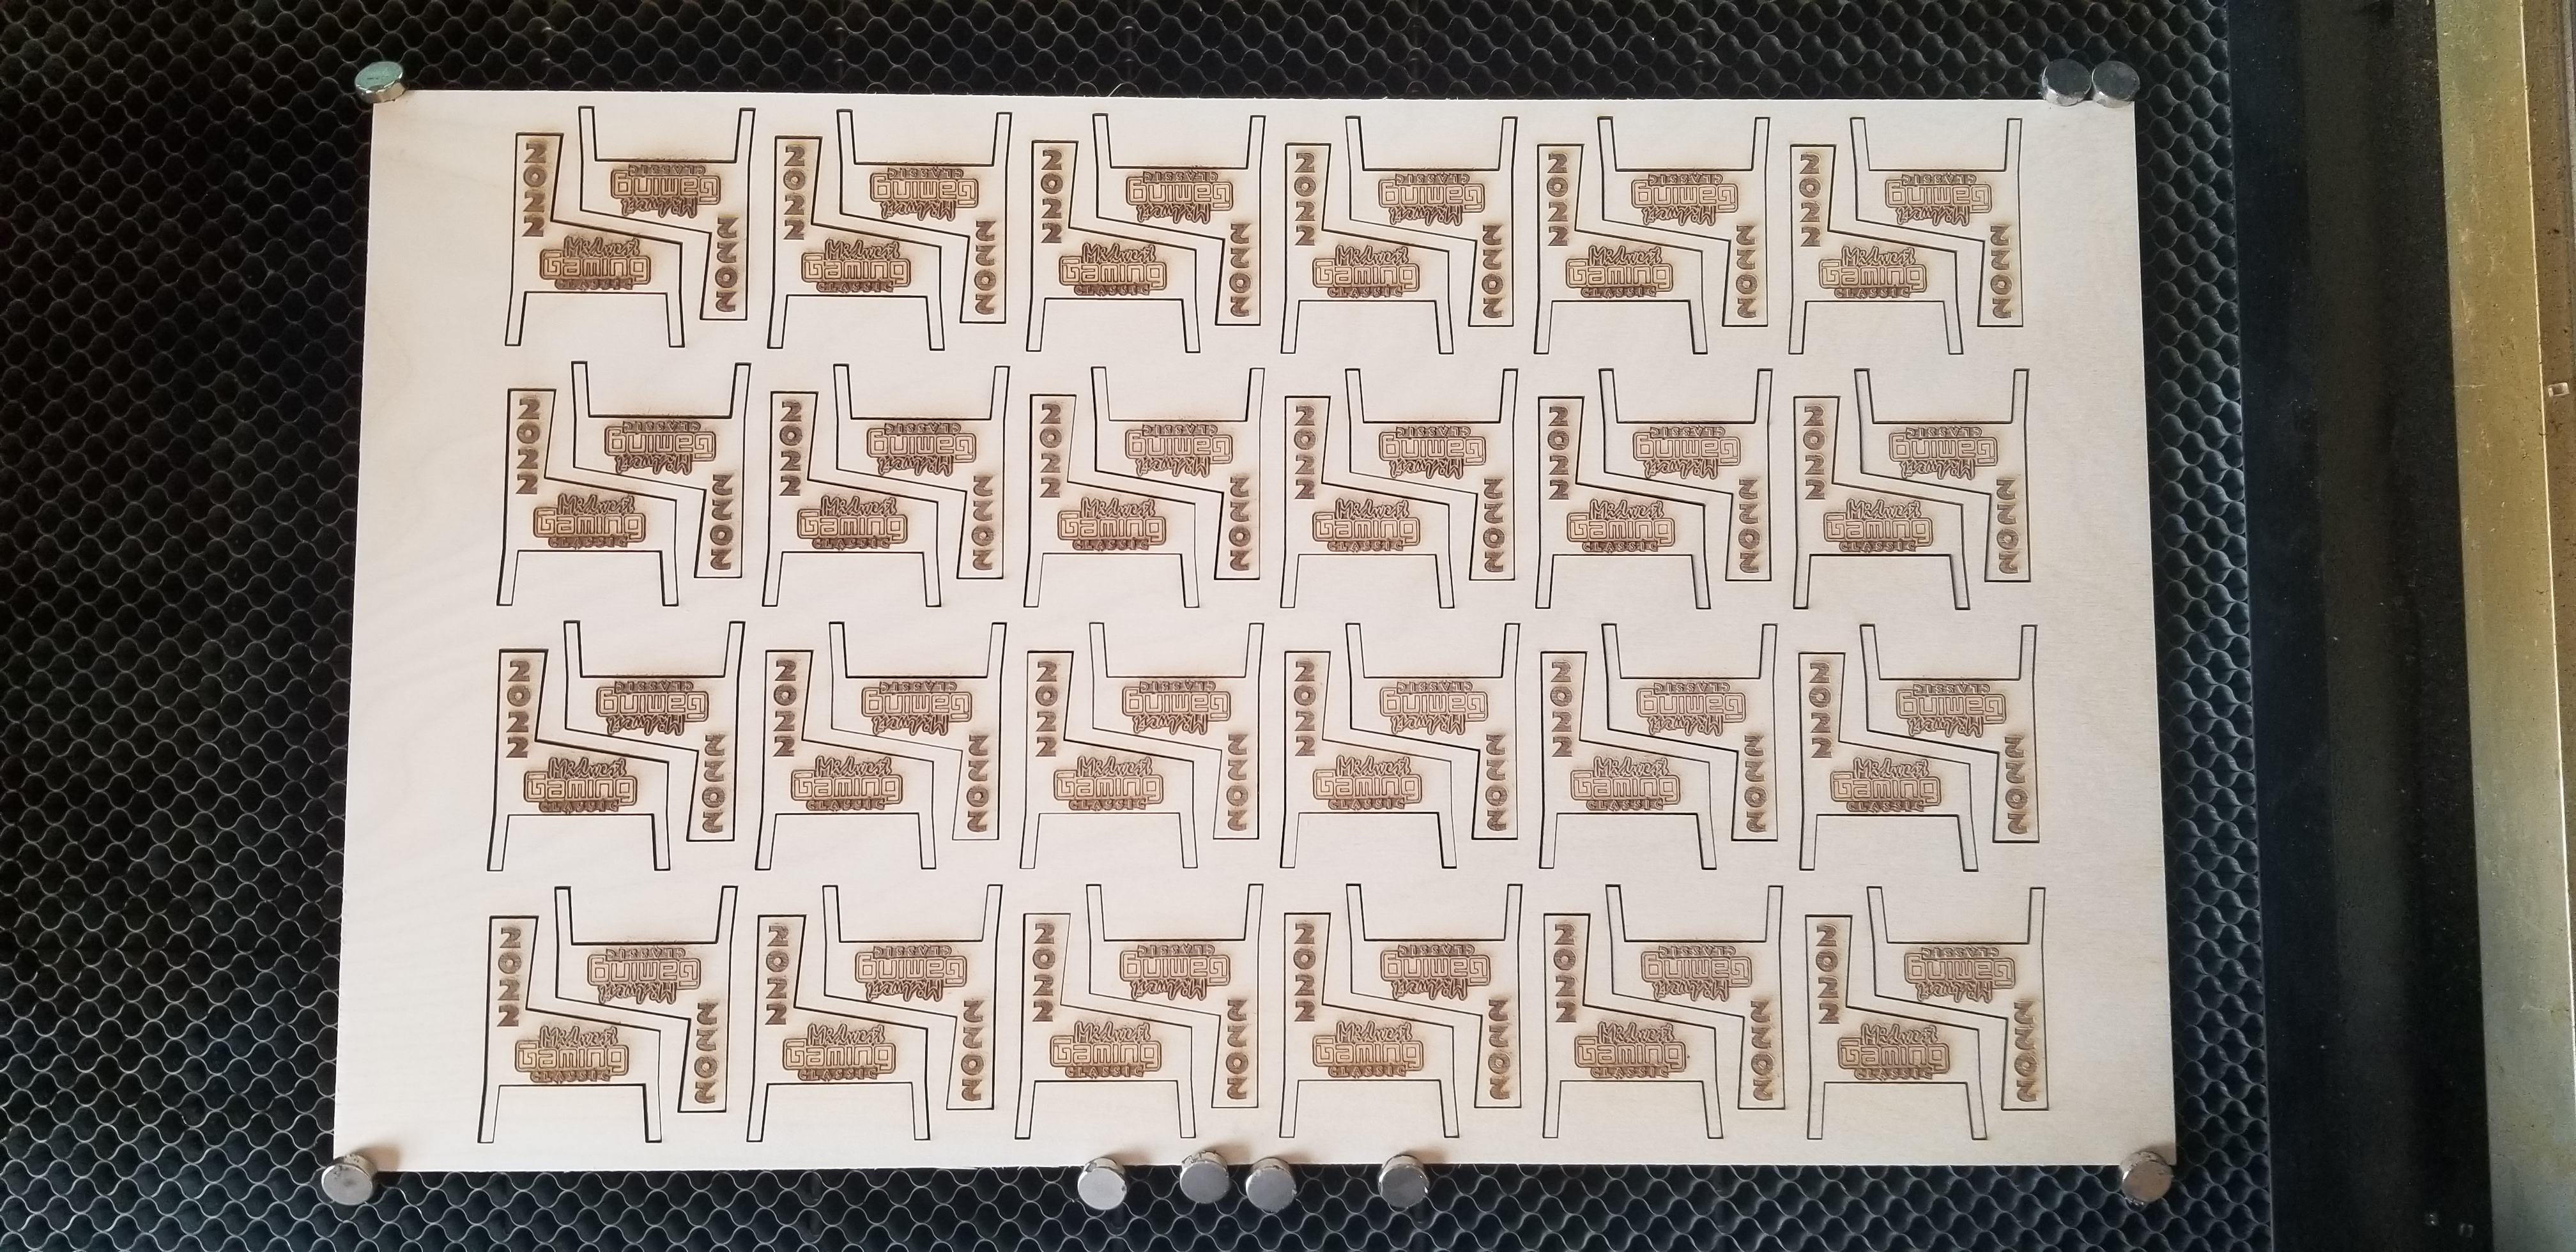
And then a grid.

I then use the same steps I did with the single piece, and select just the engrave layer.

I then delete that layer and am left with just the cut layer. I save it with the same name but with the “sheet” and “cut” keywords.

Same as before again with undoing the last action, which restores the engrave layer. I then delete the cut layer and export the engrave layer as a bitmap.
I then open the engrave layer first and change the bitmap handle, and then import the cut file.

As always, make sure that the alignment is correct between the two layers.

When using a jump drive to transfer your files to the laser, I always open two file explorer windows. On one, I open recent files which will put the RD file on the top. On the other, I use the quick access menu. This will show any USB drives currently connected. I then drag and drop the RD file to the jump drive and on to the laser it goes.

After alignment to the sheet and hitting start, it is just a matter of time before the project is cut and engraved. I clean all the pieces and pack them up.

Happy engraving, and as always, if you have any questions just leave a comment below or send me an email!


