Most woodworkers I know put one blade on the bandsaw and keep it there. Maybe that’s because they don’t have a good selection of blades, or maybe they haven’t considered the advantages of each type of blade. That’s a shame, because a well-stocked bandsaw blade selection will let you make any cut cleanly and efficiently. Let’s explore a few bandsaw blade sizes and types available.
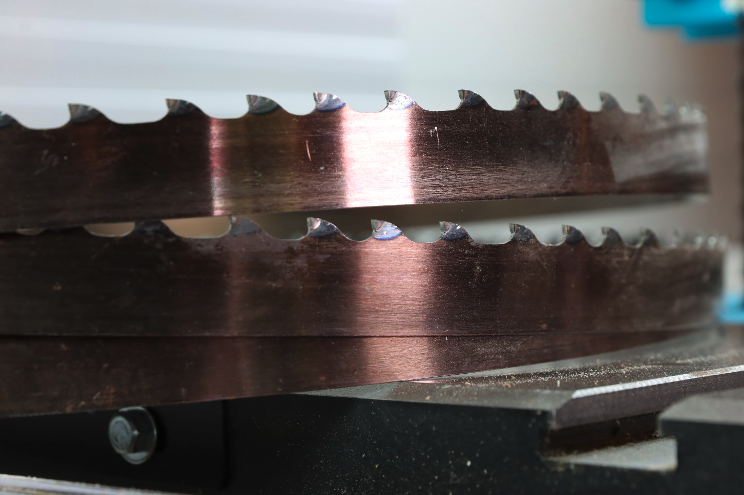
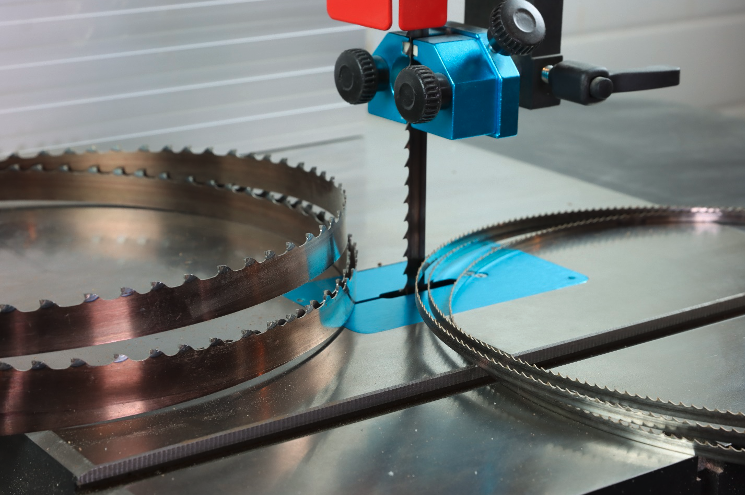
Carbide tipped for heavy resawing. The Laguna Resaw King features carbide tipped teeth and a wide blade – attributes that make it perfect for heavy resawing all day long. In addition to staying sharp significantly longer than steel teeth, this carbide tipped blade can also be sharpened several times. The Resaw King also features variable tooth spacing to minimize harmonic flutter for a blade that tracks and cuts straight and true.
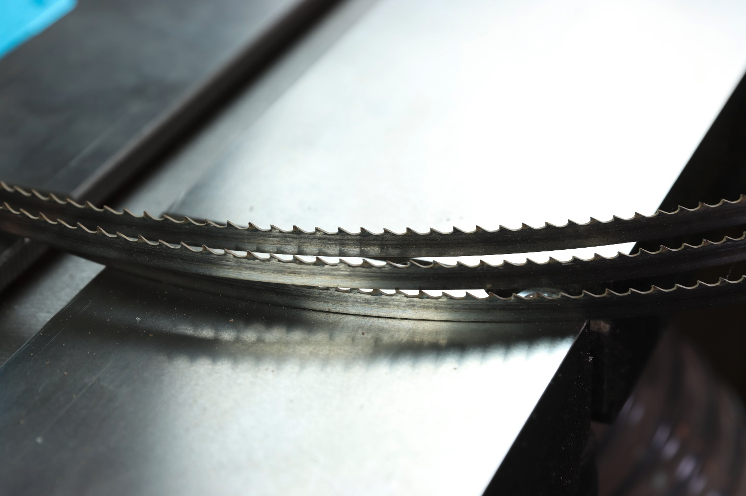
ProForce blade for everyday cuts. One of my favorite all-around bandsaw blades is a ½” ProForce 3TPI (tooth per inch). It has a fairly aggressive tooth geometry that can tackle all sorts of shop tasks. Made with Swedish Silicone Steel it outperforms other blades I’ve tested. A ½” wide blade with low tooth count will make accurate notching and joinery cuts, as well as handle some resawing. But the same blade also excels at cutting gently curved furniture parts. Occasionally I’ll switch to a ¼” wide ProForce blade for cutting curves with a tighter radius, however the ½” x 3TPI is my most frequently used blade.
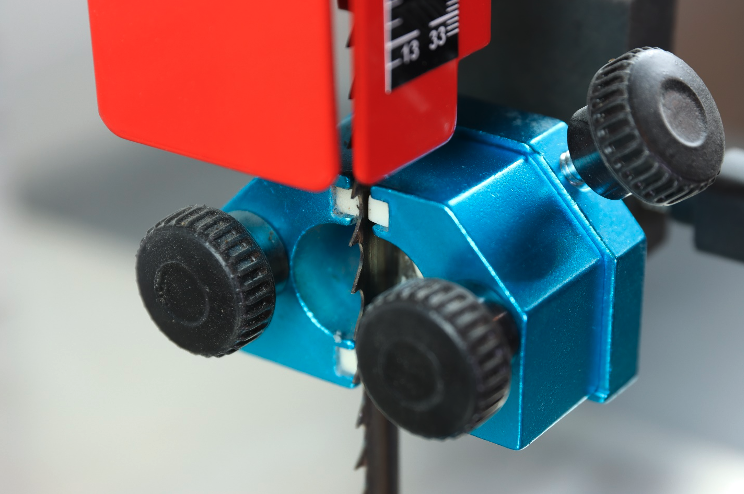
Make sure to set the guides after blade changes. Ceramic guides offer 5 points of contact above 5 points of contact below the table, giving you the best cutting control possible. Set the ceramic guides just behind the gullet of the blade.
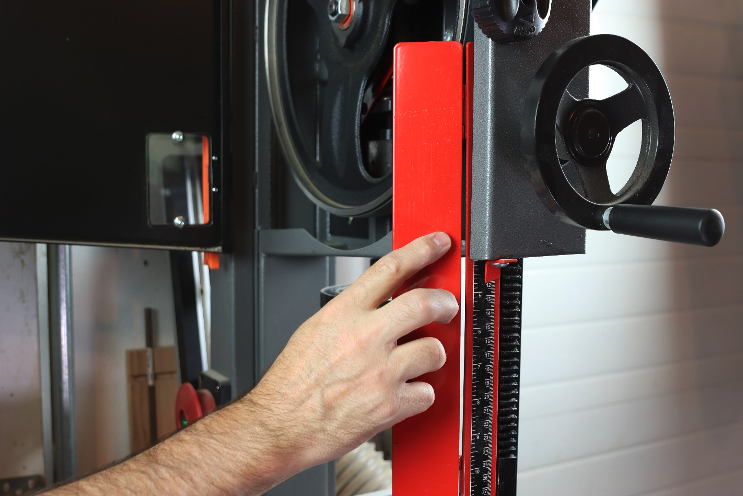
Metal blade guard. I like saws with metal blade guards, especially if they’re unobtrusive. Ideally, a blade guard would be easy to move out of the way for blade changes.
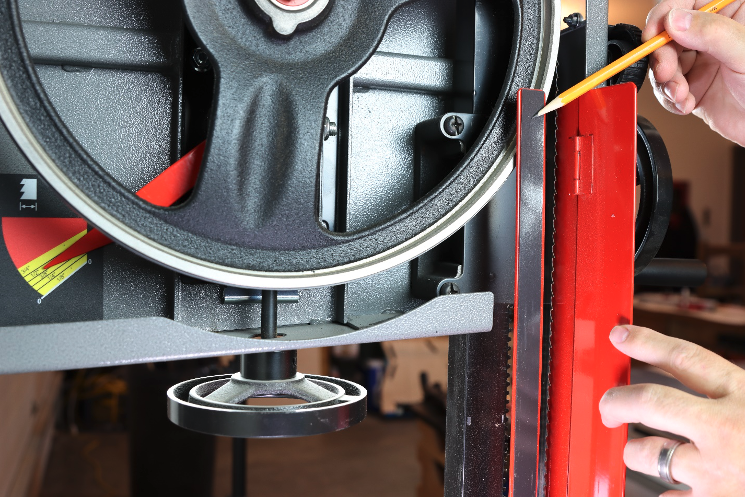
Magnetic strip. Here, a magnetic strip secures the metal blade guard as you close the upper door. Yet, the guard swings easily out of the way (without tools) to allow quick and easy blade changes. Once the upper cabinet door is closed, the bade guard cannot open.
Laguna 1412 model shown
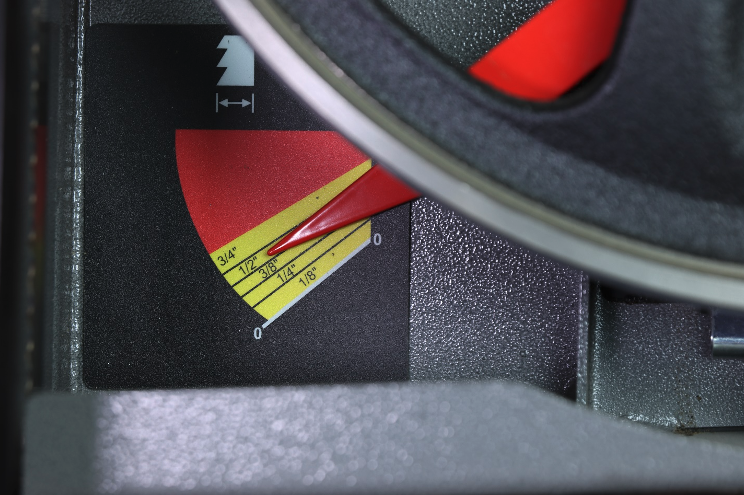
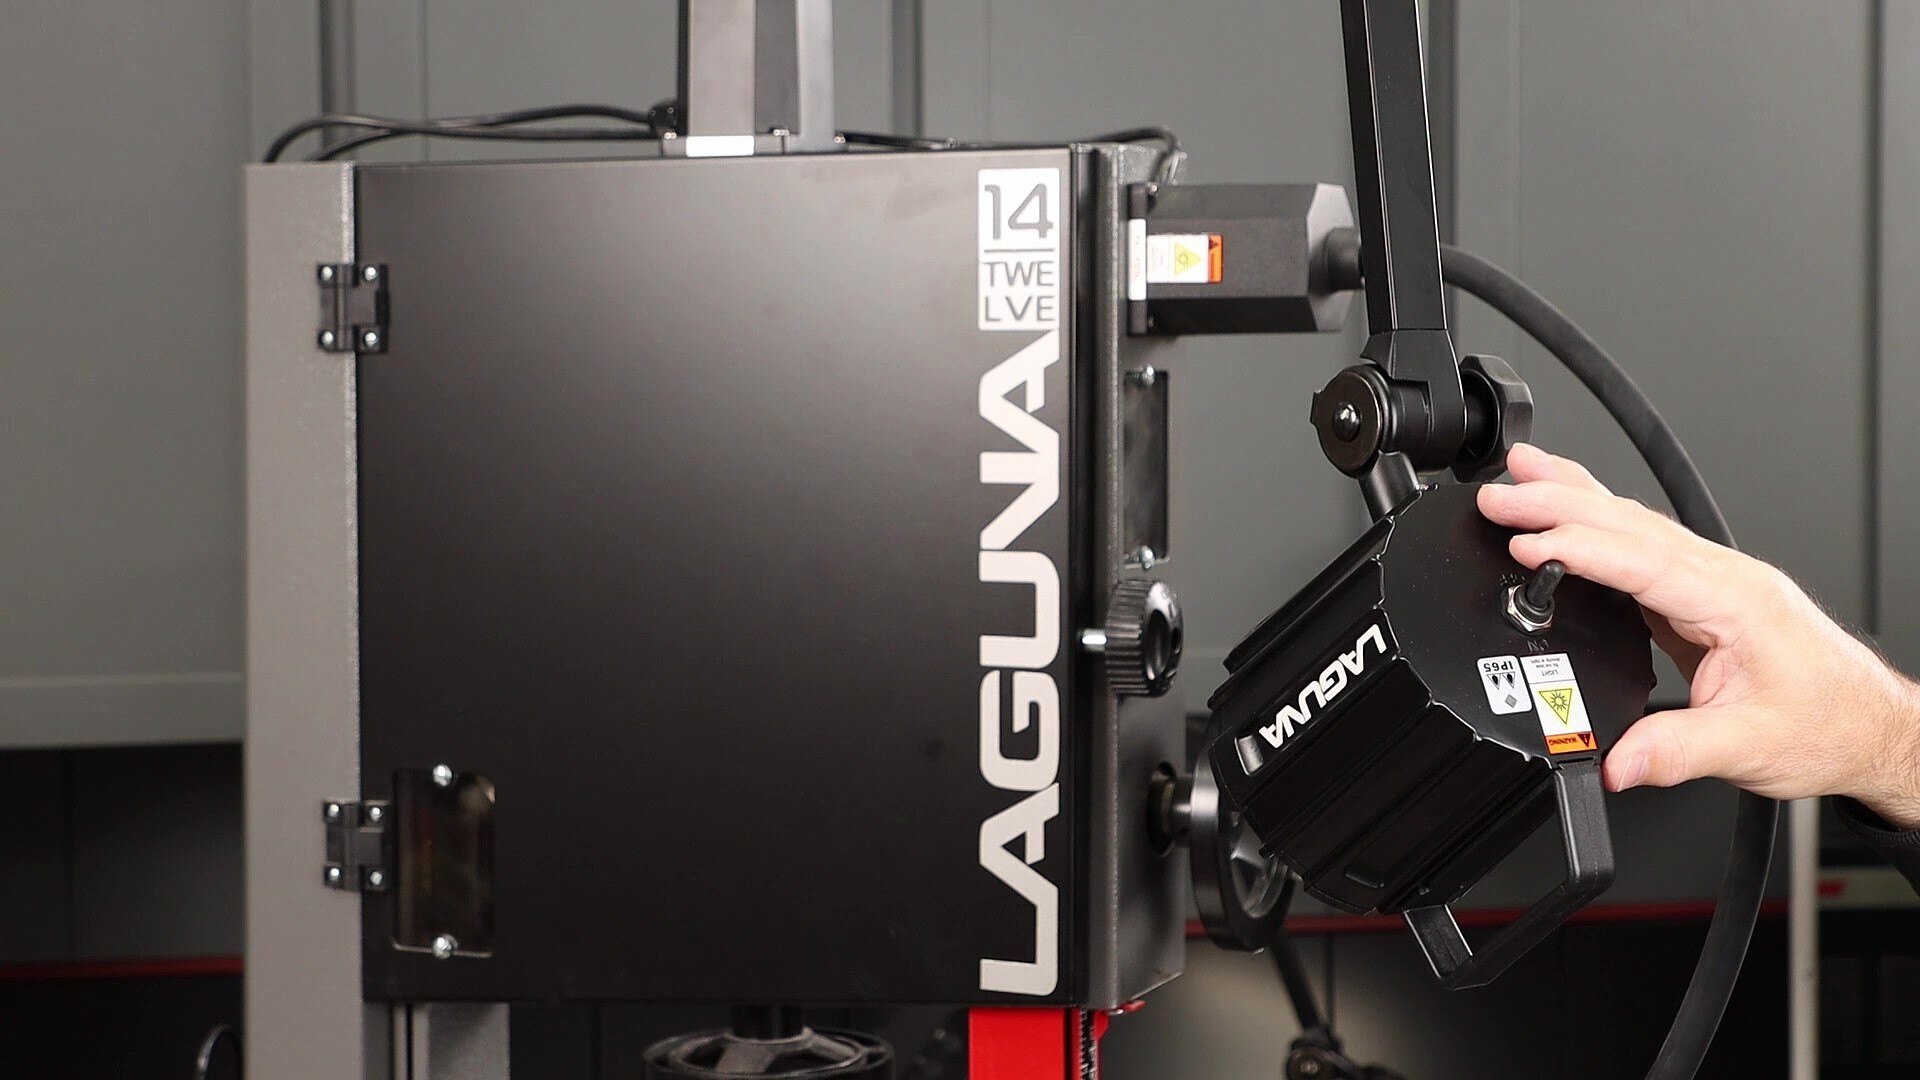
Tension the blade. Inside the upper cabinet you’ll find a handy gauge for setting blade tension. I find the gauge accurate, and set the indicator in the middle of the range for each blade width. If your bandsaw is setup properly, you don’t need enormous blade tension. There’s even a window into the upper cabinet so you can adjust blade tension without opening the door.
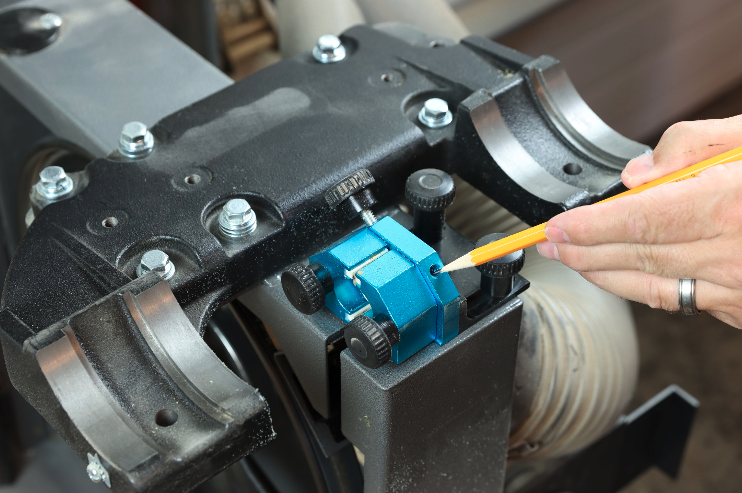
Lower guide assembly gives you options. Here I’ve removed the table to get a better look at the lower guides. The thumbscrew locking the thrust guide in place can be mounted at the back, or at the front of the guide assembly. When mounted at the back, it gives the table full tilting capability.
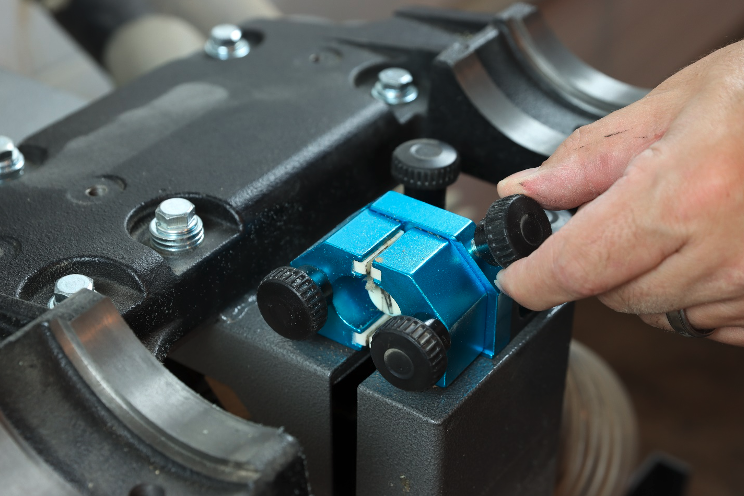
When mounted at the front of the table, the thumbscrew is easier to reach and adjust. The only disadvantage is this limits the maximum travel of the tilting table. However, since most woodworkers make square cuts at the bandsaw 99.7% of the time, this is where you’ll likely install the thumbscrew.
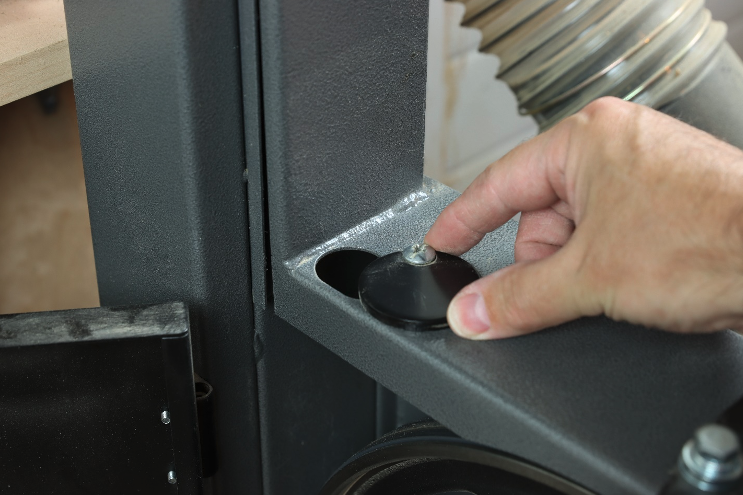
Did you know your bandsaw table tilts backwards too? A clever rotating steel plate on the Laguna 1412 bandsaw allows you to tilt the table backwards with a tool-free adjustment. When you’re finished making a beveled cut, simply slide the steel plate back into position. The dead-nut will now stop on the steel plate, holding your bandsaw table at exactly 90 degrees. All this without every breaking out a wrench!
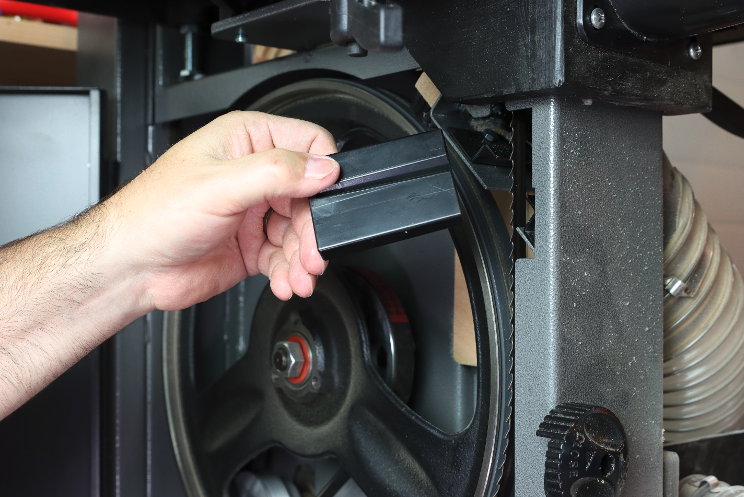
After a blade change, remember to reinstall the slotted block around the blade in the lower cabinet. This isn’t a blade guide, instead it assists with dust collection. It simply slides into a pocket formed by a pair of steel guides, and is retained when the lower door is closed.
Explore the Laguna line of bandsaws here: Laguna Bandsaw Line Up
And shop for your next bandsaw blade while you’re at it here: Laguna Blades
The Laguna 1412 bandsaw takes a 115” long blade
