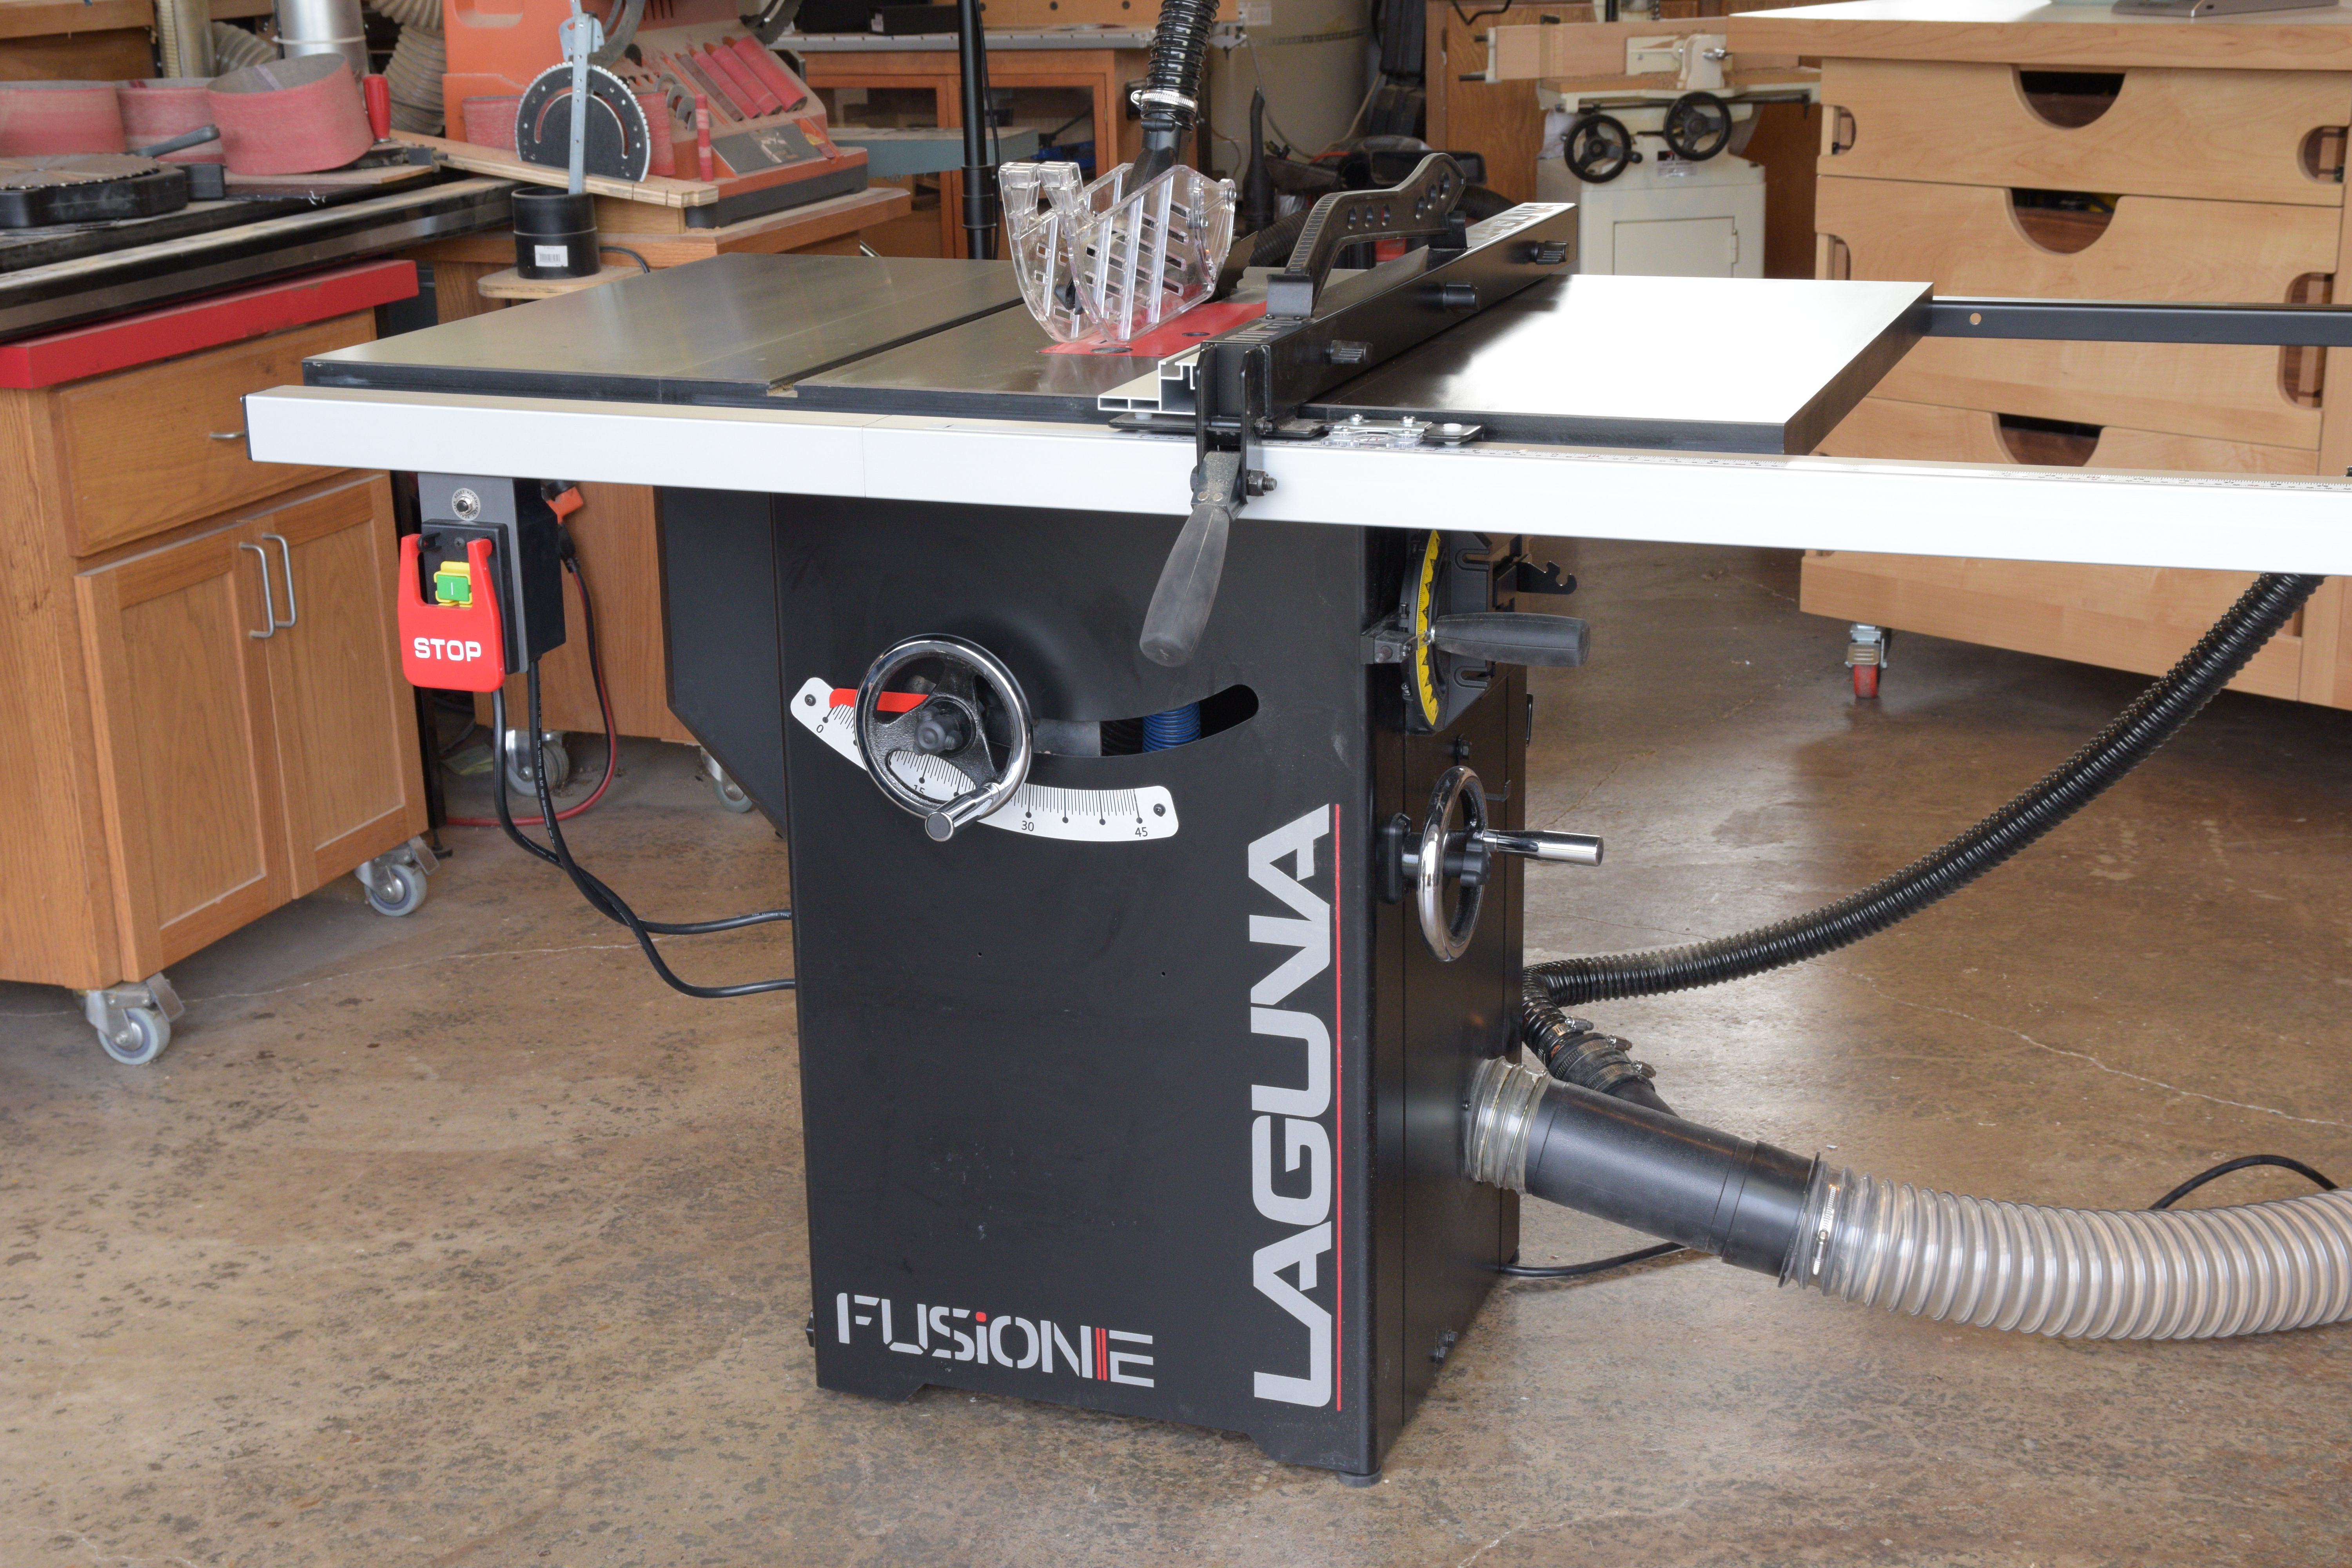
Fully automated dust collection – just a luxury or a sensible feature for small shops? Having a good dust collector connected to all your shop tools is a necessity in even the smallest wood shops. The issue comes when you need to turn on the dust collection, open the correct blast gate, and remember to close all the other gates that aren’t in use. Then when you’re done with a cutting operation, repeat all the steps at the next tool. Automated dust collection changes that, and all you have to do is turn the tool on. Press the green factory start button on the F2 and the electric blast gates open, and the dust collector stirs to life. When you’re done, just hit the stop paddle, and the dust collector stops and the blast gate closes automatically.

I’ve been using automated blast gates from various manufacturers for several years. They have all proven quite reliable, and I can’t overstate the added convenience of these systems. Typically, I join the blast gate to the tool with a rubber sleeve and hose clamps. These sleeves are available as specific dust collection accessories at specialty woodworking stores, or you can substitute a common plumbing item. Fernco rubber couplers are available at any big box store, and function the same way. One added benefit of a rubber coupler – the gate is less likely to be damaged when it gets bumped in regular use.

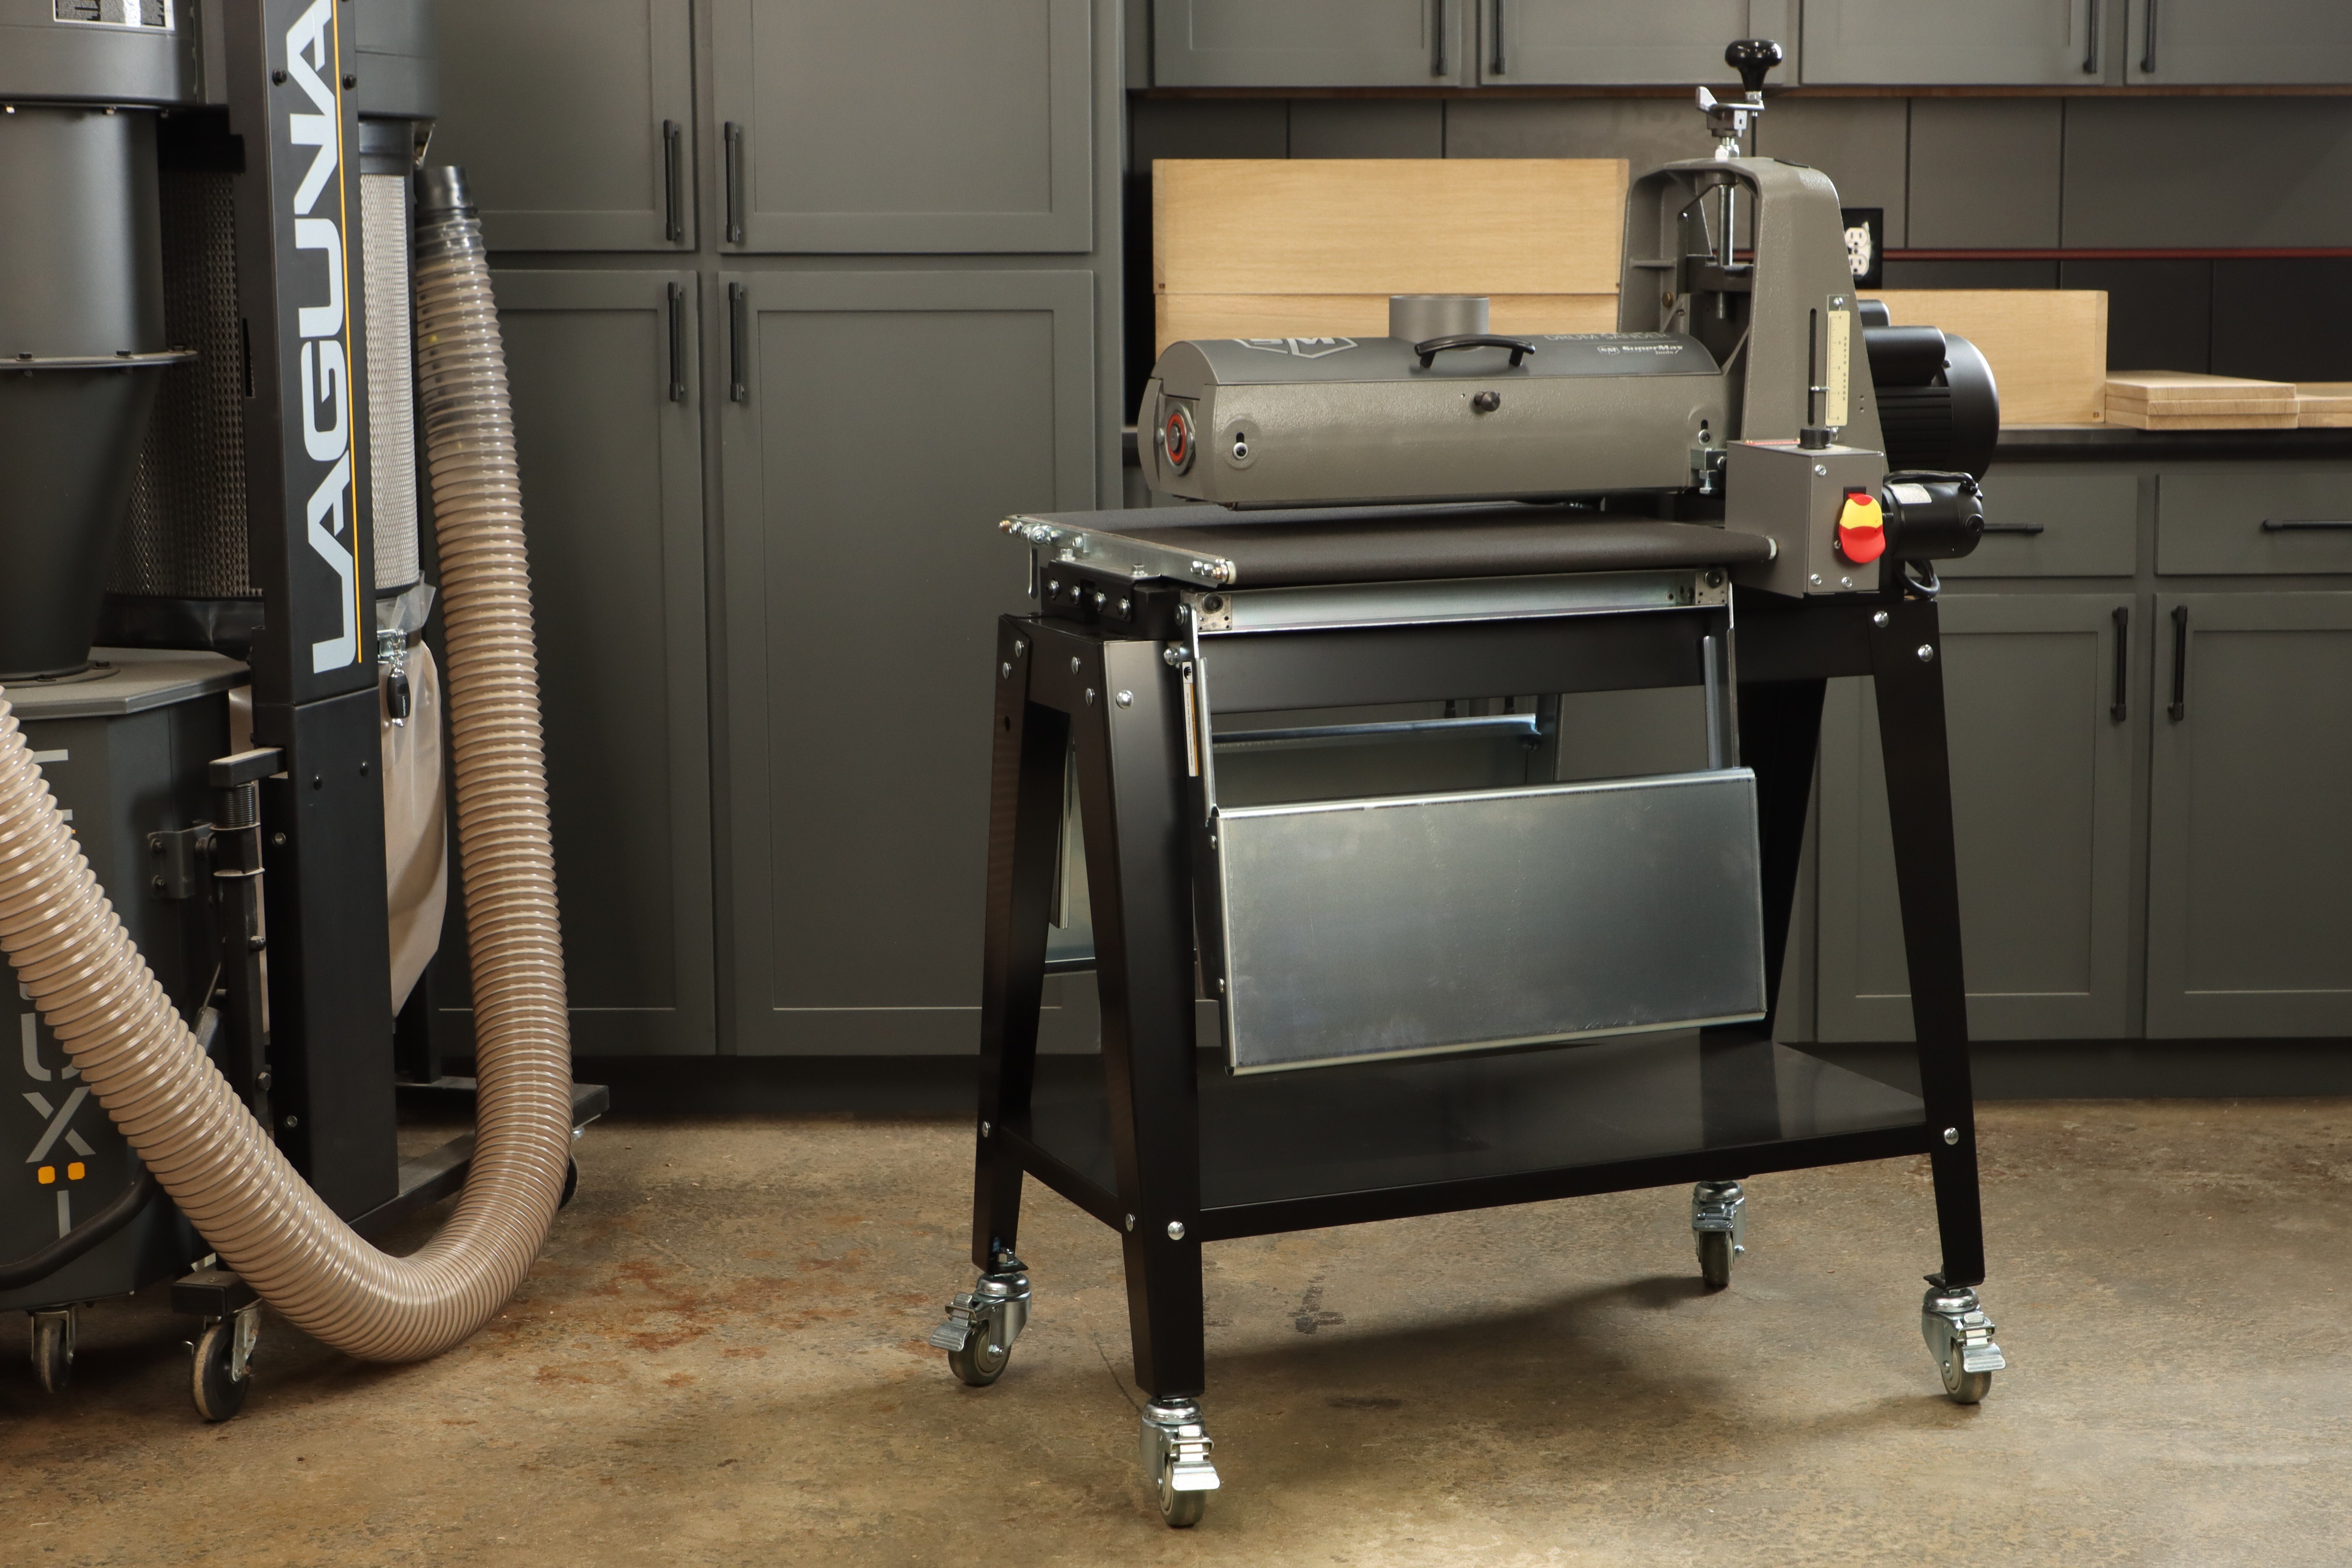
You may have to modify your ductwork when adding a new tool. Here, a 4” wye is added to feed the Fusion F2 tablesaw. 26 gauge metal ducting is preferred for best dust collection efficiency. Keep lengths of flexible hose to a minimum, in order to maximize suction in the D.C. system.

Drill the ducting for pop rivets. This provides a sturdy connection to hold the pipes together, yet can be easily repositioned by drilling out the rivets.

Install 3/16” aluminum pop rivets with to secure the ducting.

Add foil tape to metal ducting to seal the joints. A leak ‘here and there’ may seem insignificant, but across an entire dust collection system, it can lead to loss of suction and decreased performance. Foil tape is inexpensive and readily available, and can be cut with a utility knife if you ever need to change the pipe layout. Avoid silicone sealant and duct mastic, because they are very difficult to remove.

Aside from the main switch and blast gate, all that’s needed to complete the installation of an automated dust collection system is a tool sensor. Its function is to determine when the tool is turned on and off, and sends a wireless signal to control the blast gate and dust collector functions. Simply run the power cord of the F2 in the provided groove, and screw on the clamping plate. From there, just follow the manufacturers instructions to program the sensor and blast gate.

Hybrid Approach
If you’re not ready to equip the whole shop with automated dust collection, you can use a hybrid approach. That is, manual blast gates and a remote control on some tools, and fully automated gates on others. I use a manual blast gate on my 1412 bandsaw, and this works well with the overall system and other automated gates.


Now you’ll never forget to turn on the dust collection system on your Fusion F2 tablesaw! The Fusion F2 tablesaw pairs perfectly with the Laguna P Flux 2 dust collector. See all the specs at Lagunatools.com