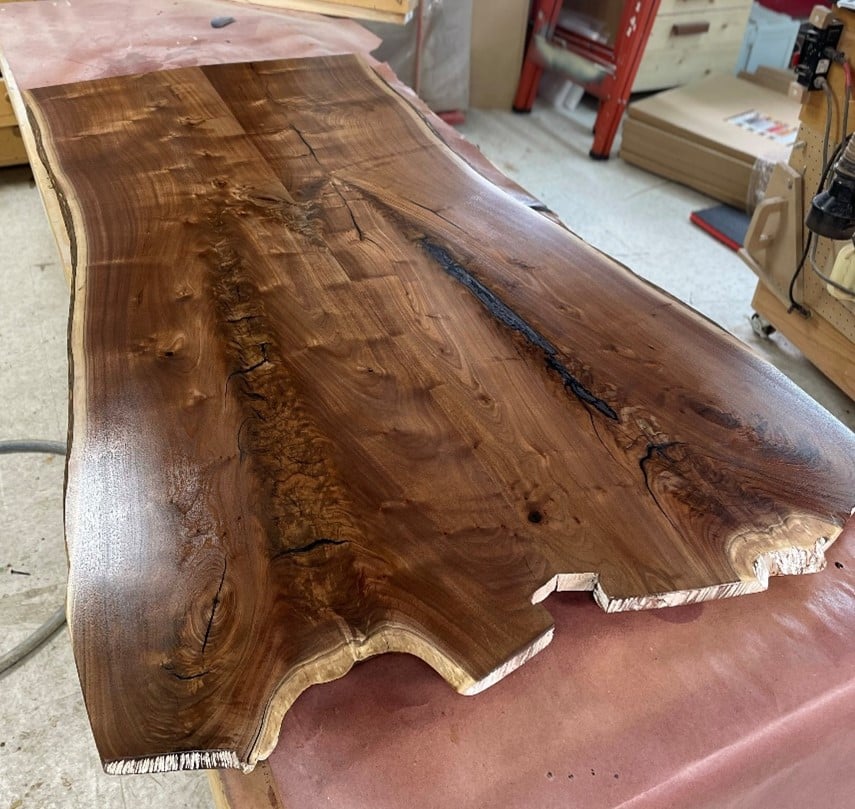
What a beautiful slab of wood! This is a bookmatched slab, meaning it’s made up of two pieces that are mirror images of each other. Here’s how to achieve that look.
Choose and lay out your pieces

In order to get a bookmatch, the slabs you’re working with must be sequence cut. This means they were adjacent to each other, face to face, in the tree. You’re more likely to get sequence cut slabs from a sawmill than from a retail store. Check out this video to learn more about cutting lumber from logs.

Check the slabs out to determine which faces match the best. Two faces will match, be mirror images, the opposite faces will not. You’ll be able to tell by looking at the grain pattern, knots and other distinctive characteristics. When you have the slabs correctly oriented you’ll see identical, but reversed, features in the faces of both pieces.

Determine which edges you want to join by overlapping the pieces. You can achieve a bookmatch by joining either of the edges. In this configuration the final tabletop will have flair out at one end.

In this configuration the flaired ends would be cut off. This provides a more rectangular, but narrower tabletop. There’s no right or wrong in choosing which edges to join, it’s pure aesthetics.
Ripping the slabs

After you’ve decided which edges to join mark out where the edges need to be cut. Maintain a concentrically mirrored bookmatch by cutting the same amount of material from each slab. When laying out lines on dark wood, like this walnut, a white charcoal pencil provides better visibility than a standard pencil.

Rip the slabs using a track saw, or a similar set up that allows you to cut a perfectly straight edge. The two edges will be glued together to create the final slab, so good cut quality is very important. It’s unlikely that you’ll be able to clean up the edges of large slabs like this on a jointer, because of their size.

Adding biscuits, dowels or dominos to the joint isn’t imperative, but they’ll go a long way toward keeping the surfaces aligned when you’re doing the final glue up. With good joinery standard yellow glue is plenty strong and no reinforcement is necessary. Loose tenons simply aid in alignment.

Glue the two slabs together. Pink styrofoam, available at home centers, makes a great clamp pad when you’re working with live edge slabs. It’s rigid enough to allow you to pull the joint closed, but soft enough to conform to the live edge without damaging it.

Keep the faces of the slabs aligned at each end by bridging the seam with an F-style clamp and applying a little pressure.

Allow the glue squeeze out to dry until it gets to a rubbery consistency, and slice it off with a putty knife. It’s important to time this correctly. If you try it too soon the glue will still be a liquid and it will smear all over the surface. If you wait too long it’ll be too hard for you to remove. Try the putty knife about ten minutes after you’ve completed the glue up. If the glue is still too runny, give it a few more minutes.

Sand the slab as needed, and it’s ready to be used in your project.


