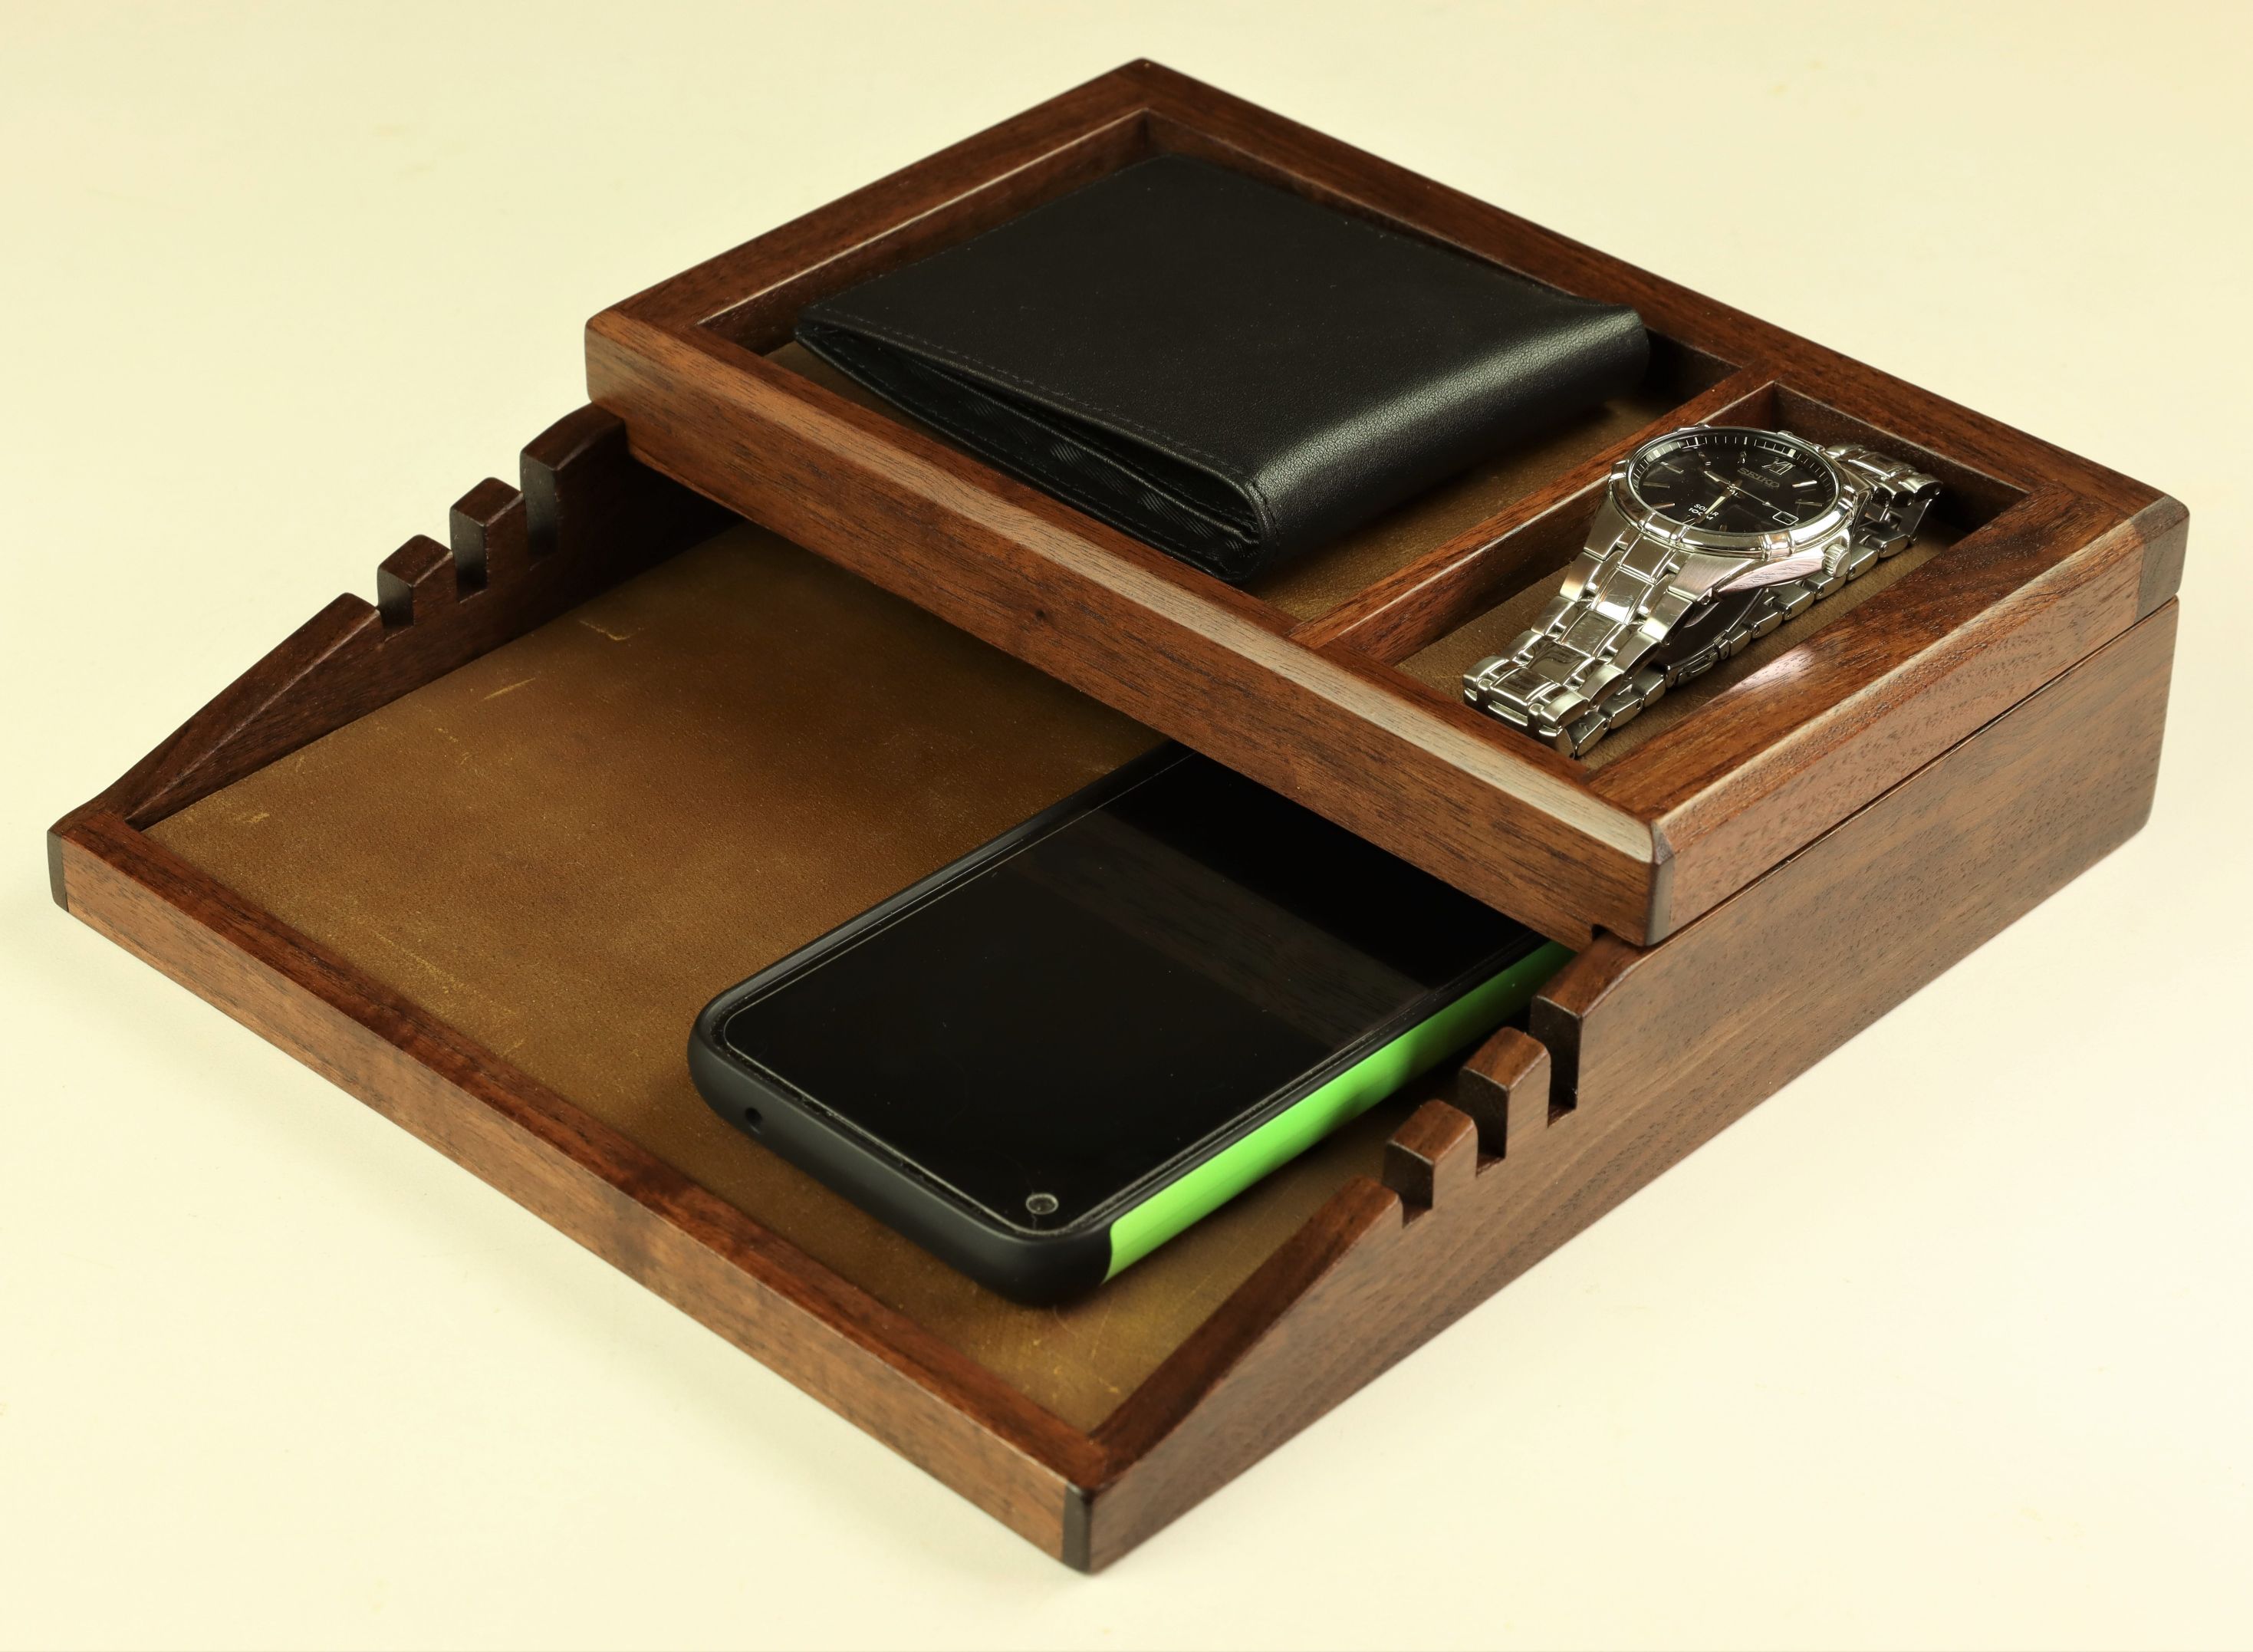
A cell phone organizer can be just the thing to de-clutter your countertop and create a dedicated space for your daily essentials. This sleek little organizer features wire management slots to keep your charger readily at hand, a wallet valet and a spot to stow a watch or loose change. The final touch is a liner made from cork-backed veg-tanned leather. It’s a handsome project you can make in a weekend, so let’s get to it!

Mill the piece to size, and cut rabbets to join the corners of the main organizer tray. The billfold valet is built with the same type of joinery, and also requires a dado for a small divider that separates the compartments.

The side pieces of the main organizer tray receive three notches to make an envelope holder feature. Here, these thin pieces are stacked back-to-back to make these dado notches in one pass using a ¼” dado blade set to a height of ¾”.

Switch to a full kerf combination blade, and make a groove in all the parts to receive a ¼” plywood bottom. The groove is located 3/16” from the bottom, and you’ll make these grooves in multiple passes until the plywood fits snugly in place.

Here you can see the simple rabbet joinery come together into two stacking boxes. The upper box or billfold valet should be the same width as your main organizer tray.

Now that the joinery and notches have been cut, you can mark a line where the low front rail intersects the side component. That will help you lay out an accurate cut line for the angled sides.

To accommodate the cell phone charging wires, drill ¼” holes in the back component. Then make a single kerf centered on each hole. This will allow wires to easily drop into place, yet stay put when in regular use.

Then head over to the bandsaw and make the angled cut on the sides. Start with a short, straight cut at the nose, and then cut from the other direction to complete the cut.

After some light sanding on the inside faces, you’re ready to glue this project up. Apply glue to the grooves and corner joints, and clamp the assemblies together.

Check for square from the underside of the organizer. This is easy to do by comparing the diagonal measurements of the project. Once all the joints are tightly closed, and the boxes are square, set them aside to dry for a few hours.

The billfold valet needs a rabbet cut on three sides. I suppose you could make the cut with a dado blade, but I opted to use the combination blade while it was still installed on the saw. To make this two-pass rabbet, start with the box flat on the table and make cuts on three sides. Then finish with the vertical cuts so the waste piece isn’t trapped between the blade and the rip fence.

Next, head over to the router table and chamfer the top edge of the billfold valet. To avoid burns and blemishes, make the cut in multiple light passes.

Do some final sanding and clean the project with compressed air and a piece of cheese cloth to prepare for finishing. Here, a natural (clear) Danish oil is wiped on the project. Note the blue painter’s tape to keep finish off the plywood bottom. We’ll add a leather liner soon, which will adhere better to unfinished plywood. Let the Danish oil dry overnight before adding a topcoat.

Every woodworker has their preferred topcoat. Maybe it’s shellac or water-based polyurethane for you. My choice was pre-catalyzed lacquer in a satin sheen. I almost always spray my finishes, even on small projects, because you can’t beat the quality. I find two coats of lacquer – with a light scuff sanding in between – usually does the trick.

Use spray contact adhesive to attach some veg-tanned leather to a cork backing. I used 3M 90 spray adhesive for a quick bond. Then trim the liner to fit in the trays with a rotary cutter.

The notches add a decorative detail to the project, but they also make a great spot for outgoing mail.

The billfold valet registers in position atop the organizer, and makes a great place for your watch and wallet to land at the end of the day. Charging wires easily pass through the slots, but won’t pull out, so the cord stays right where you need it.

It’s a fun and easy project to build, especially if you have a great tablesaw. Get out in the shop this week and have some fun.


