It’s easy to grab an outline of your favorite state online, turn the clipart into vectors and make a state shaped tray. In this article you’ll learn how to convert the clipart and how to get your text cut in the bottom of the tray pocket.
Find your state

Use Google or another search engine and look for state outlines.

The site GISGeography has great state outline clipart.

Find your state. Look for clipart that consists of crisp black and white lines. Right click on it and navigate to Save image as.. Name and save the image where you can find it later.

For “housekeeping” on my computer I keep all my clip art organized by topic in a folder with my other CNC projects.
Create your design

Create a new job with your workpiece dimensions.

Navigate to where the state outline clipart is and drag it onto your workpiece.

Navigate to Trace bitmap. Trace bitmap is used to convert JPEGs to vectors that VCarve Pro recognizes for your toolpaths.

Select the clipart and click Preview. New lines, magenta, will appear on your state. These are the vectors. If they’re not crisp change the settings and try again. Check out this article for more info on working with Trace Bitmap.

At this point you have two state outlines on your workpiece. One is the original clipart, the other is the new vector. Delete the clip art.

When you zoom in on the lines you’ll see that there are two. This is because Trace Bitmap places one on the inside of the original clipart line, and one on the outside. We need to eliminate one line.

Select the vectors, right click and navigate to and click on Ungroup Objects. Then select and delete one line.

Find anything that’s extraneous on your state outline, like these islands north of Wisconsin. Delete them if you don’t want them included in your final project.

This leaves you with a clean state outline that’s ready for a toolpath.

Use the 2D Profile Toolpath to cut the outline. Use tabs and ramps.

Navigate to Offset.

Offset Inwards/Left. The Distance you enter controls the wall thickness of the tray.

This provides a second line, equidistant from the first.

Use the Pocket Toolpath to carve out the center of the tray.

Use Preview Toolpath to check your work and make changes as necessary.

Use Draw Text to add text to your state. Resize the text as needed.

Look at the Pocket Toolpath you used to carve out the tray. Check the Cut Depth.

Select the text and open the Pocket Toolpath. Enter the Cut Depth from the tray cutting toolpath in the Start Depth box. Click Calculate. This is very important. Indicating a Start Depth tells the software that material has already been removed, and the text should be placed at the bottom of that existing pocket.

Use Preview Toolpath to check your work. Make adjustments as needed.
Machine your state

Zero the X, Y and Z axes and run the profile and pocket toolpaths.

If you change bits to cut the text in the bottom of the tray zero the Z axis from the top of the workpiece, not the bottom of the tray. The top of the workpiece was selected as the Z Zero Position in the Job Setup and is used for each bit.

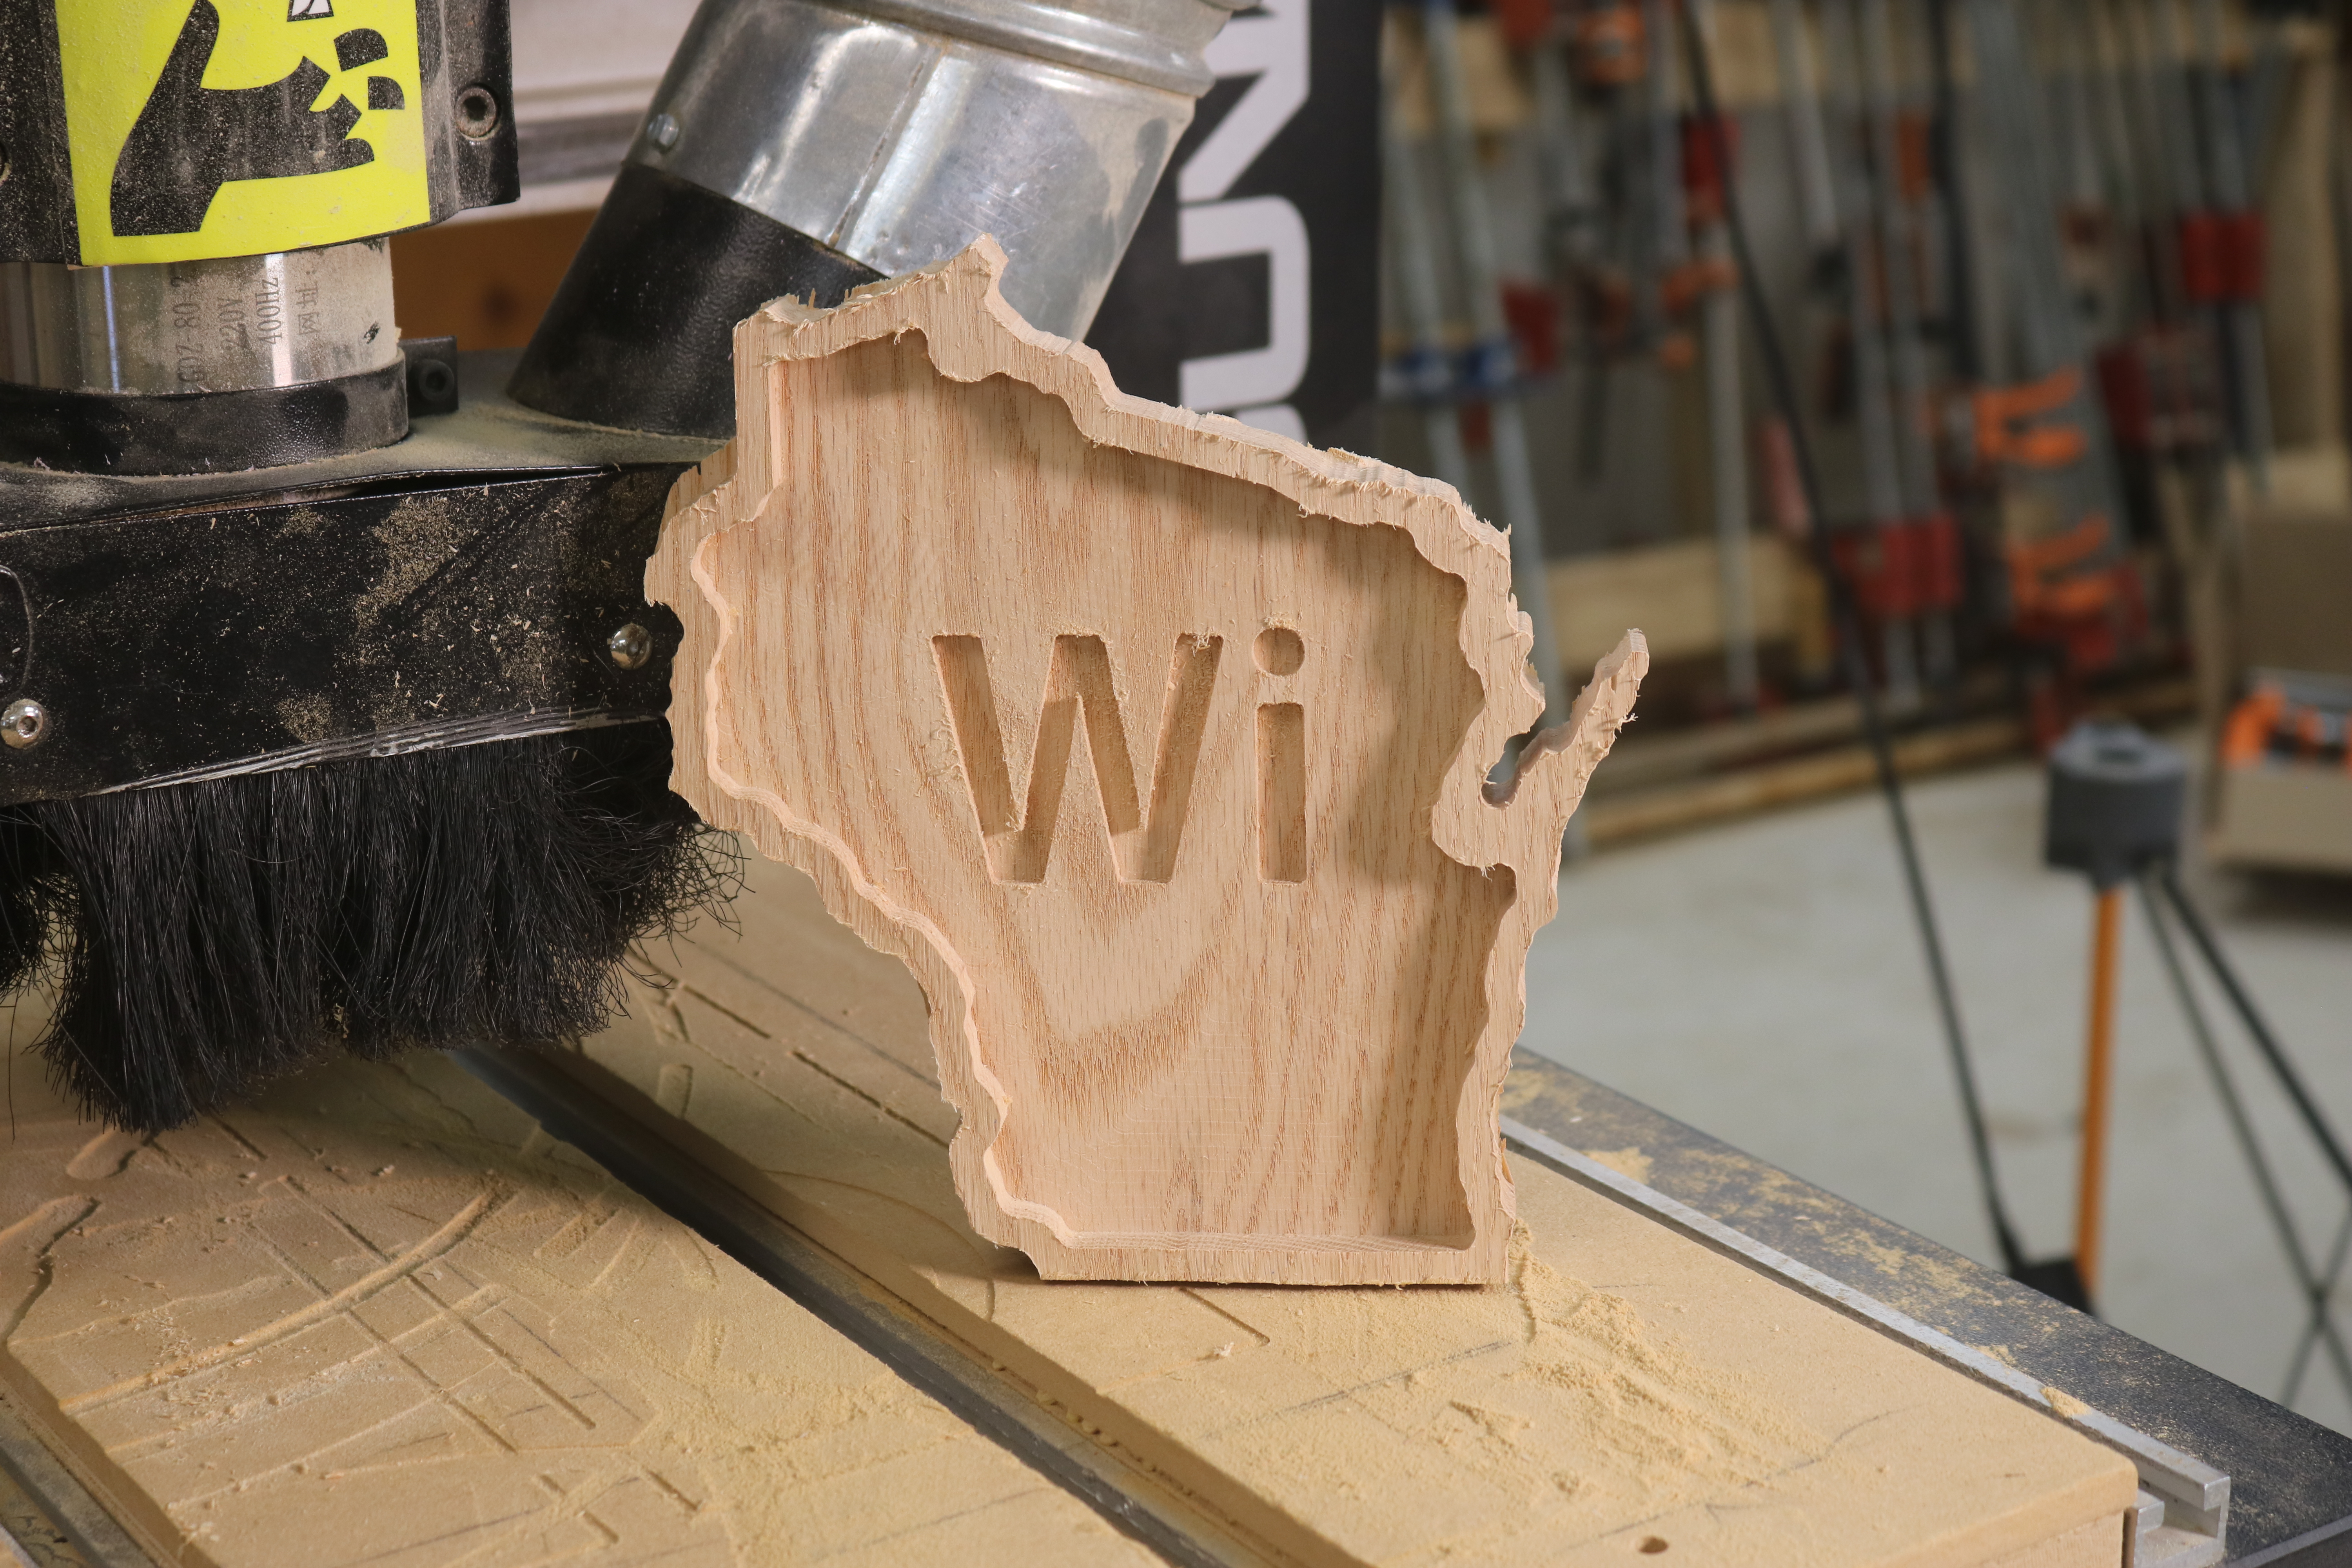
Remove the completed piece from your CNC, sand and finish it, and pass it along to your favorite state buddy.


