It’s easy to create a hand-carved look on a domed lid using VCarve Pro software and your CNC router.

Use Job Setup to create a new file with the dimensions of your material. Stock that is 3/4" thick, or more, works well for this task.

Under the Clipart tab navigate to Domes (Dishes). Don’t worry about the domes that are shown being round, rather than oval. We’ll change it to an oval later. The lighter colored domes are for thin material, the darker domes are for thick material.

Drag and drop the dome onto your workpiece.

Navigate to Material Setup. If you have chosen a dome that’s too tall for your material you’ll see the Error message. If this happens, simply swap out for a shorter dome.

Select the dome and use Set Selected Objects Size to change the dimensions of the dome to make it an oval instead of a circle, if that’s the look you want.

Click Apply and use Align Objects-Center to center to oval on your workpiece.

Navigate to the Modeling tab, select the oval and use Create vector boundary around selected components to define the outside of the oval. If you don’t do this you won’t be able use the Profile toolpath to cut the oval to its final shape.

Select the oval and use the Rough Machining Toolpath to rough out the dome shape. Check out this article for more in-depth information on creating 3D shapes on your CNC router. A 1/4" end mill was selected for this cut.

Use the Finish Machining Toolpath to finalize the shape of the domed oval. A 1/4" ballnose bit was selected for this cut.

Select the outside oval shape that was created using Create vector boundary tool. Use the 2D Profile Toolpath with tabs to cut the oval to its final shape.

Preview Toolpaths will show you if you’re getting the domed look you want. Make changes to the shape now, if required.

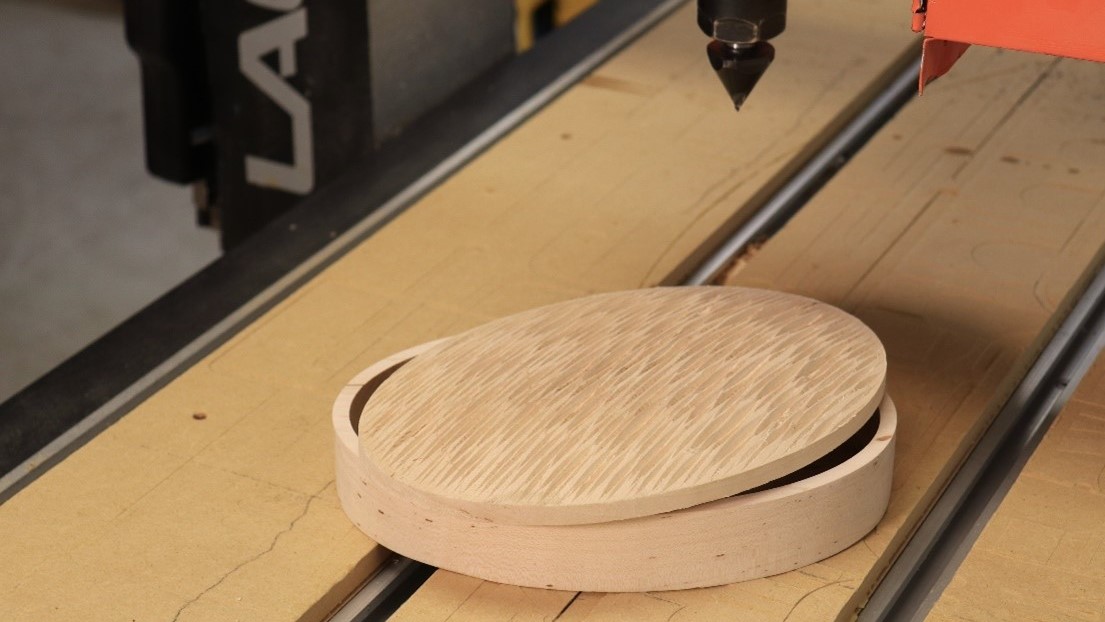
Select the dome and navigate to the Texturing Toolpath.

The settings shown here will give you a good starting point, but there are lots of variables in this toolpath. A 60-degree V-bit will be used in this article, but you can choose different angle V-bits or ballnose bits for the texturing toolpath. Changing any of the parameters in the toolpath will change the final look.

Use Preview Toolpath to check your work. It’s definitely worth toggling back and forth between the Texturing Toolpath and Preview Toolpath to see the different looks you can get by changing parameters.

Secure your material to the spoilboard, install the 1/4" endmill, and zero the X, Y, and Z axes. Run the 3D Roughing and Profile toolpaths.

Install the ballnose bit, rezero the Z axis and run the 3D Finish toolpath.

Install the V-bit and rezero the Z axis. Be sure you’re zeroing on an uncut portion of your workpiece.

Run the Texture toolpath.

A sanding mop, also called a flutter sander, makes short work of cleaning up the textured surface without compromising the detail.

Your textured dome is complete.


