Looking for a cool gift for the cribbage player in your life? This board can be easily designed using VCarve Pro software. Add a little epoxy to the middle, and it’s a very unique item.
Design the board

In VCarve Pro 10 the cribbage board templates are found under 2D Game Layouts. The round cribbage board is 12” x 12”.

Set the Job Dimensions and Origin and drag the template onto your work space.

The design has already been placed in layers. This is very convenient. Click on the Layer drop down menu and turn off everything but the VGrooves. The outermost ring can be used to cut the board to final size. My board is being put on a live edge slab, so the outer ring isn’t used and has been deleted.

Open the 2D Toolpath, choose a V-bit, and set the Cut Depth to .06”, about 1/16”. Machine Vectors must be set to On. That places the center of the V-bit directly on the lines. Click Calculate.

Select the inner ring and use the Offset Vectors tool to create another ring .125” inside the original ring. The new ring will be used to create a recess for the epoxy.
7

Select the new, innermost, ring and open the Pocket Toolpath. Choose an endmill and set Cut Depth to 3/16”. Click Calculate

Turn off all the layers except the Peg Holes.

Select the holes and use the Drilling Toolpath to drill holes .4” deep. Click Calculate.

Use Preview Toolpaths to check your work. On this project the live edges, running in the X direction, will be left alone. The other two edges have arcs cut into them. Design the outside shape of your board to match your material and needs.
Cut the board

Mount your material on the CNC router, zero the X, Y and Z axes, and run the V-bit toolpath. A 45-degree V-bit is being used here.

Change to a 1/8” upcut spiral bit, rezero the Z axis, and run the holes toolpath.

Change to the end mill and cut the recess in the center of the cribbage board. A 3/8” upcut spiral bit is being used.
14

Cut the outside shape, remove the project from the CNC and cut the tabs.
Add epoxy
Seal the epoxy recess before doing the epoxy work. The best product for this is penetrating epoxy. This prevents the color in the epoxy from leeching into the wood grain surrounding the epoxy recess. After the finish is dry scuff the area in the recess with 220-grit sandpaper to allow the epoxy to adhere.

Follow the manufacturer’s instructions and mix the epoxy. Tabletop epoxy works well for this project because only a thin layer is required. After the epoxy is mixed pour it into individual dixie cups, one for each color you’ll be using. Check out this article to learn more about adding epoxy accents.

Pour your colors into the recess.

Use a heat gun to gently remove any air bubbles. The heat gun can also be used to manipulate the epoxy, blending the colors.
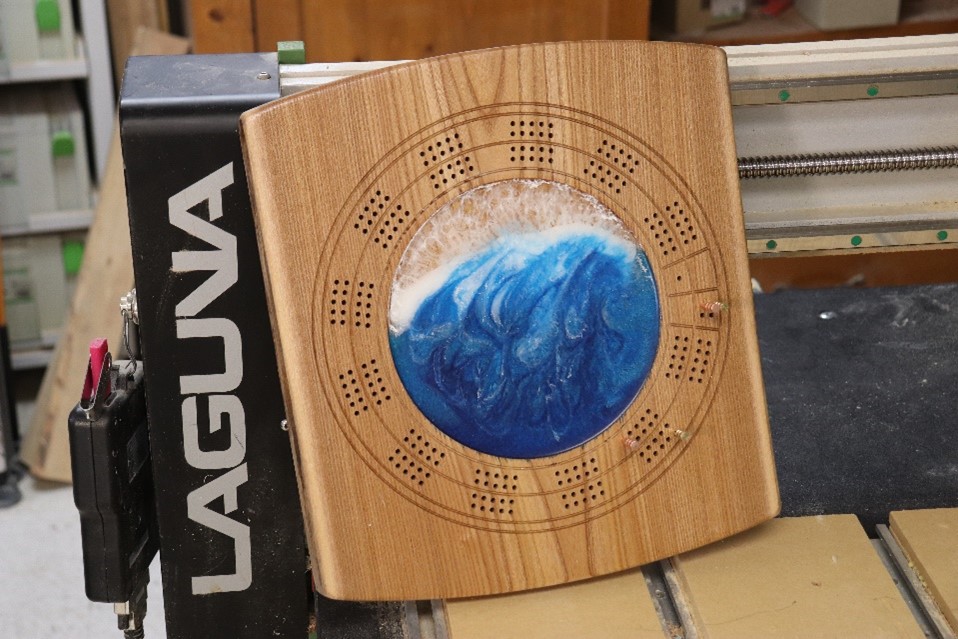
After the epoxy has fully cured apply finish and enjoy your cribbage board!


