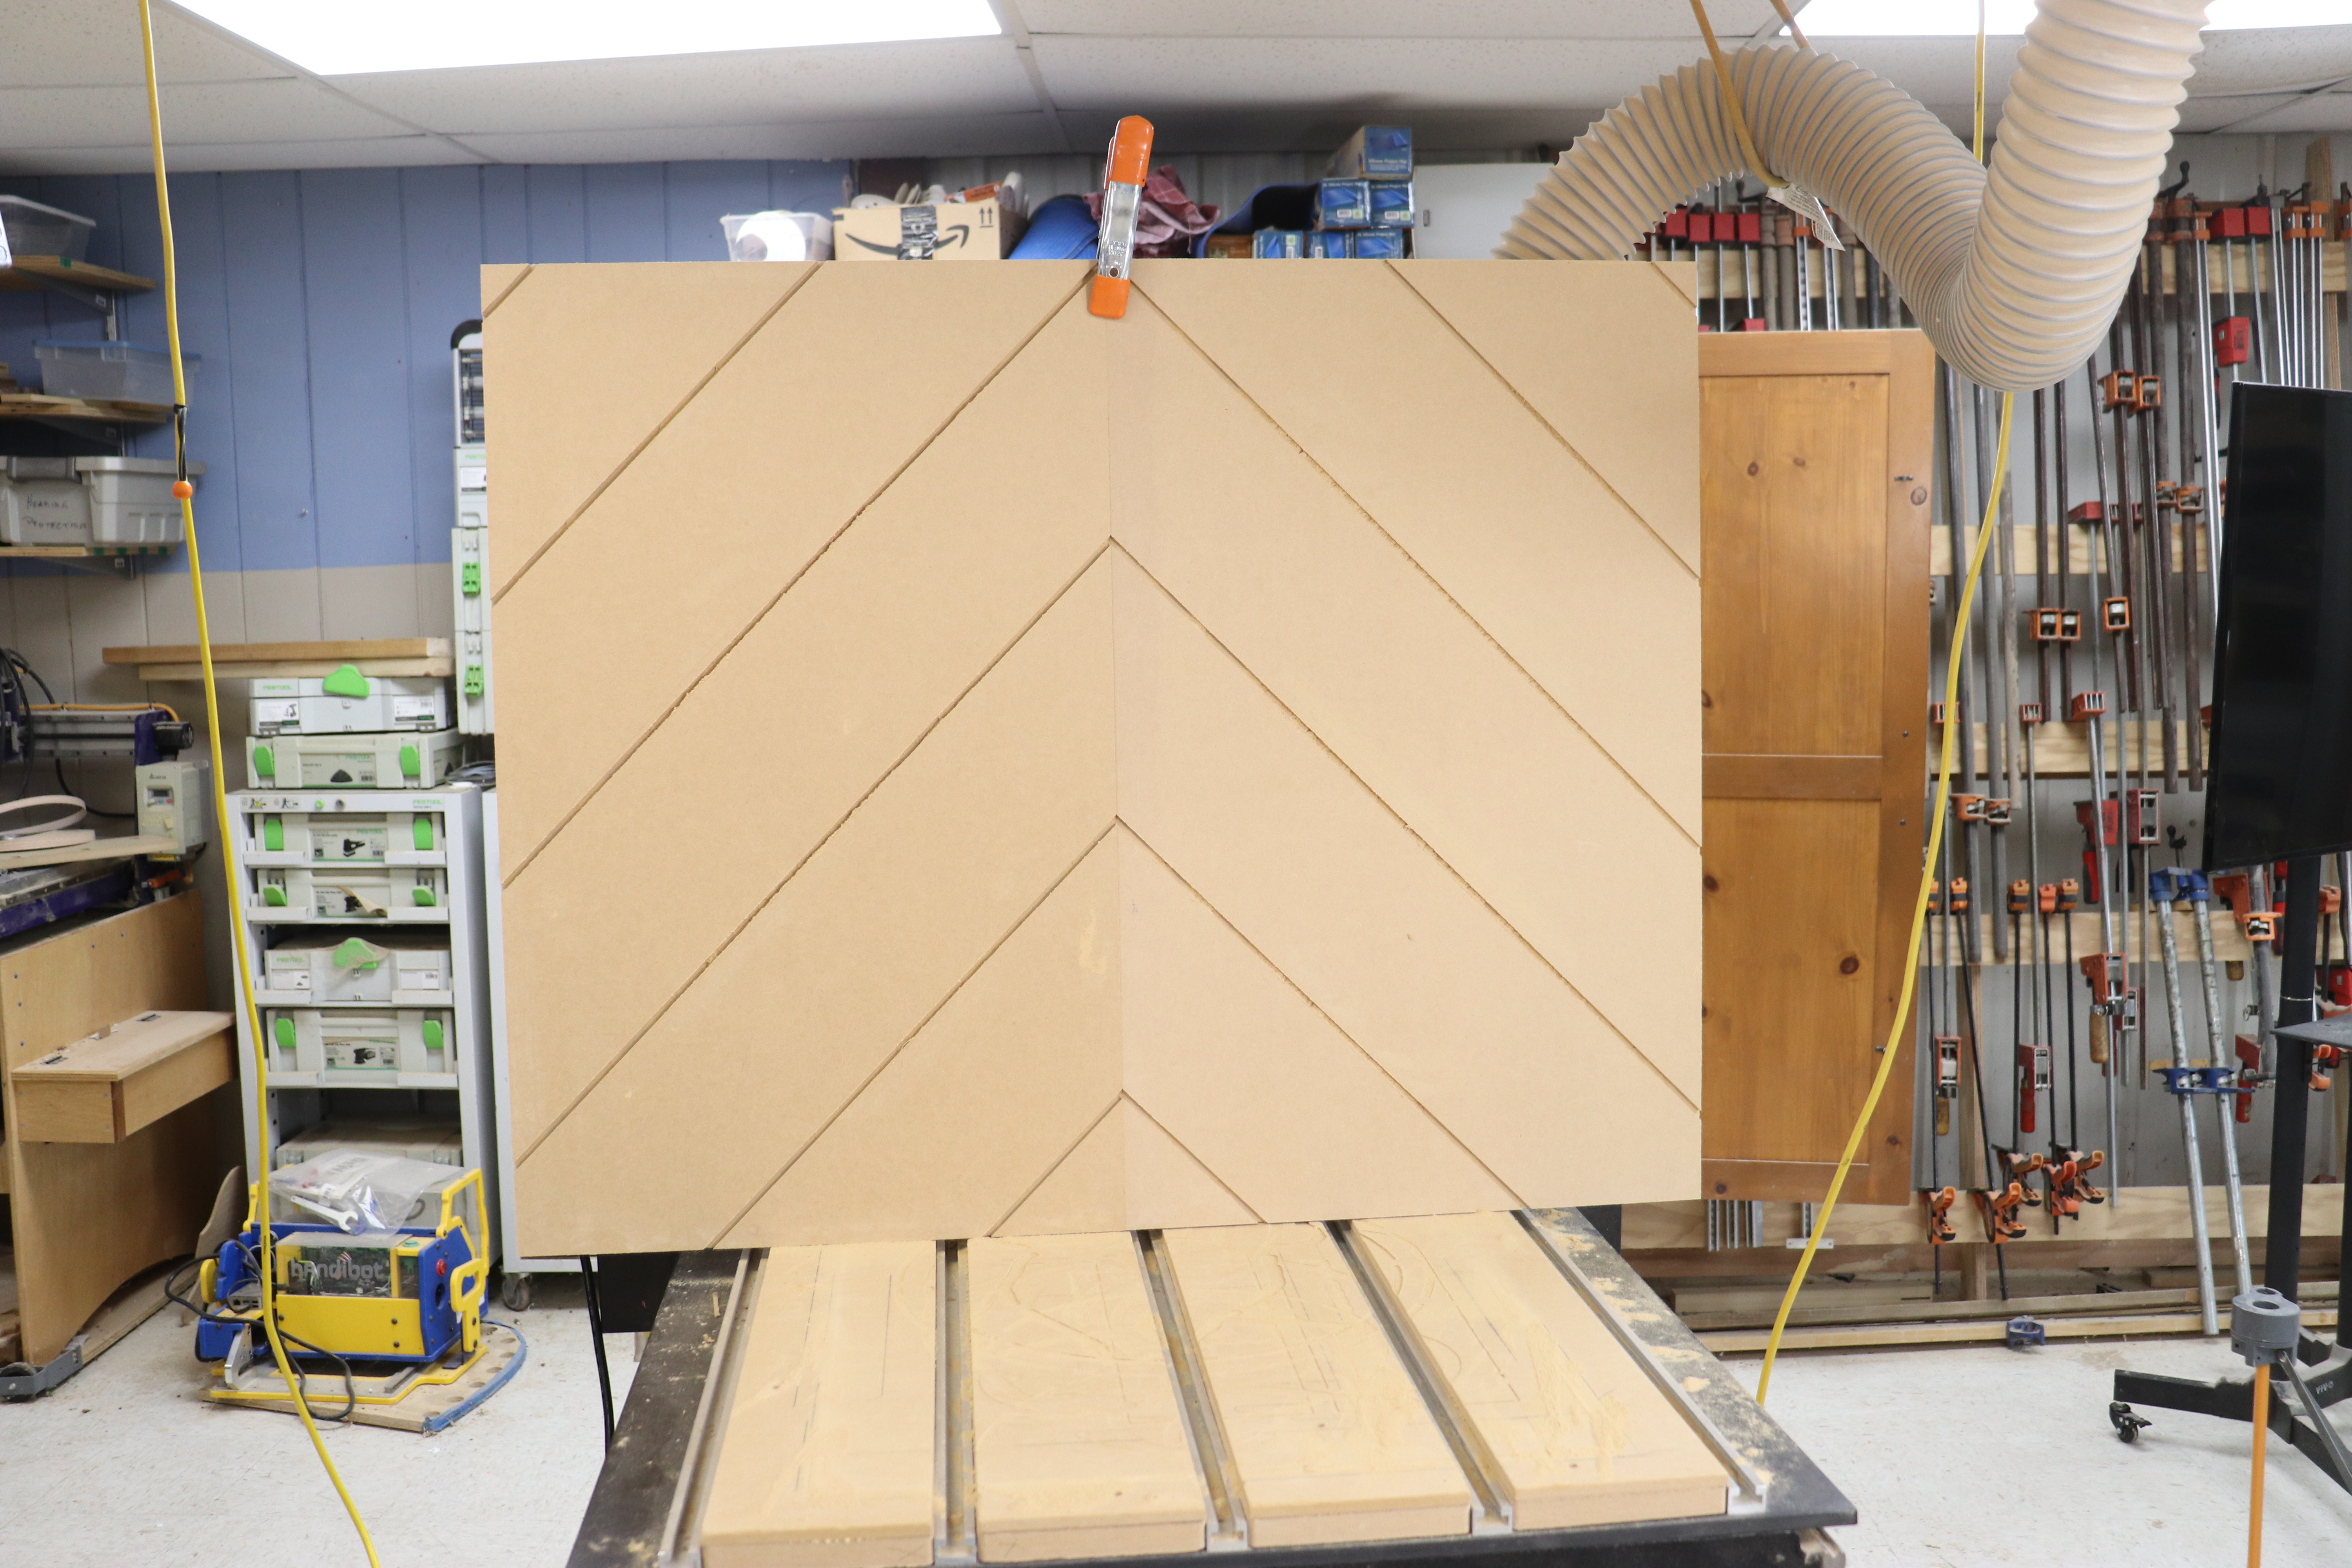
These two panels, providing the look of herringbone siding, will get painted and installed on the end of a kitchen island. This CNC project is a great exercise in using the Array Copy, Rotate and Mirror Objects tools in VCarve Pro. MDF is a great choice for paint-grade projects, and you’ll get the best finish by following our tips for painting MDF. The grooves creating the herringbone look are 1/4" x 1/4".
Create the design

Set up a new job using the dimensions of your workpiece. The workpiece should be 1” larger in both directions than the final panel size.

Select the Draw Line tool.

Create a line horizontally across your workpiece. The line defines the center of the groove. Its exact length doesn’t matter, but it should be longer than the workpiece is wide. It’s much easier to create uniform spacing now, before putting the line at an angle.

Open Array Copy

We want one column (X direction) but a bunch of rows (Y direction). I chose 12 rows. It’s better to overshoot than undershoot on the row count. Extra lines can always be deleted later. This project calls for 1/4" wide grooves 6” apart. The lines we’ll create with Array Copy are center to center, so check Gap and enter 6-1/4” in the Y direction to accommodate the center-to-center layout. Check Group Copies.
Check out this article for a router bit tray that takes uses Array Copy. Read this article to learn about Circular Array.

You now have 12 lines, perfectly spaced. If you checked Group Copies the lines will be grouped together, which is what we need. Otherwise group them now.

Open Rotate Selected Objects.

With the group of lines selected set the angle at 45-degrees and click Apply.

The array of lines is now at 45-degrees, or whatever angle you’re using for your job.

Under Align Objects use the Center tool to center the group of lines on your workpiece.

With the lines selected use the arrow keys on your keyboard to position the group of lines on your workpiece until you’re happy with the layout.

Right click the lines and choose Ungroup Objects from the menu.

Use the Draw Rectangle tool to create two rectangles; one the same size as your workpiece, and a second the size of your final panel.
The rectangle that’s the size of your final panel will be used to get this project to the correct final dimensions. The larger rectangle, the one the size of your workpiece, will be used to create stopping points for the lines. If the lines end at the edge of the panel, instead of beyond it, you’ll see round ends from the router bit on the end of each groove at the panel edge. We need the toolpath for the groove cut to continue past the panel edge.

Open Interactive Trim.

Snip the lines to they’re even with the outside rectangle. Delete lines you don’t need.
Toolpaths

Select the small rectangle and use the 2D Profile Toolpath with tabs and ramps to cut it. Check Outside/Right.

Select the lines and again use the 2D Profile Toolpath but this time check On. When you do this the router bit automatically centers on the lines. Set the Cut Depth.

Use Preview Toolpaths to check your work. Made adjustments as needed.
Make the mating piece

Select and copy your layout.

Open VCarve Pro on your computer again. It’s very handy that you can have the software open multiple times. I often use this to toggle through different aspects of a design. Set up a new job with the same workpiece dimension.

Paste the design into the new workspace.

Open Mirror Selected Objects.

With the design selected click Left.

This results in a perfect mirror image of your design. Center the mirror on your workpiece and create the toolpaths.
Cut your parts

Secure your work to your CNC and cut the grooves. Note that I’m using shop-made wooden hold downs. It won’t matter if the router bit hits these (which it did) while cutting the grooves.

Runt the profile toolpath. Be sure to cut a left and a right to get a matching set of herringbone panels.
Painting MDF
The faces of MDF are very smooth and dense and paint extremely well. The edges, however, are very porous and need to be primed before painting to get a seamless look. When possible, sand the edges with 220-grit sandpaper and then give them a coat of good primer. After the primer is dry do another light sanding and another coat of primer. If you can still see and feel the porosity of the MDF edge repeat the process again. If the primer feels smooth, you’re ready for paint. On this panel I would prime the grooves, but wouldn’t sand them.


