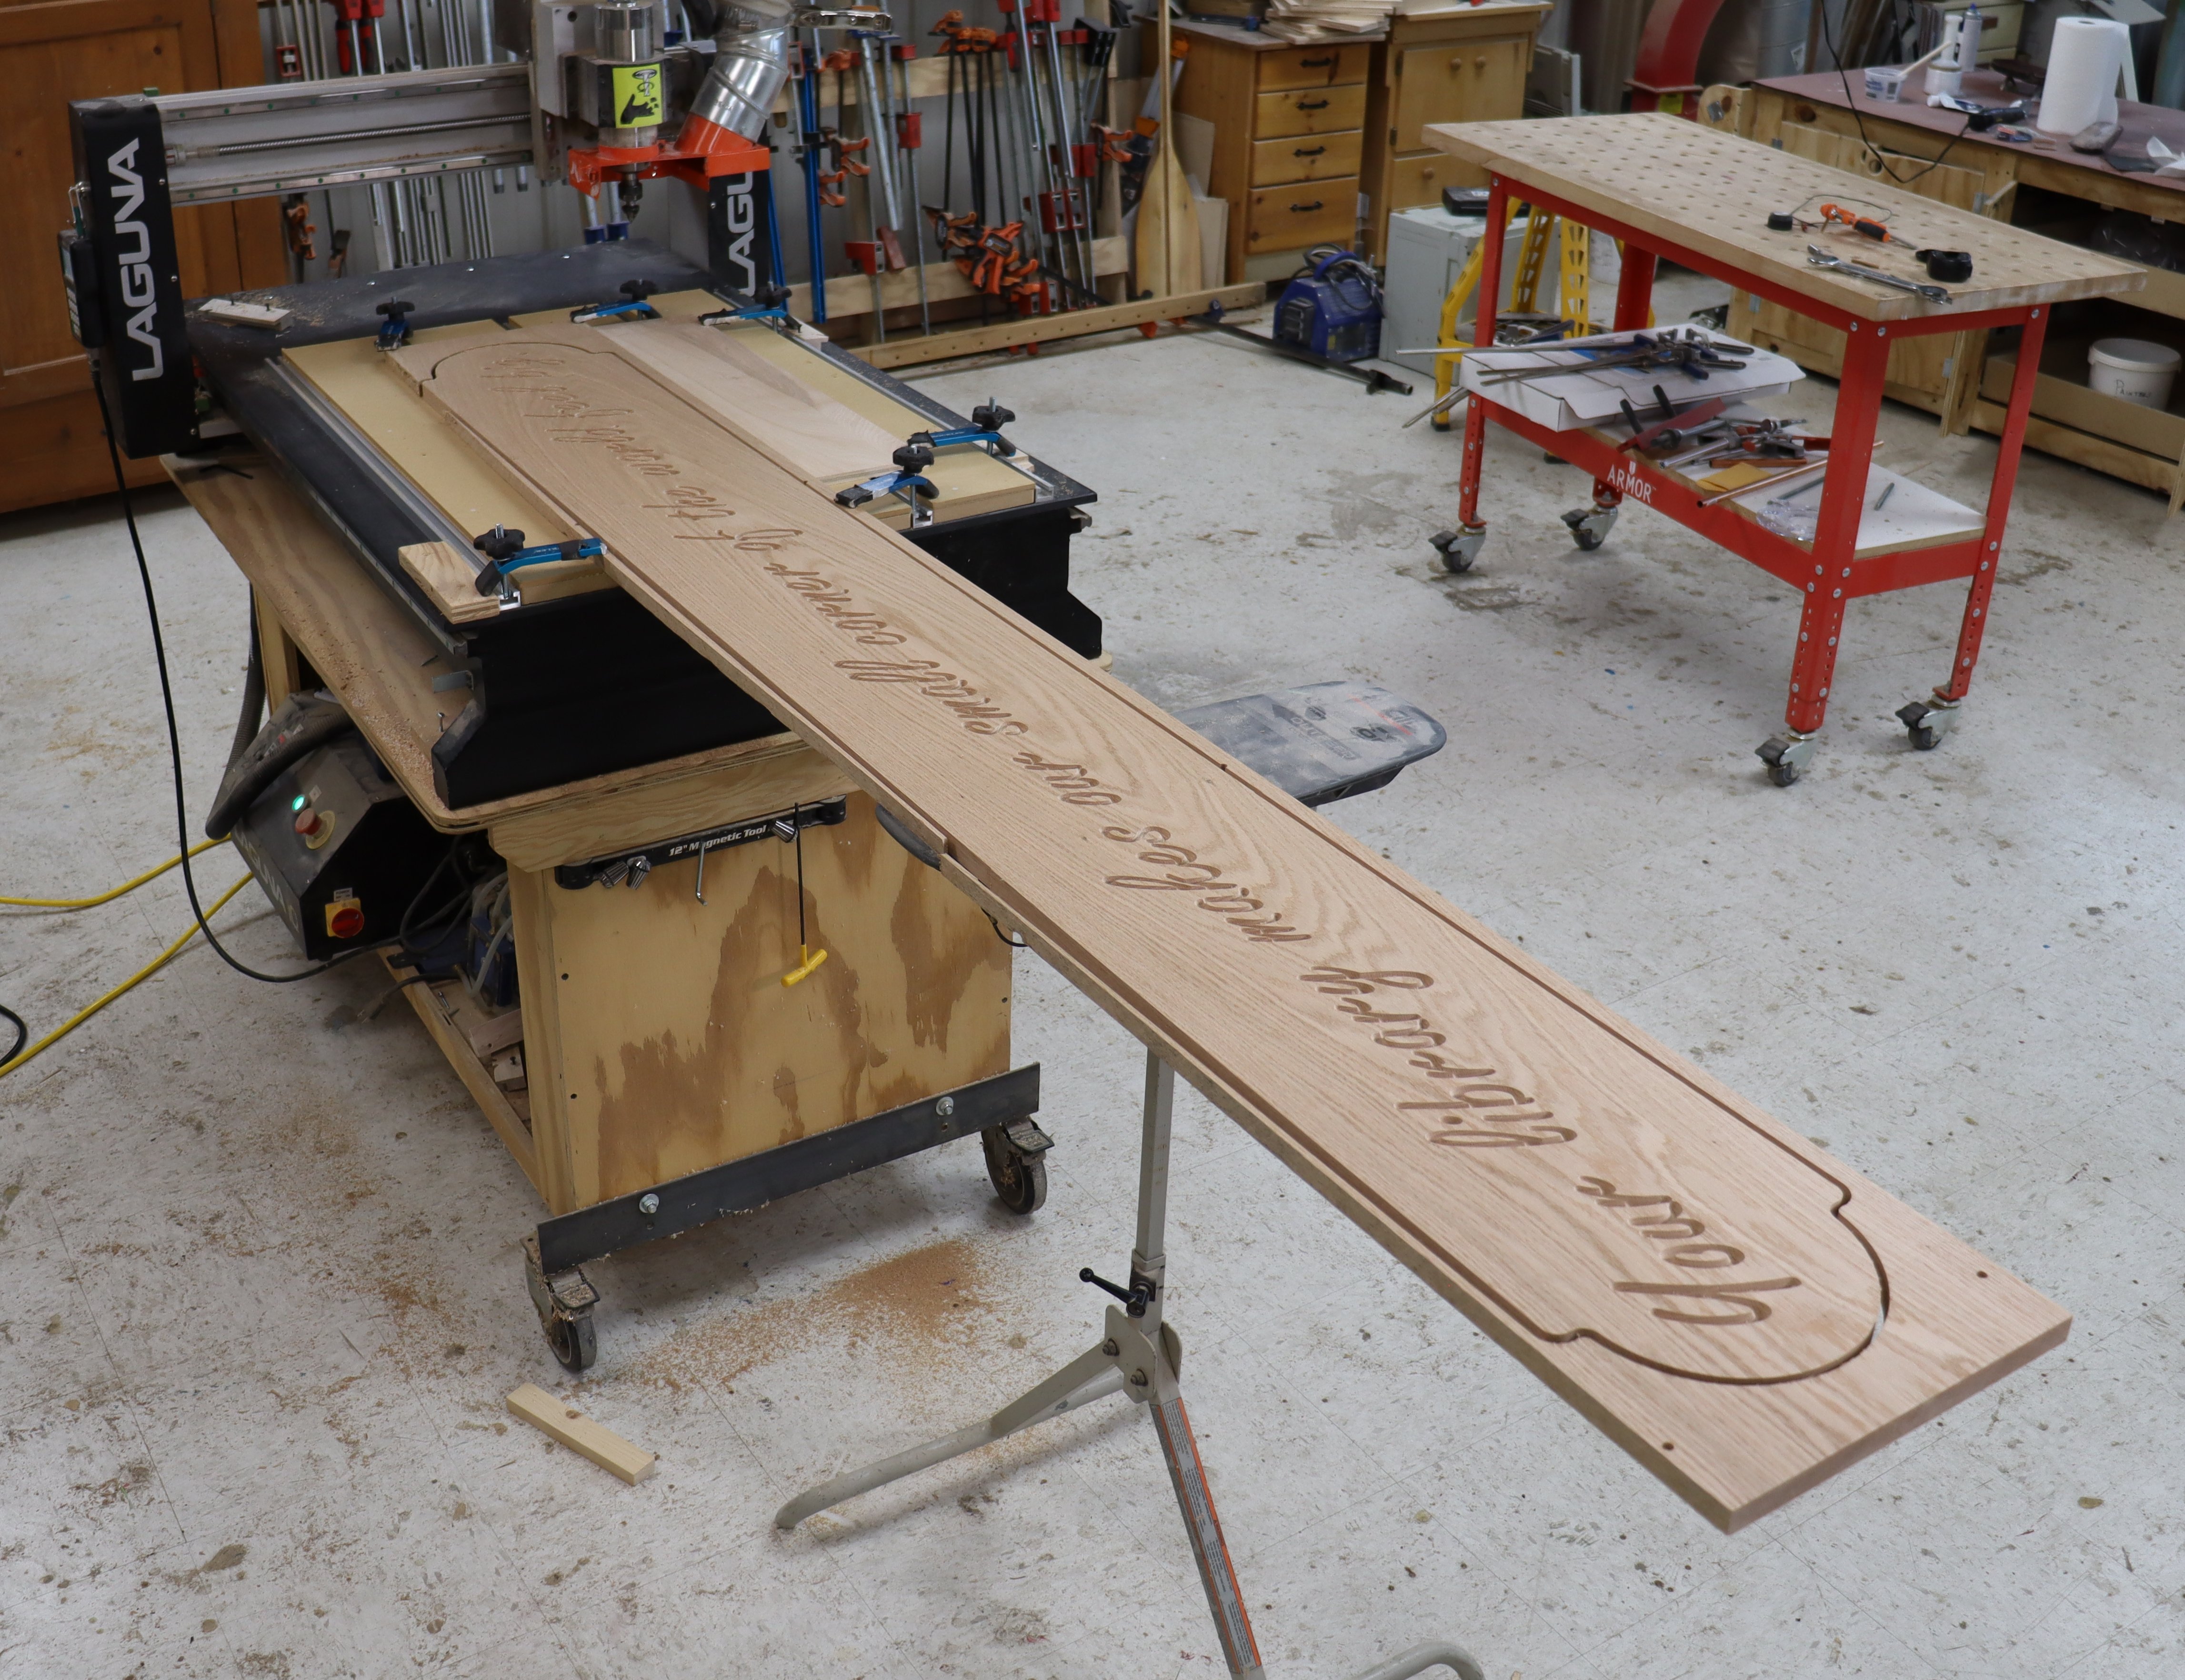
As you consider projects you want to do on your CNC router remember that your capacity is only limited in one direction, the width of the gantry. Thanks to tiling, a function that is built into VCarve Pro, you can easily make projects, like signs, that are significantly longer than your CNC.
Two forms of tiling are available in VCarve Pro. In this article we’ll look at what is called Feed Through tiling, specifically in the design stage. Read part 2 of this tiling project where I cover physically tiling and machining the workpiece on the CNC here.
The concept of tiling is just what it sounds like; the material is fed through the gantry in steps. It’s also possible to create Individual Tiles, an approach in which you cut separate tiles that are assembled into the final project later. Creating individual tiles is not explained in this article.
Feed Through tiling relies on registration holes that go through the waste area of your project and into the spoilboard. Pins placed in those holes allow you to accurately reposition the project for each tile. A fence is also helpful in keeping the board properly aligned.
Create your design

Start a new job with the dimensions of your workpiece. On my machine the maximum X dimension is limited by the gantry to 24”. So, when this project is cut the 11” dimension will be fed through in the Y direction. But I find it easiest to do the design with the project in an easy to see configuration in front of me, the long dimension in the X direction, and then rotate it later. Note that the origin must be in the lower left corner for tiling. If your gantry spans across the machine in the X direction you’ll be feeding through in the Y direction.

Create your design.

Once you’re happy with the design, swap the X and Y dimensions in Set Job Dimensions and Origin and rotate the design to match.

Create rectangles that divide your project into the size of the tiles you’ll use. The maximum Y dimension on my machine is 36” so I’ll use 31” tiles, slightly shorter than that maximum, and make 31” long rectangles now. The rectangles are only used as layout aids for the registration holes. Create as many rectangles as you need to cover the length of your project. I made three.

Use an Align Objects tool, such as Align Bottom to Top, to stack the rectangles on top of each other.

The result is that your workpiece is divided into rectangles that are the width of your workpiece but divide the length the same way the tiles will divide it.
Create the registration holes

Use Draw Circle to create a 1/4" circle at the origin. This will be used for the 1/4" dowels that will act as registration pins.

Once the circle is located on the corner of the rectangle the next step is to move it uniformly to the position you need it in for the registration pins.

Use the Align Objects tools to reposition the circle.

This positions the circle so it’s tangent to the inside corner of the rectangle. Copy and paste the circle and place a circle in the lower left and lower right corners of each rectangle.

The registration holes need to be uniformly positioned, or tiling won’t work accurately. Select one circle and use the Move Selected Objects tool to move it. It’s important to let the software do the heavy lifting on circle placement to make sure the registration holes are precisely located.

Use Relative as the Type of Move. Enter the distances you need to move the circle in the X and Y directions. Make sure the new location is keeping the circle in the waste wood surrounding your final piece.

When you’re working with and moving the circles on the right side of the layout rectangles you’ll need to use a negative number in the X Position box to move the circle to the left. Make sure you’re always using the same numbers.


Your circle layout should look something like this with two registration holes uniformly located relative to the bottom corners of each the rectangles.
Toolpathing
Don’t worry about the tiling aspect of the toolpaths yet. Simply do your toolpaths as you normally would.

Start by creating a toolpath for the first four holes in your workpiece. Use a Pocket Toolpath or Drilling Toolpath and set the Cut Depth to go 1/4" deeper than the thickness of your material. I’ve named this file .254 because the 1/4" bit (.25) is being used to make four holes. Click Calculate.

Next, select ONLY the two circles near the bottom of the number two rectangle and create a toolpath for those holes. Again, set Cut Depth to go 1/4" beyond the material. I named this file .252 since it’s only being used to create two holes. The repetitive nature of these two toolpaths may be confusing now, but will make sense when we machine the project.

Select the outside shape of your project and use the 2D Profile Toolpath with tabs and ramps to cut it.

Use the VCarve Toolpath To cut the letters.

Use Preview Toolpaths to check your work. Make any needed changes.
The next step is to set up tiling and machine your workpiece, which is covered in another article.


