You can easily machine workpieces that are significantly longer than your CNC router by using Feed Through tiling. For the design and toolpath aspects of this process, read my last blog here. In this blog, we’ll look at the tiling and machining process.
Tile the workpiece

After your design and toolpaths are complete, click on the Tile Toolpaths icon.

A menu opens that allows you to set the tiling parameters. Select Tile Toolpaths, and the direction you’ll be feeding through, Y in my case. Set the Tile Height, which is the same dimension as the rectangles you created during the design process.

As you’re looking at the tiling manager you can change Active Tile to any of the tiles in your project. If you’ve selected Tile T1, as in this case, and run Preview Toolpaths it will only show the toolpaths in that tile.
Save the toolpaths

When you Save Toolpaths and are outputting the toolpaths for the registration holes, 254 and 252 on this project, do not check the Output Tiled Toolpaths box. We don’t want the registration holes to be cut as tiles.

When you save the toolpaths that are specifically part of the sign and require tiling, not an aspect of creating registration holes, you must check the Output Tiled Toolpaths box.

When the toolpaths are correctly saved, you’ll see the registration holes as stand-alone toolpaths, but the sign-specific toolpaths as tiles indicated by T1, T2…. As many T’s as are required for the tiles in your project.
Machine your project

Fasten a fence onto the bed of your CNC. Pay attention to the fence location so the registration holes will be cut in the spoilboard, not the T track.

Use a V-bit to make sure the edge of the fence is parallel to the travel of the spindle. Align the tip of the V-bit with the edge of the material, then move the gantry in only one direction, the same direction as you’ll be feeding your tiles.

You know the fence is parallel to the travel when the tip of the V-bit is in the same alignment on both ends of the fence.

Secure your workpiece to the CNC bed. Make sure the hold downs are outside of the tile area you’ll be cutting.

Support the end of the workpiece that cantilevers beyond your spoilboard.

Zero the X and Y axes at the corner of the board.

Install the bit used for making the registration holes and zero the Z axis.

Run the toolpath that cuts four registration holes.

The two holes in the foreground create the registration holes that are required in the spoilboard. Two more holes are being cut 31” away. These will be used to orient the workpiece when the workpiece is moved and the second tile is cut. If you inadvertently output the registration holes toolpath as a tiling toolpath it won’t “reach” far enough to cut the second set of holes, since they’re outside of the tile 1.

Select and run the Tile 1 toolpath for the profile cut, the 1/4" bit.

Notice that the toolpath stops at the end of the first tile.

Install and Z zero the next bit.

Select and run the Tile 1 toolpath for the current bit.

Like the profile toolpath, the vcarve toolpath will terminate at the end of the first tile.

Remove the hold downs on the workpiece, not the fence, and slide the workpiece forward, keeping it against the edge of the fence. Insert the two registration pins. The pins locate the workpiece in the Y direction.

Reinstall the hold-downs, keeping them out of the cutting range of the next tile. Remove the registration pics if they’re in the way of the toolpaths.

Open and run the tile 2 toolpath. Since we left off with a 60-degree V-bit on the first tile we can start with that on the second tile.

Tiling is an amazing CNC process, and is REALLY cool when you see the V-bit pick up exactly where it left off on the text in tile 1.

Swap bits and rezero the Z axis.

Select and run the toolpath that creates two new registration holes in your workpiece.

These holes will be made at the end of tile 3, preparing the workpiece to be moved into its final position. There’s no need to run the four hole toolpath since those holes are already present in the spoilboard.

Select and run the toolpath for the profile cut on tile 2.

The profile toolpath will pick up on tile 2 where it left off on tile 1.

Rinse and repeat. :) Move the workpiece forward, support the cantilevered portion, use the fence and registration pins for alignment, reinstall the hold-downs, and cut tile 3.

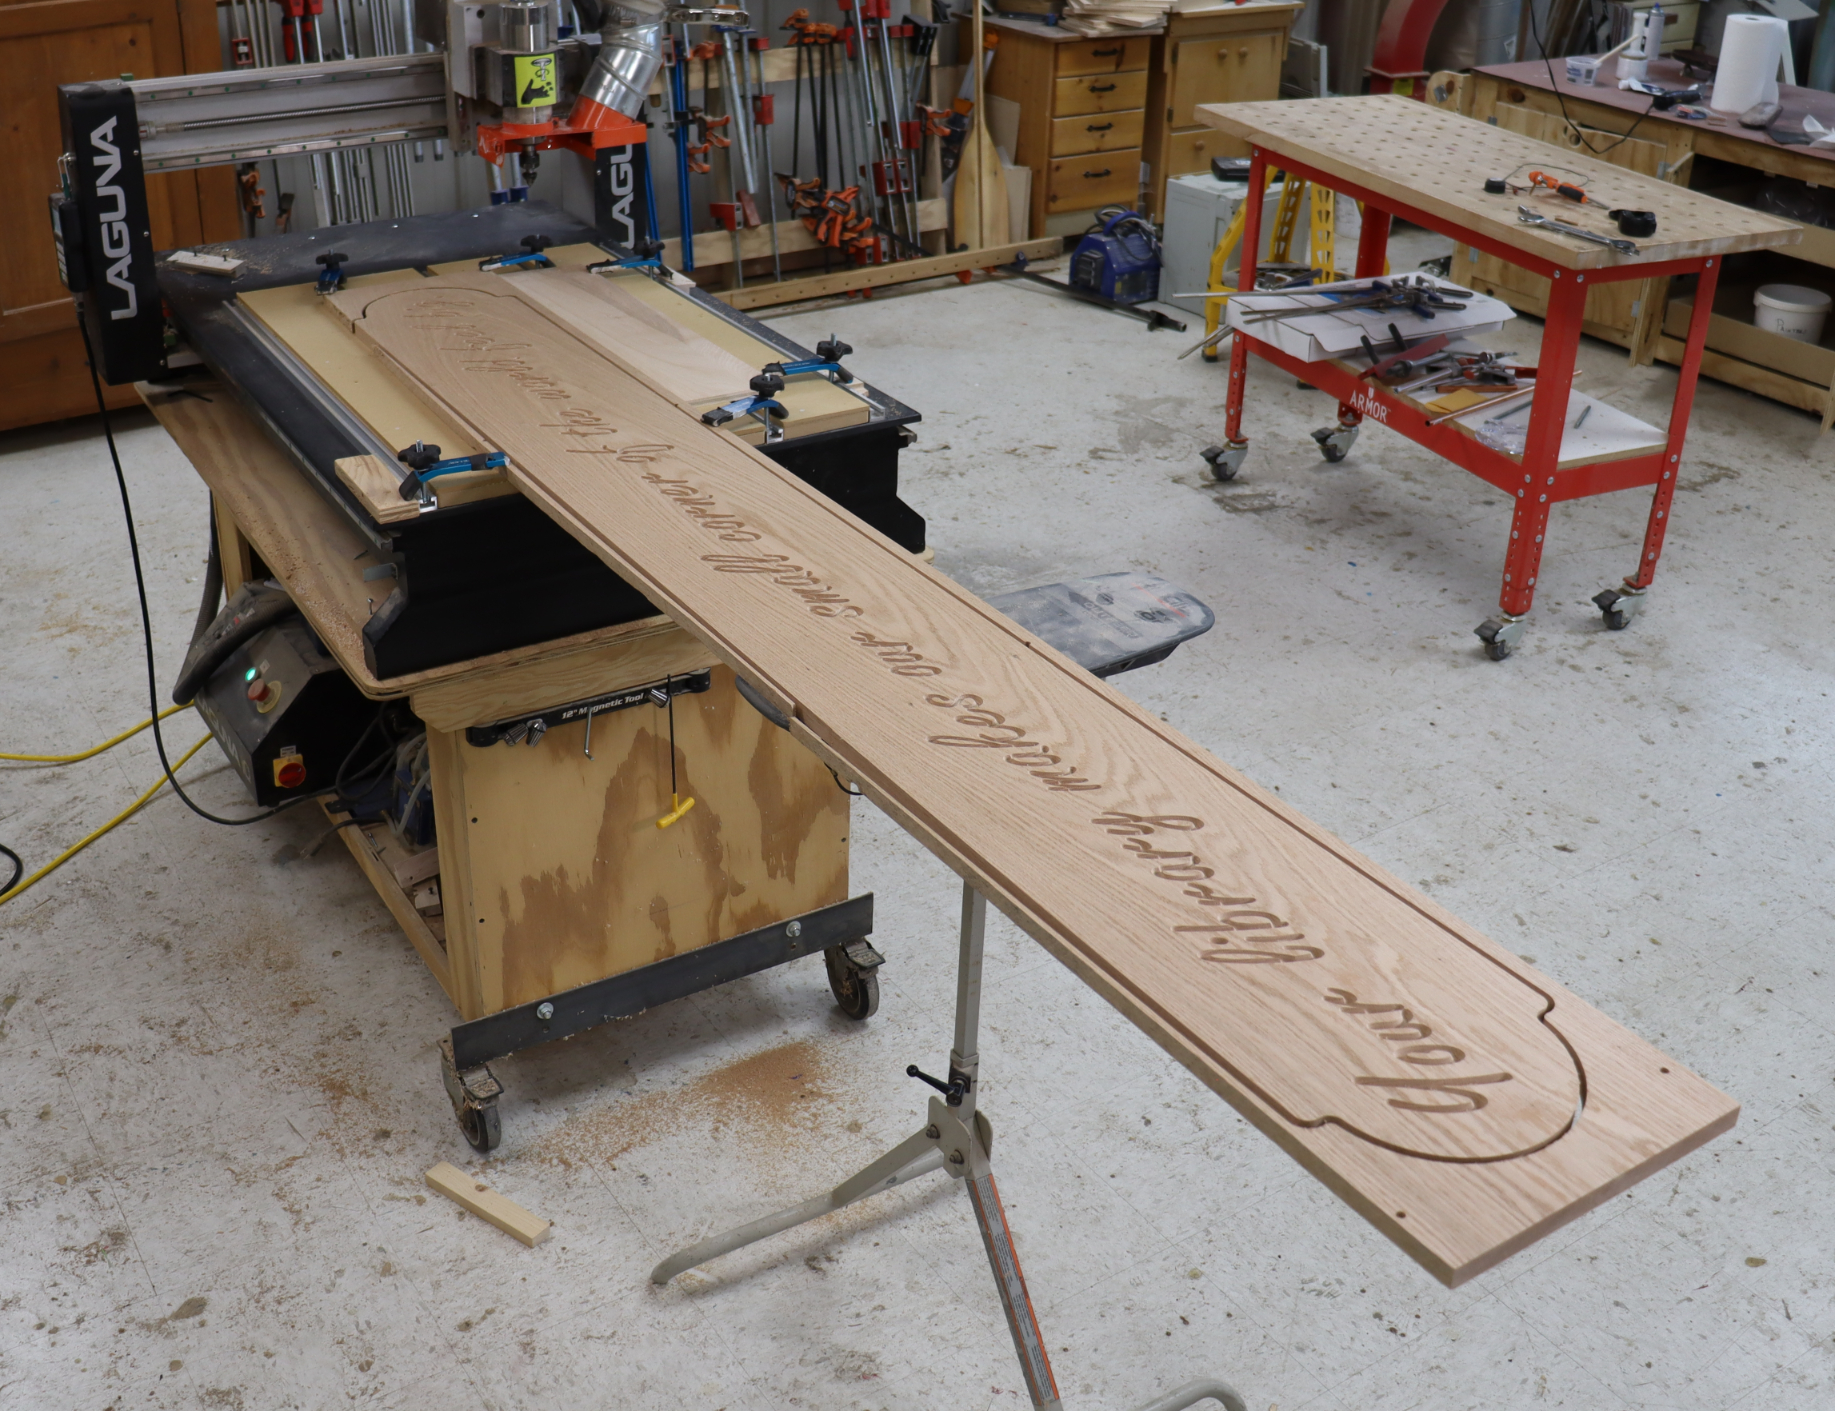
As long as you can effectively support the material you have infinite capacity in one direction on your CNC router.


