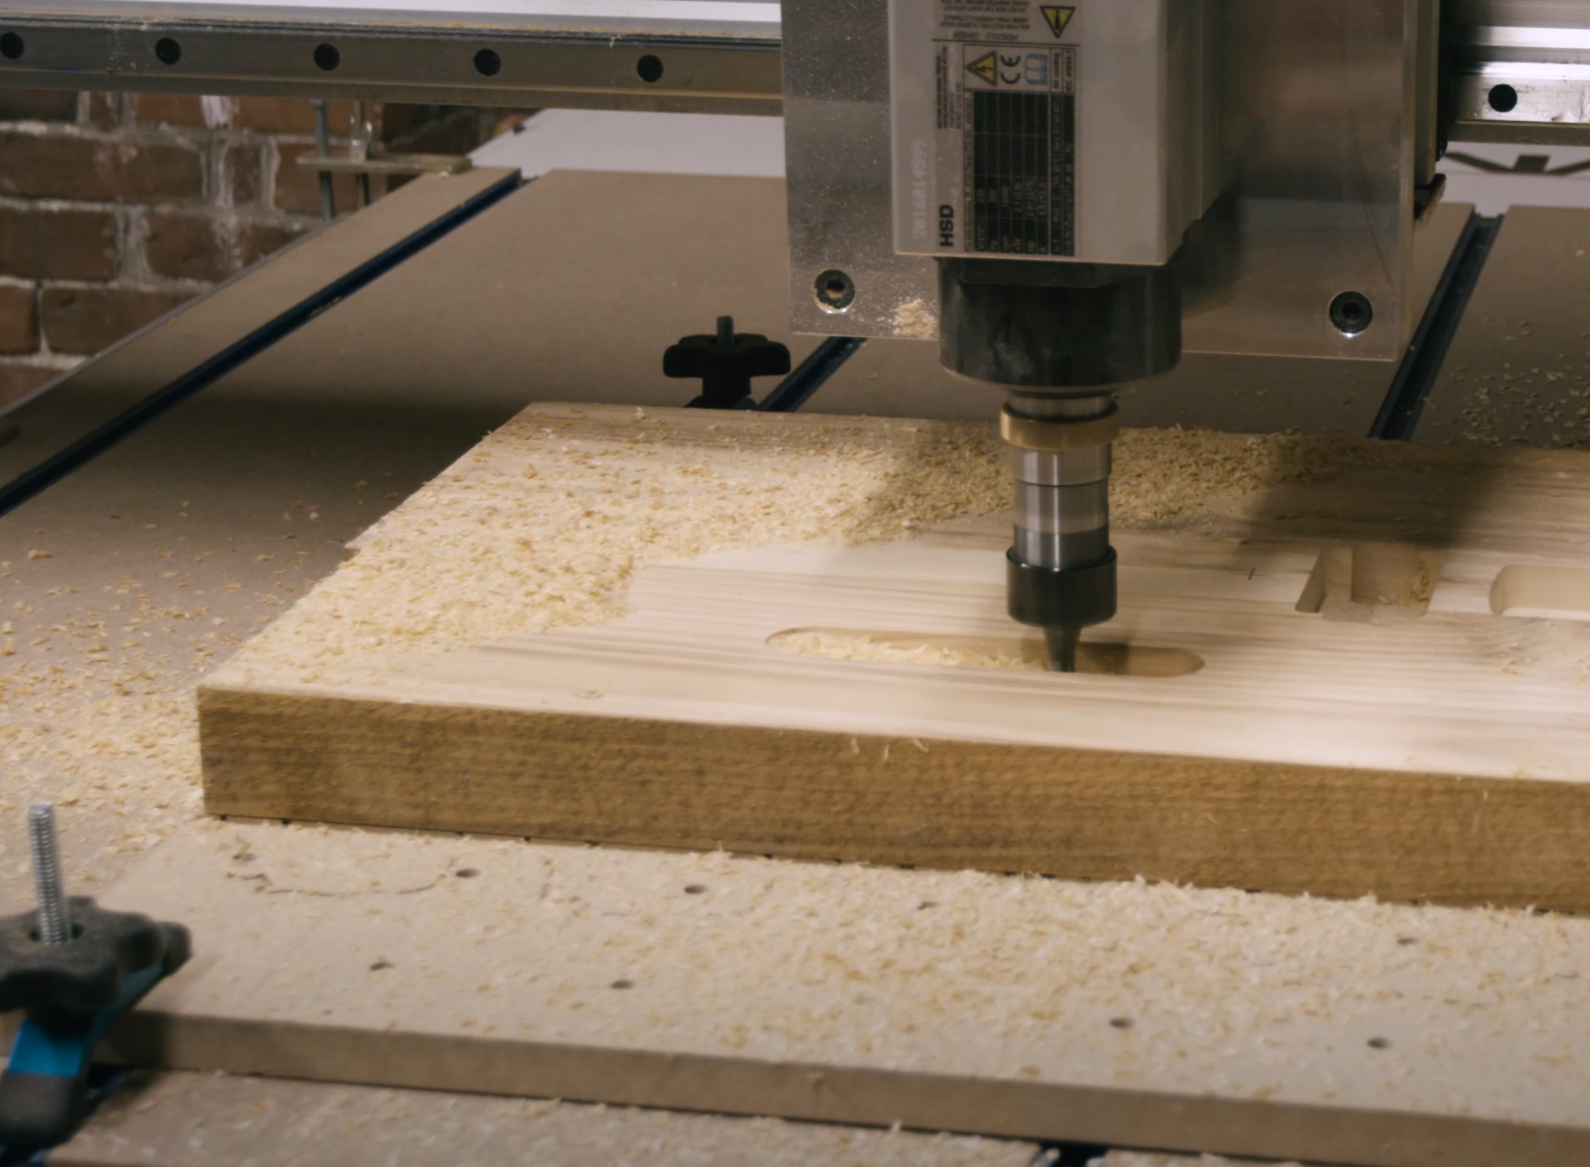
When you use a hand-held router for your woodworking you get constant feedback on what’s happening. When you “rout” with a CNC, the machine is doing all the work and you get zero tactile feedback. So it’s really important that the hold down methods you’re using on your CNC router are rock solid.
There are MANY ways to secure your work to a spoilboard. Here are six of my faves. This is geared toward CNC routers that don’t have vacuum bed systems.
Commercially Made Hold-downs

Commercially made hold-downs rely on T-track in your spoilboard. One of the primary features to look for here is what the hold-downs are made out of. Aluminum, please.
If you mis-direct a toolpath and your router bit runs into an aluminum hold down, you most likely won’t damage the router bit. Carbide typically wins over aluminum. I’ve been using Rockler’s aluminum hold downs for a long time. (This is an old pic. Mine are slightly more scarred than this now.) When you’re buying commercial hold downs for your machine, make sure the head of the bolt fits into the T-track in your spoilboard.

Thanks to the bolt that secures the hold-down to the T-track, this style of hold-down can be pretty tall. Make sure the router bit clears the bolt before running your toolpath.
Shop-made Clamps

It’s just possible that you have some hardwood scrap laying around in your shop. If you do, you can make wooden hold downs. These provide some advantages; they’re basically free, we know router bits can cut into wood (just in case you have an errant toolpath), these are very low profile and you don’t need T-track in your spoilboard.
Cut a rabbet into the end of a 1-1/4” wide, 4”-6” long piece. Close grained hardwood like maple, walnut or cherry works best. Make the depth of the rabbet slightly less than the thickness of the material you’re holding down. That way you’re sure to get tension on the workpiece. One screw per hold-down is sufficient. I like to use coarse thread pocket hold screws for this job.
Wedges

When you’re machining lots of pieces that are the same size, an anchor board and wedges are your friend. Make the anchor board using your CNC. Notice the overcut at the inside corner. Round router bits can’t cut a square inside corner, so making a fillet gives the corner of your project board a place to go. The wedges are cut at a 5-degree angle. MDF is a great choice for all of these parts.
Fasten the anchor board to your spoilboard (remember those coarse thread pocket screws). Make sure the edge of the anchor board is parallel to the axis of your CNC. Put a project piece into the recess on the anchor board, slide a wedge against it, position the locking batten and screw the batten to the spoilboard. Repeat the process for the second locking batten.
Hold your work in place by gently tapping the wedges with a mallet. This system provides lateral pressure, but doesn’t provide hold DOWN. You shouldn’t use upcut spiral bits with this method because they could lift your piece.
Screws

If you want to use screws to hold your work in place, start by locating them in your design. The four small circles (1/8”) shown at the corners of the drawing are for screws. Taking this step guarantees that you’ll keep the screws out of your toolpath. This design was done in VCarve Pro. Make the detents for the screws using a pocket toolpath and a V-bit with a 1/8” deep cut.

Secure your workpiece with masking tape. Yes, in this application, masking tape works fine.

Run only the toolpath for the screw locations. This is a plunge cut, with no lateral movement of the bit, so the masking tape works fine. Using the toolpath detents as a guide, drill for and drive the screws. Run the remaining toolpaths.
Double-faced Tape

For light-duty CNC routing you can use double-faced tape to secure your work. It has plenty of holding power for lettering or 3D carving, but shouldn’t be used for heavy material removal. Make sure the spoilboard and workpiece are both flat to provide the best opportunity for the tape to stick. The tape won’t want to stick if your parts are cold.
Don’t try to be frugal and reuse the tape for subsequent pieces. It’s not worth the risk. Use fresh tape each time. The spacing and size of tape pieces shown here works well. Double-faced tape has a surprising amount of grip. You may have to pry the project piece from the spoilboard, so this isn’t a good choice for delicate pieces.


