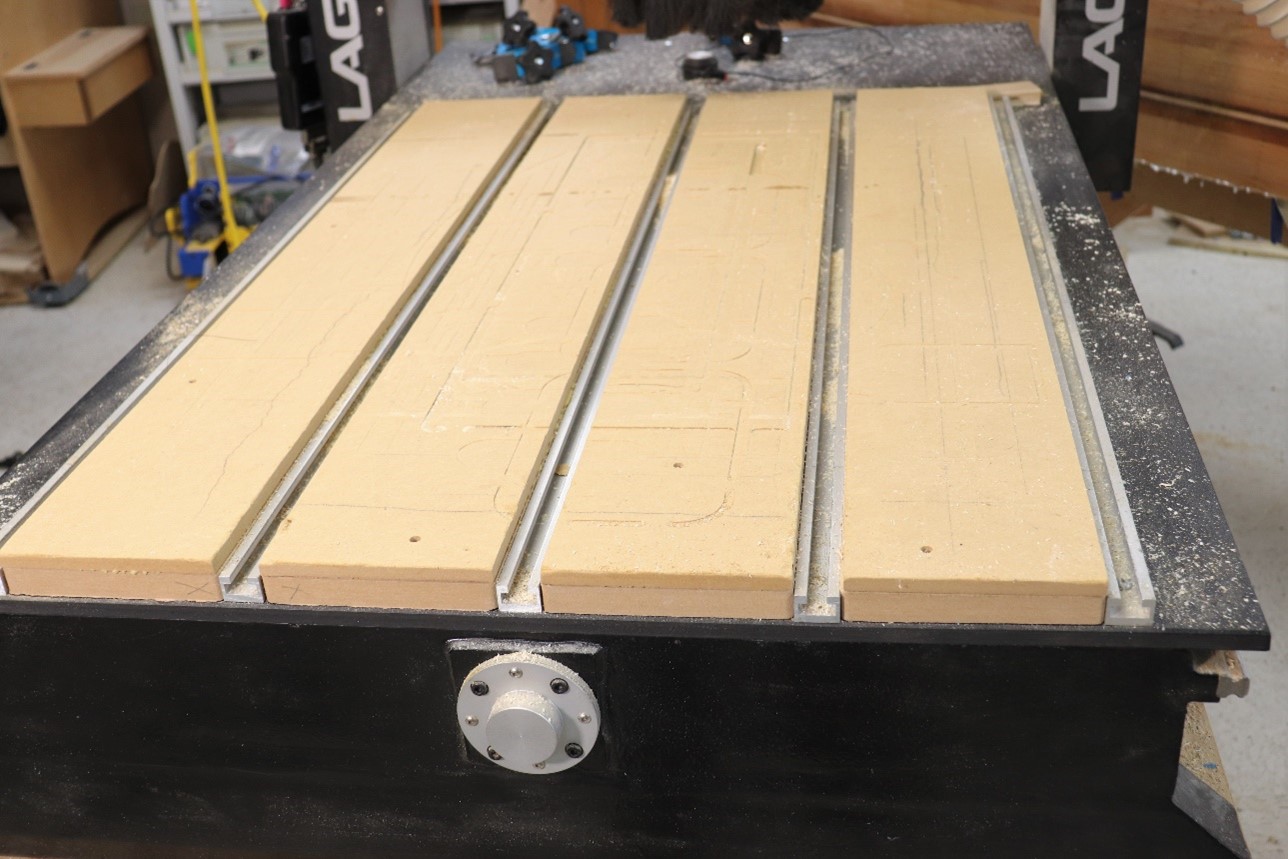
The spoilboard on your CNC router is a disposable commodity. Not in the sense that you’ll throw it out and get a new one, but in the sense that your toolpaths will cut into it and, over time, the surface of the spoilboard will be far from flat. When your spoilboard starts to look like the surface of the moon, or a small-scale version of that, it needs to be fly cut.
You should also fly cut the spoilboard on a brand new CNC machine. This guarantees that the surface of the spoilboard is perfectly parallel to the travel of the spindle.
What is fly cutting?
Fly cutting is the process of leveling the spoilboard to make it flat again. It can also refer to the work you would do to level a piece of stock like a large slab that still has sawmill marks in it.
When using your CNC you will, in all likelihood, periodically cut all the way through your pieces. Minimize the frequency of needing to fly cut the spoilboard by cutting as little as possible beyond the workpiece. Cutting .020” more than the material thickness is plenty. It’s important to know the exact thickness of your material to get this right, and you can’t beat digital calipers for getting that precise measurement.
The router bit

Nearly any flat bottom bit can be used for fly cutting, but a large diameter bit will allow the work to go faster because it requires fewer passes. That being said, a 3/4" straight bit, left, will provide the same results as a larger diameter cutter. But you’ll appreciate the way larger bits, 1-1/2” (middle), or 2” (right), get the work done more quickly. These bits can also be used to flatten slabs, cutting boards and other projects on your CNC.
Toolpathing
The design and toolpath work shown here is done in VCarve Pro.

In Job Setup use the size of your spoilboard as the Job Size. Don’t worry about the thickness. Set it to 3/4" or more.

Use the Draw Rectangle tool to create a rectangle that is 1” larger than the spoilboard, and centered on the spoilboard.

Select the rectangle you created and choose the Pocket Toolpath. Set Cut Depth to .020” and choose the cutter you’ll be using. Select Raster and Ramp Plunge Moves and click Calculate.

Select the toolpath and check what direction the fly cut is running. Running the toolpath parallel to the long dimension of the spoilboard is slightly faster than running it parallel to the short dimension.

Change the direction of the cut by changing the raster angle. Changing it from 0 to 90, or 90 to 0, changes the cut from the X direction to the Y direction, or vice versa.
Make the cut

Install the router bit. Zero it in the X, Y and Z axes and run the fly cut toolpath.

Admire your freshly cut spoilboard. If one pass didn’t go deep enough to clean and flatten the spoilboard simply Z zero the bit to the new surface and run the same toolpath again.


