You can easily produce custom plaques on your CNC router. This one will end up on a horse stall. I’m sure Sonny will appreciate it. :) VCarve Pro 10 has a variety of plaque shapes in its library. Here’s how to use them.

Create a new file with the dimensions of your project board. The board should be larger than the plaque you want to make, leaving room around the edges for hold-down clamps. Click OK.

Navigate to the Clipart tab and click on it.

Within the Clipart tab locate and click on 2D Vectors.

You’ll find a large number of shapes and outlines. They’re all vectors and can be brought directly into your design. In this case we’ll use one as the outline of the plaque, but you can also use these simply as clip art shapes within your design. For instance, you could cut the heart shape with a V-bit and put someone’s initials in it for Valentine’s Day.

Choose a shape you like, click and hold on the shape, and drag and drop it on your project board. Don’t get too hung up on the shape at this point. You can always change it if you don’t like it.

With the plaque outline selected (it’ll be magenta when it is) use Align Objects and the Center tool to center the outline on your project piece. This automatically perfectly centers it. Using the tool is much easier and more accurate than trying to center objects manually. The icon that’s circled in the picture centers the object vertically AND horizontally. The next icon over centers it only left to right. The third icon only centers it top to bottom. All are useful tools.

If the outline isn’t the correct size, select it, go to Transform Objects and click on Set Selected Objects Size.

This gives you the ability to manually set the size of the outline. If you leave Link XY checked, you can enter only one dimension and the other dimension will automatically change to maintain the original proportions of the object. If you want to change it in the X direction but not the Y, or change the proportions between the two, uncheck Link XY.
Add text

Select the outline and click on Draw Text-within a vector box.

Type your text and it will automatically fit within the outline.

Not happy with the look? Click on the outline, delete it, and drag and drop another shape into the workspace. Center and resize it as needed.

Repeat as necessary until you have the look you like. If you change the outline you may need to also resize and recenter the text.
Create the toolpaths

Select the outline and open the Profile Toolpath. Select the bit and establish the Cut Depth. Optimize the quality of the cut by checking Do Separate Last Pass. This does just what it sounds like. The initial toolpath will cut the object too large by the amount you set in Allowance, and will then do a final pass removing that small amount. .015” is a good last pass.

Select the text and use the V-Carve/Engraving Toolpath to define the letters.
Cut the plaque

Position the project board on your CNC and zero the X, Y and Z axes.

Run the text toolpath. An insert tooling 60-degree V-bit is being used on this project.

Swap bits for the profile toolpath. Rezero the Z axis.

Run the profile toolpath. A ¼” upcut spiral bit is being used for this cut.

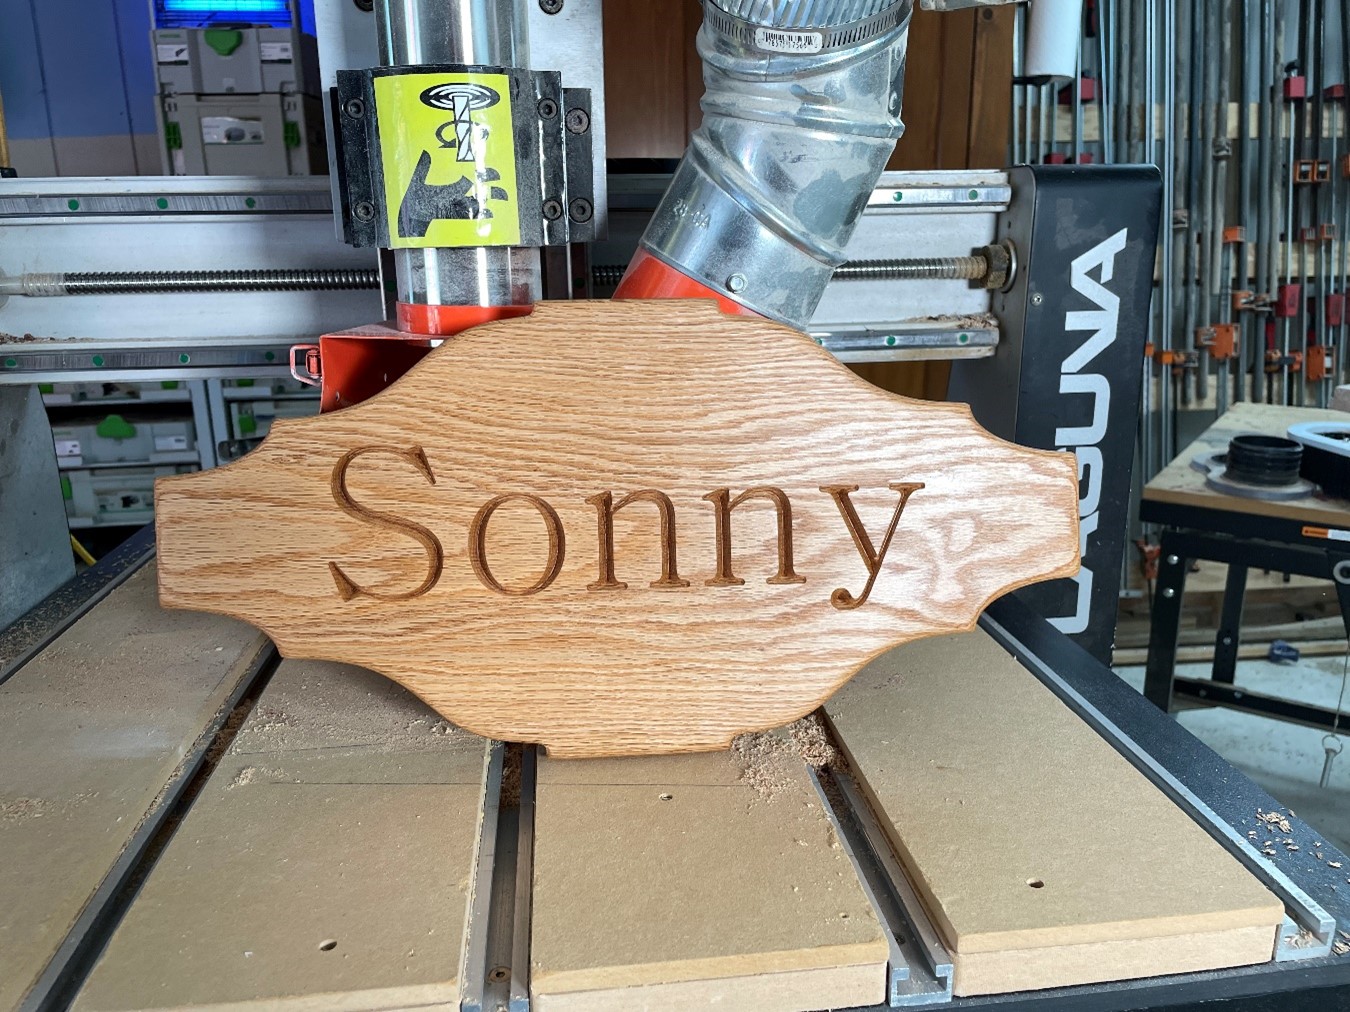
Apply finish, and your plaque is ready to display.


