If you’ve ever used a hand-held router or router table you’re probably familiar with roundover bits. They’re great for easing the edges on your projects and removing sharp corners.
As useful as these bits are, the roundover bits you’d use in a hand-held router or router table aren’t helpful for CNC work. We don’t need ball bearing router bits on a CNC router. In fact, the ball bearing would get in the way.
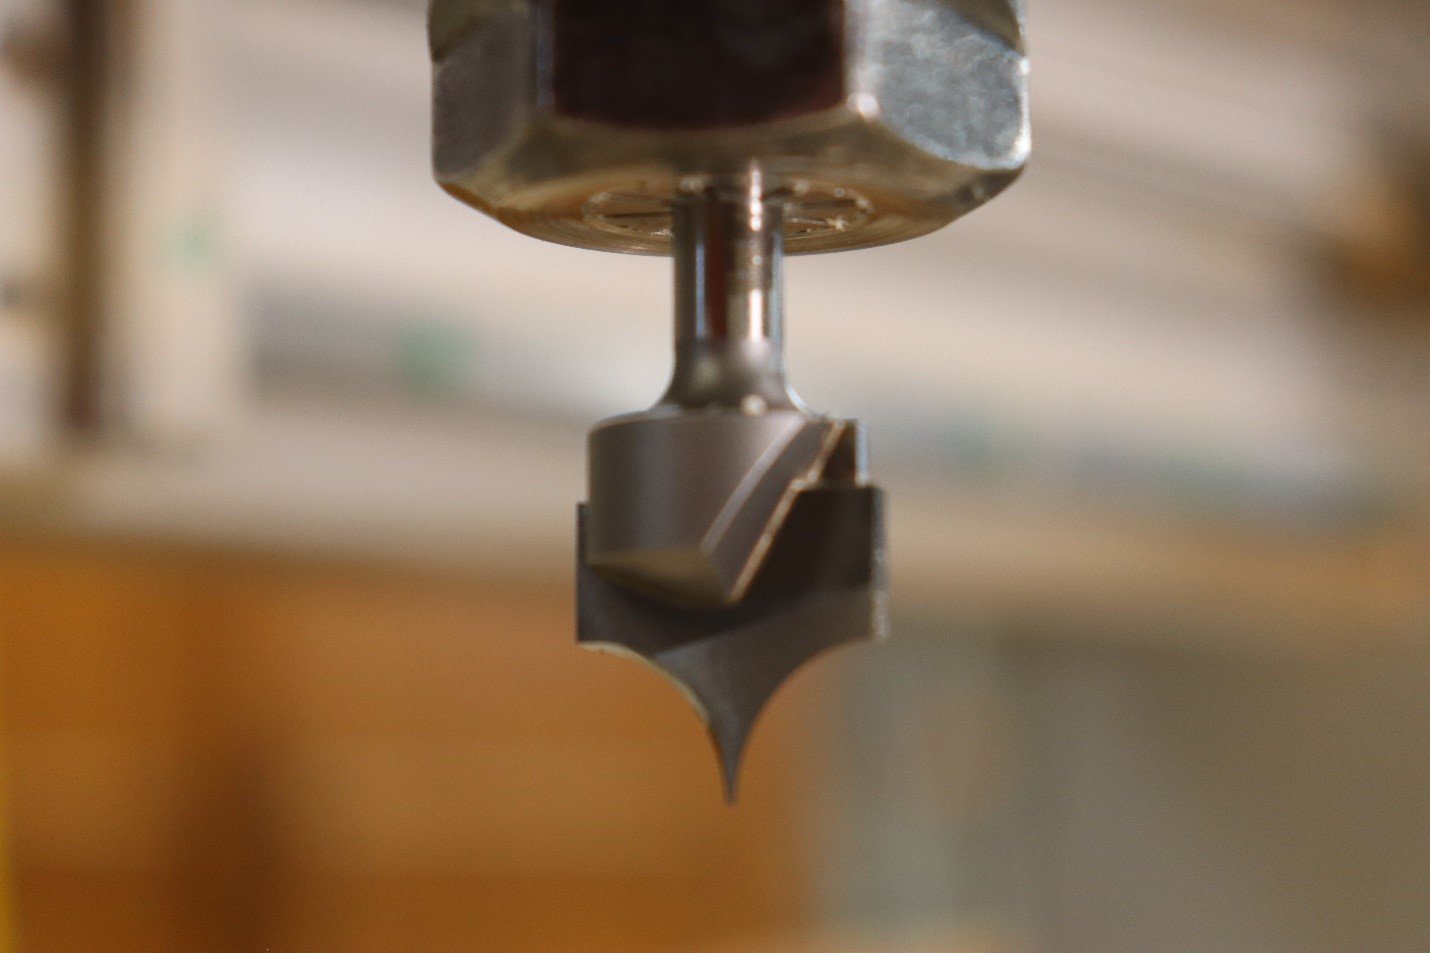
On a CNC router we produce a rounded corner by using a point roundover bit. A 3/8” radius bit is pictured here. The bits are available in a variety of sizes. If you don’t already have a point roundover bit in your VCarve Pro tool database, check out the blog that shows you how to import this bit into your software.

For this article we’ll use the bit to create three dimensional letters. You can, of course, also use the bit to round over corners on anything you’re cutting on your CNC router.

Create your design. Experiment with different fonts to get the look you want, and choose the roundover bit that works best with the size of lettering you want to create.
For instance, the 3/8” roundover we’re using in this article works best on larger letters; ½” or more wide. Use a small radius bit, a ¼” radius point roundover or 3/16” point roundover, for smaller letters.
Toolpathing

Select the letters and open the 2D Profile Toolpath. Select an endmill bit to cut the outside shape of the letters. We’ve selected a ¼” endmill for this project. Set Cut Depth to .020” less than the thickness of the material.
This is called onion skinning. It leaves a paper-thin layer at the bottom of the cut, holding the letters in place.

Choose to cut Outside/Right and select Do Separate Last Pass. Use .015” as the allowance for the last pass.
This tells the CNC to cut the outside shape of the letters and then do a very light final pass. The light final pass optimizes the surface finish, so you won’t have to do as much sanding later.

Use Preview Toolpaths to check your work.

Create the roundover by selecting the text and, again, using the 2D Profile Toolpath.

Choose the point roundover bit from the Tool Database. Set the Cut Depth, which will typically be the same as the radius of the bit. Experiment with different depths of cut to see how that changes the roundover effect.
Under Machine Vectors choose to cut On. This centers the bit on the lines that define the text.

Use Preview Toolpaths to check your work.

Install the point roundover bit in your CNC router. Secure your work to the bed of the CNC, zero the X and Y axes. Zero the bit in the Z axis.

Run the point roundover toolpath. It’s best to do the roundover cut before the profile toolpath that cuts the outside shape of the letters. That way the letters are still well supported, which reduces chatter.
If you do the onion skinning toolpath first, the letters might wiggle a little as you’re doing the roundover pass. This will leave chatter marks you’ll have to sand out.

When the roundover toolpath is complete, switch to the endmill and cut the outside shape of the letters. After the endmill toolpath is complete use a utility knife to cut through the remaining onion skin and release the letters.

Sand the letters to ease all the surfaces together. You can glue the letters to another board to create a raised letter sign, fasten rare earth magnets to the back so they’ll stick to a fridge, or…. Be creative!
Simple Roundovers
Add a simple roundover to any shape you create by following a procedure similar to what we used on the letters.

Create and select the shape. Use the 2D Profile Toolpath and select the point roundover bit. Set the Cut Depth. Double check in Machine Vectors that you’re setting the toolpath to cut On the line. Click Calculate.

Use Preview Toolpaths to make sure you’re getting the desired result. Remember that point roundover bits are available in a variety of sizes, and you can match the radius of the bit to the project you’re working on.


