There is a version of CNC wood carving that shows up in every beginner forum: simple v-carved signs and shallow pocket cuts. Real 3D wood carving is a different discipline. Relief panels with depth and shadow, flowing sculptural forms, intricate decorative work that would take a hand carver days, these require the right machine, the right software, and an understanding of how toolpaths translate a digital model into a physical object. This guide covers all of it, from choosing a machine to finishing the carved piece.
What Is CNC Wood Carving?
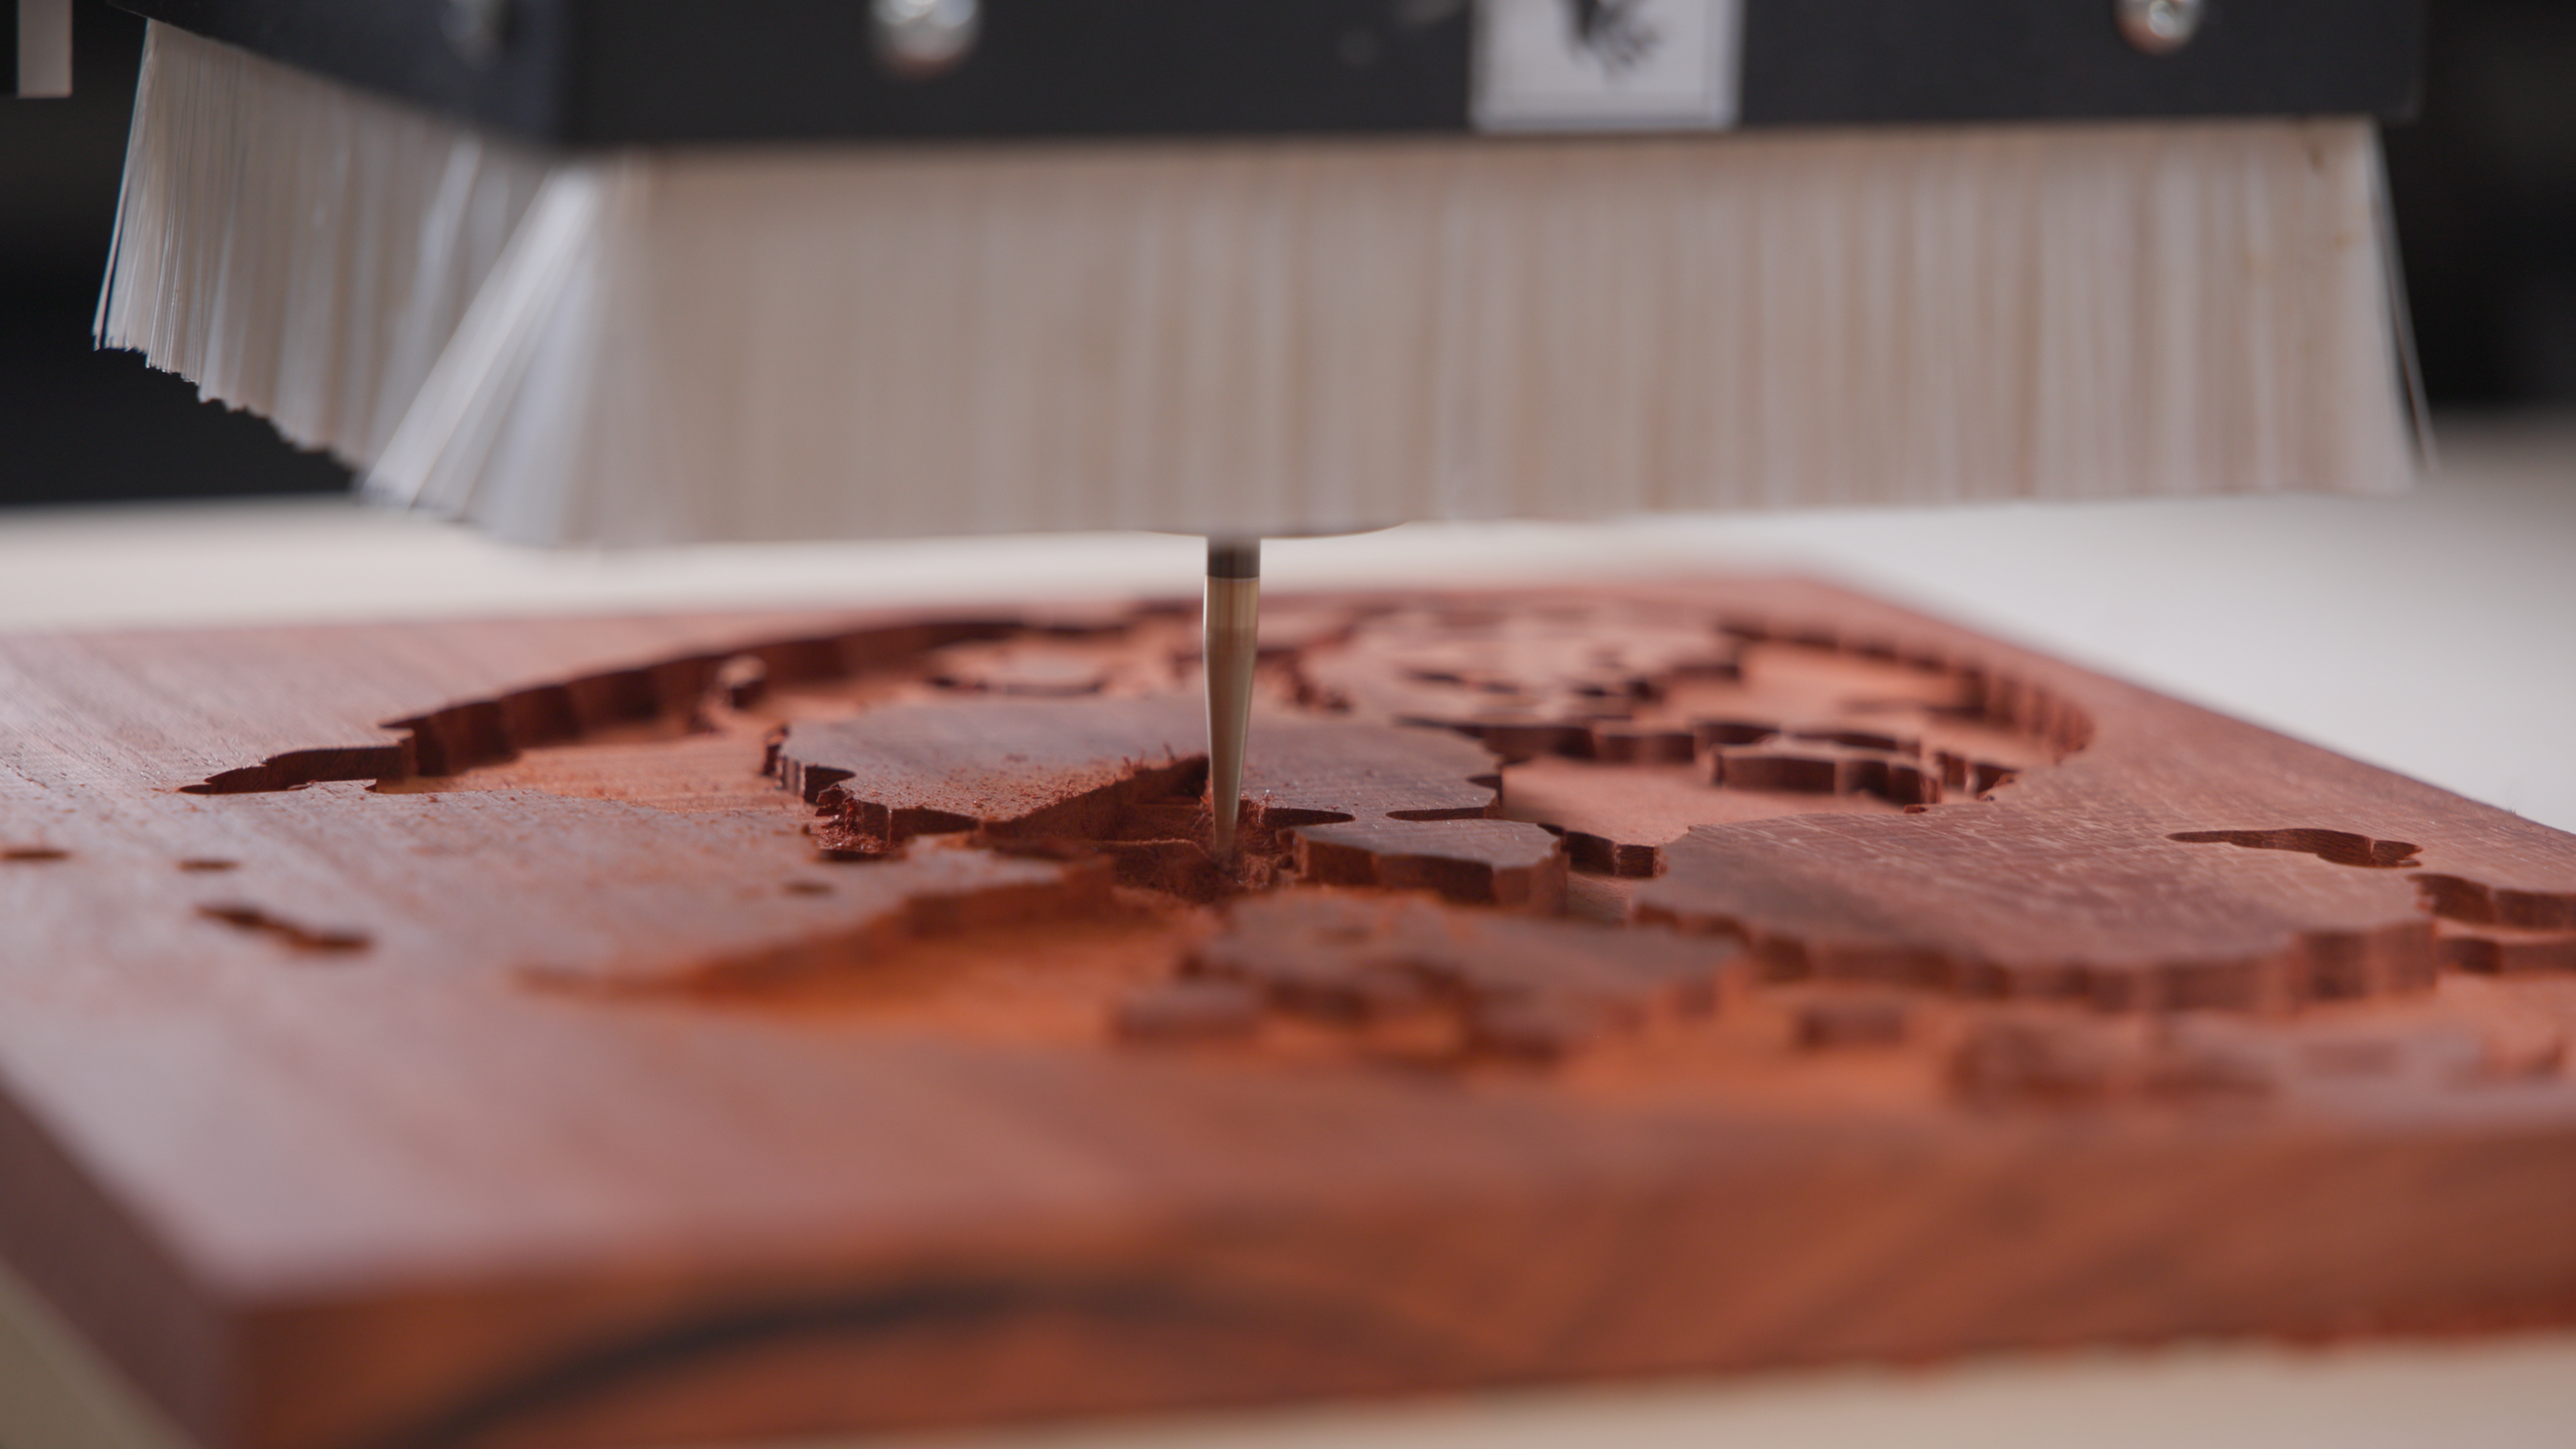
CNC wood carving is the process of using a computer-controlled router to remove material from a wood workpiece according to a programmed 3D design. The machine moves a spinning cutter along X, Y, and Z axes simultaneously, cutting away material in passes to reveal the form encoded in the toolpath. Results range from shallow engraved logos to fully three-dimensional relief sculptures, depending on the design, machine, and tooling.
What separates CNC carving from basic routing is the Z-axis depth variation that creates dimension, shadow, and texture. A 2D profile cut moves the tool in X and Y. A 3D carving moves all three axes together, following the contours of a surface model pass by pass until the form emerges from the wood.
What Can a CNC Wood Carving Machine Do?
The range of applications spans from one-of-a-kind custom pieces to high-volume production runs.
Custom 3D Wood Carvings
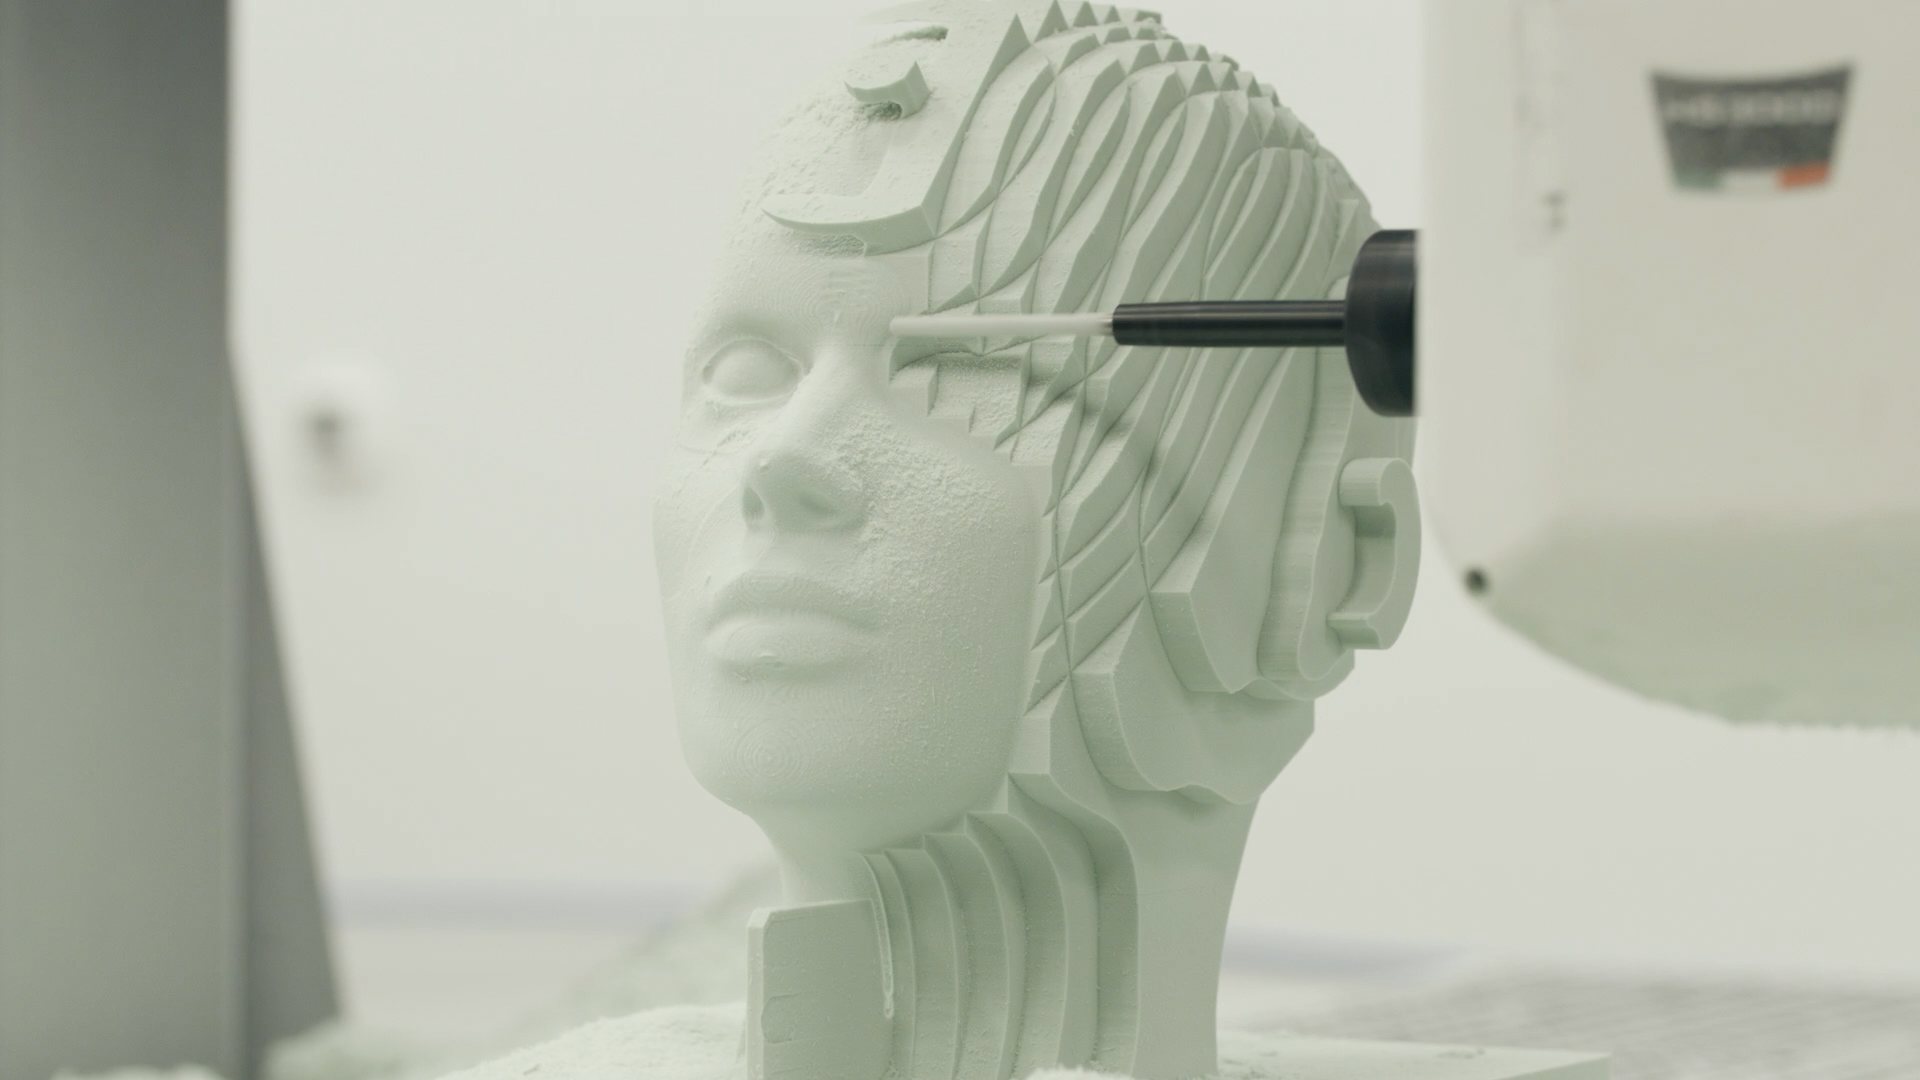
Sculptural relief panels, decorative architectural elements, custom furniture components, and detailed figurative work are all achievable. The machine excels at geometry that would be extraordinarily time-consuming to produce by hand: flowing organic forms, consistent repeat patterns, compound curves that require precise tool path control.
Repeatable Production Carving
Once a 3D carving file is set up and the process is dialed in, the machine runs the same design identically every time. A design that takes a skilled carver a full day manually can run on a CNC in a fraction of the time, and the fiftieth piece is identical to the first. For shops producing decorative products or architectural millwork at volume, that repeatability is the core value proposition.
Carving, Engraving, and Cutting
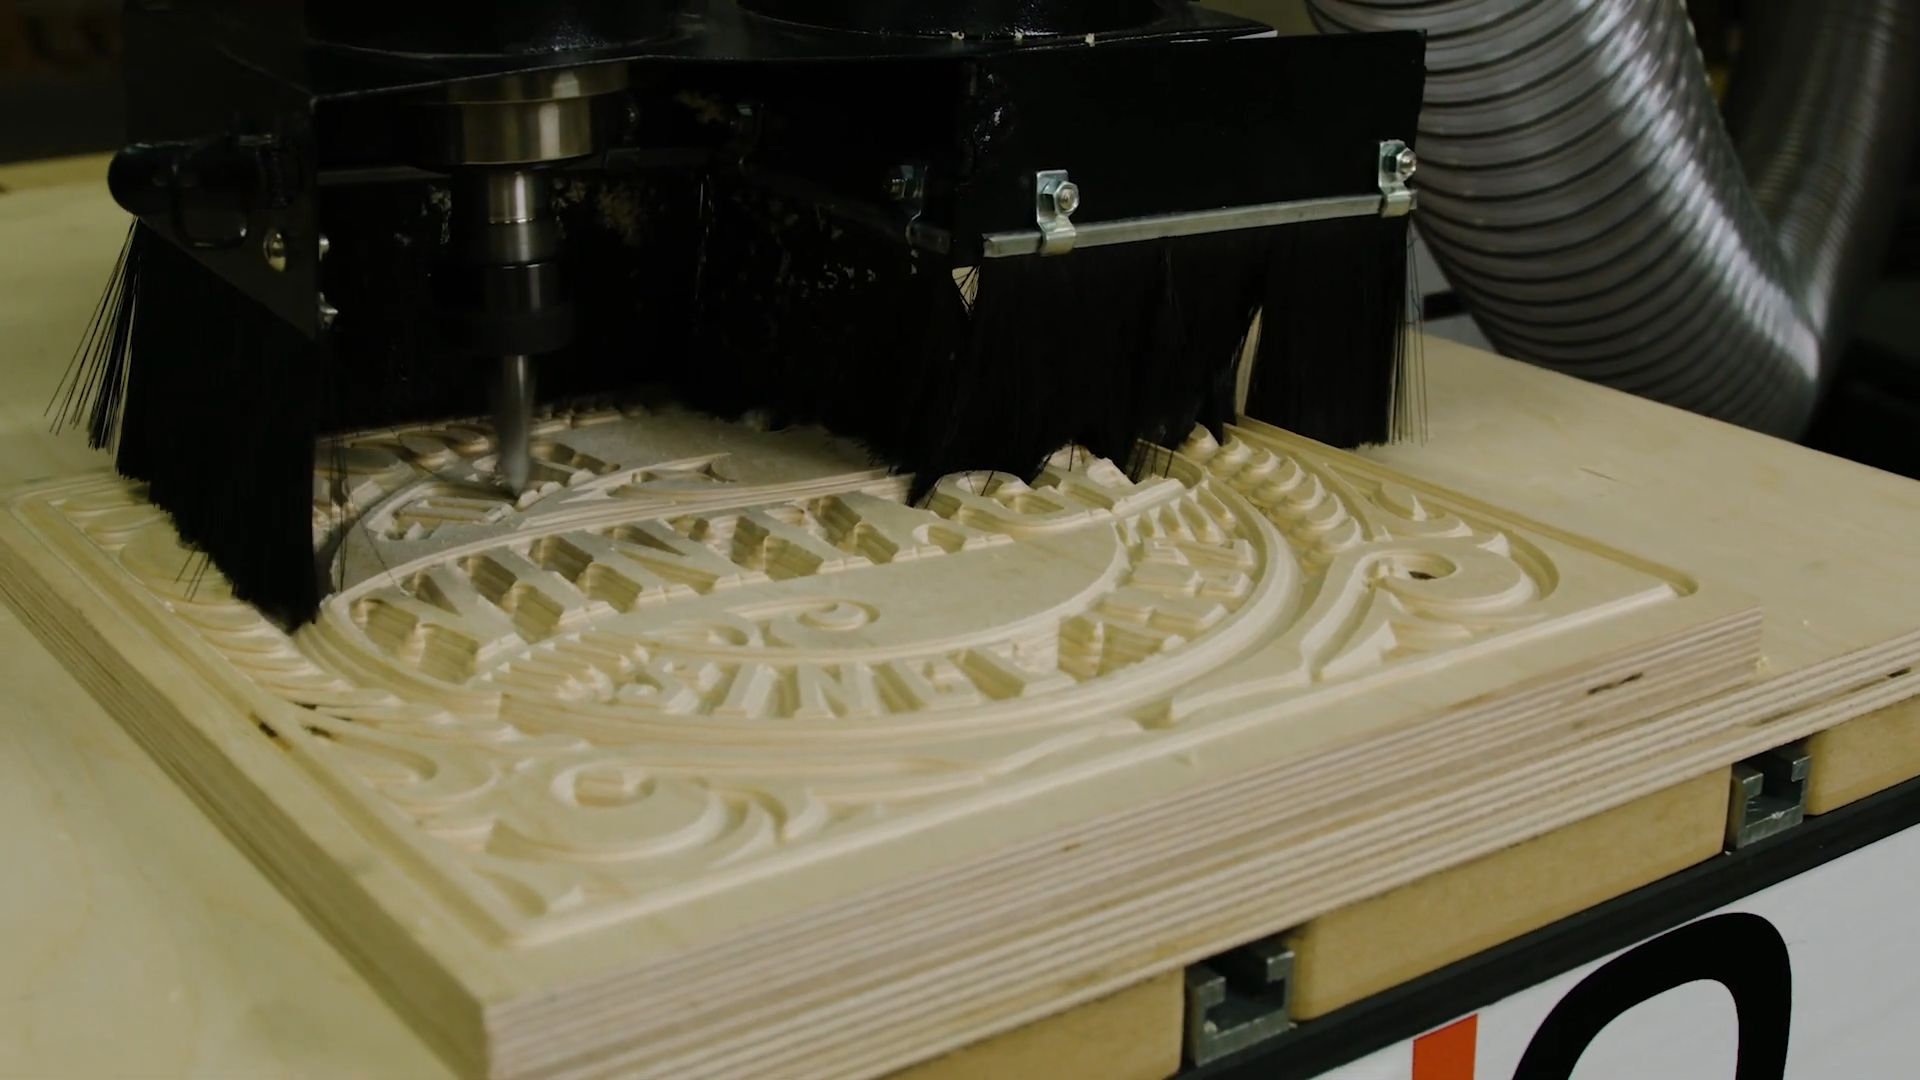
A CNC carving machine handles more than pure 3D relief work. V-carving for lettering, profile cutting for shaping and cutouts, engraving for surface detail, and full 3D contour carving can all run on the same machine, often in the same job.
Choosing a CNC Machine for Wood Carving
The machine sets the ceiling on what you can produce. For 3D carving specifically, rigidity, spindle quality, and Z-axis travel matter more than they do for simple 2D routing.
Hobbyist vs. Professional CNC Machines
Entry-level machines can produce 3D carving work, and many operators start there to build skills before committing to a larger investment. The limitations show up in surface finish quality, maximum part size, and detail resolution in fine features. Professional machines offer more rigid frames, higher-quality spindles, better motion control, and more consistent results on demanding 3D work. For shops whose business depends on carving output quality, the step up pays for itself in fewer rejects and the ability to take on more complex, higher-margin work.
Machine Size and Work Area
Work area determines the maximum carving size in a single setup. A 4x4 or 4x8 bed covers most production carving applications and accommodates furniture components and large decorative panels without repositioning. Consider not just the largest piece you currently carve but what you are likely to want to carve in the next few years.
Features for Precision Carving
Z-axis resolution and repeatability are critical for 3D carving because depth variation creates the dimensionality in the finished piece. Poor Z-axis control produces stepped or faceted surfaces rather than smooth, continuous forms. Ball screw drives, linear guide systems, and a rigid spindle mount all contribute to surface quality. Spindle power matters too: finish passes in 3D carving use small diameter ball nose end mills, and an underpowered spindle deflects under the lateral forces those tools generate in hardwood.
Accessories for CNC Wood Carving
Dust collection connected directly to the spindle is essential: the tool is often inside a pocket or relief and chips need to be actively evacuated to prevent re-cutting. A vacuum table or solid workholding setup is equally important since any movement in the workpiece during a 3D run shows up as a registration error in the finished surface.
How to Create a CNC 3D Wood Carving
The process from idea to finished carving runs through a consistent set of steps. Understanding where the decisions that affect quality get made is what separates operators who produce great work from those who are always troubleshooting.

Create or Select a 3D Design
3D carving starts with a 3D model, either created from scratch in design software, sourced from a file library, or converted from an image using relief generation tools. The quality of the source model sets the ceiling on the carving. A poorly modeled file with faceted geometry will produce a carving that reflects those limitations regardless of how well everything else is executed.
Prepare the Carve-Ready File
A 3D model needs to be oriented, scaled, and prepared for the specific blank before it goes into CAM software. This includes confirming dimensions against actual stock size and checking that the design geometry is clean. Models sourced from online libraries occasionally have surface errors that cause problems when the CAM software tries to generate toolpaths. Catching those issues at this stage is much faster than discovering them mid-job.
Choose and Prepare the Wood
Blank preparation matters more for 3D carving than for flat 2D routing. The blank needs to be flat and true, because any bow or warp causes carving depth to vary in ways the toolpath cannot compensate for. Face-jointing and thicknessing before the machine is standard practice. Tight-grained hardwoods like cherry, walnut, and maple hold fine detail better than open-grained or soft-fibered species.
Generate the Toolpaths
A typical 3D carving job uses at least two toolpaths: a roughing pass with a larger end mill to remove bulk material quickly, followed by a finish pass with a small ball nose end mill for final surface quality. The stepover on the finish pass determines surface resolution and cycle time. Tighter stepover produces smoother surfaces with finer detail but takes longer to run. The right balance depends on the design, material, and finish requirement.
Set Up and Run the Carving
Setup includes securing the blank, zeroing the tool to the workpiece, and confirming the toolpath simulation matched the actual machine setup before cutting starts. Air cutting the job at full speed before the first real run catches setup errors without ruining stock.
CNC Software for 3D Wood Carving
Design Software
Vectric Aspire is widely used in the wood carving community for its combination of relief design tools, artwork import capabilities, and direct integration with CAM toolpath generation. For more complex organic sculptural forms, software like ZBrush or Blender produces high-resolution meshes that export to CAM for toolpath generation. The right choice depends on the work: architectural and geometric carving fits well in Aspire; complex figurative work benefits from dedicated 3D modeling tools.
CAM and Toolpath Software
CAM software takes the 3D model and generates the toolpaths the machine follows. Vectric Aspire, VCarve Pro, and Fusion 360 are all commonly used for wood carving CAM work. Settings like stepover, cut direction, and tool engagement parameters have a significant effect on both surface quality and cycle time.
Beginner vs. Professional Software
Entry-level software like Easel or Carbide Create works well for simple 2D and shallow 3D work. For serious 3D carving, software with full 3D toolpath capability is necessary. VCarve Pro covers most production carving applications. Aspire adds more advanced relief design tools. The learning curve is real on all of these, and time invested in the software is as important as time invested in the machine.
Finishing CNC Wood Carvings
Sanding the Carved Surface
CNC carving surfaces have toolpath marks from the ball nose finish pass. In some designs these are acceptable; in others they need to be removed. Hand sanding with a soft backing block conforms to the carved surface and removes toolpath marks without flattening relief detail. The tighter the stepover on the carving pass, the less sanding is required.
Applying Stains and Finishes
Carved surfaces have exposed end grain that absorbs finish at a different rate than flat surfaces. Always test the finish on scrap from the same blank before applying to the finished piece. Oil finishes like tung oil and Danish oil work well on carved surfaces because they penetrate rather than build on top, preserving the sharpness of carved detail. Film finishes can obscure fine detail if applied too thickly.
Combining Finishing Techniques
Painting the carved surface with a base color and then sanding back the high points to reveal natural wood beneath creates a two-tone effect that emphasizes depth and dimensionality. Gilding, antiquing, and tinted wax finishes all work particularly well on relief carvings because the geometry of the carved surface distributes finish in ways that enhance rather than flatten the visual effect.
Benefits of CNC Wood Carving
Create Detailed and Complex Designs
Geometry that would take a skilled hand carver days is achievable on a CNC in a fraction of the time. The machine does not tire, does not lose precision over a long run, and does not introduce the minor variations that accumulate in hand work over hours.
Save Time on Repetitive Work
Once a file is set up, running additional copies is a matter of loading a new blank and starting the job. The design and setup time amortizes across the production run, which makes CNC carving economically attractive for any design made more than a few times.
Produce Consistent Results
Every piece off a calibrated machine with consistent blanks will match. For production work, that consistency is the difference between a product line and a collection of one-offs.
Scale From Custom Work to Production
The same machine, file, and process that produces a one-of-a-kind custom piece can be turned toward a production run without any fundamental change in approach. That flexibility is valuable for shops whose work spans both categories.
Challenges and Limitations of CNC Wood Carving
Cycle times on complex 3D work can be long, particularly for large pieces with tight finish pass stepovers. Software learning curves are steep, and getting consistent quality requires real time investment in understanding both the CAM tools and the machine's behavior. The machine cannot fully replicate the judgment an experienced hand carver brings to difficult grain or unexpected material behavior mid-job. Wood movement after carving is also a consideration: stock that was not properly conditioned before machining may shift enough to affect pieces intended for tight joinery or precise fit applications.
Is a CNC Wood Carving Machine Worth the Investment?
For shops doing any volume of decorative carving, the answer is almost certainly yes. The machine pays for itself through time savings on work that would otherwise require skilled hand labor at higher cost per piece. For individual makers, the calculus depends on the type of work and the value placed on the creative process. If the work you want to do requires it, the investment makes sense. Laguna Tools builds CNC routers designed for serious carving work, from custom pieces to production runs. Contact our team to discuss which configuration fits your application.
CNC Wood Carving FAQs
What Materials Can a CNC Machine Carve?
Wood is most common, but CNC carving machines also work on foam, soft stone, composites, and some plastics. Within wood, tight-grained stable hardwoods like cherry, walnut, and maple produce the best detail retention in 3D work.
Do You Need a Professional CNC Machine?
Not to start. Many operators begin on a hobbyist machine to develop their process and step up when the work demands it. The limitations of entry-level machines show up quickly in surface finish quality, job size, and fine detail resolution.
Can You Use Free CNC Design Software?
Free and low-cost options exist and work for basic 3D carving. For production carving work, paid software like VCarve Pro or Aspire provides significantly more capability. The software cost is a small fraction of the total machine investment and worth taking seriously.
How Can You Reduce Sanding After Carving?
Tighter stepover on the finish pass reduces toolpath marks. Sharper tooling and appropriate feed rates produce cleaner surfaces that need less remediation. For designs where toolpath texture is acceptable, a penetrating finish that works with the surface rather than against it can eliminate the sanding requirement entirely.