Most of the laser jobs that I work on are either done on wood or on plastic. I would also say that these are the two most common choices of materials for laser engraving and for laser cutting. Although these materials are common, there are a lot of differences between the different types of wood and plastic. In the below blog I will be touching on some different options for wood and what to look for when choosing your material.

When engraving on wood products, you always want to look first at what your customer is going to be using the product for. As stated in my previous post about wood sign engraving, my customer was leaving the product outside all year. This created a need for a wood that has the ability to stand up to harsh weather and sunlight. Although this does not have to do with actually engraving the product, it is important to figure out if you need solid wood right away, as the laser may not have the ability to cut all the way through the material.
In the case of the solid wood sign, the customer only requested that it be a square sign, which could easily be made. If they were to ask for something more uniquely shaped, it could involve using other machines like bandsaws and scroll saws for the shape, and then disc and spindle sanders for cleaning up the edges. Not to say that it is impossible, but it is important to note in case your shop is not set up for that type of work, and that you are charging accordingly for how long it takes. Not being able to cut all the way through the material also hinges on what the species of wood you are using. For this sign, the customer needed cedar, and over an inch thick. I knew right away that my laser could not cut through this.

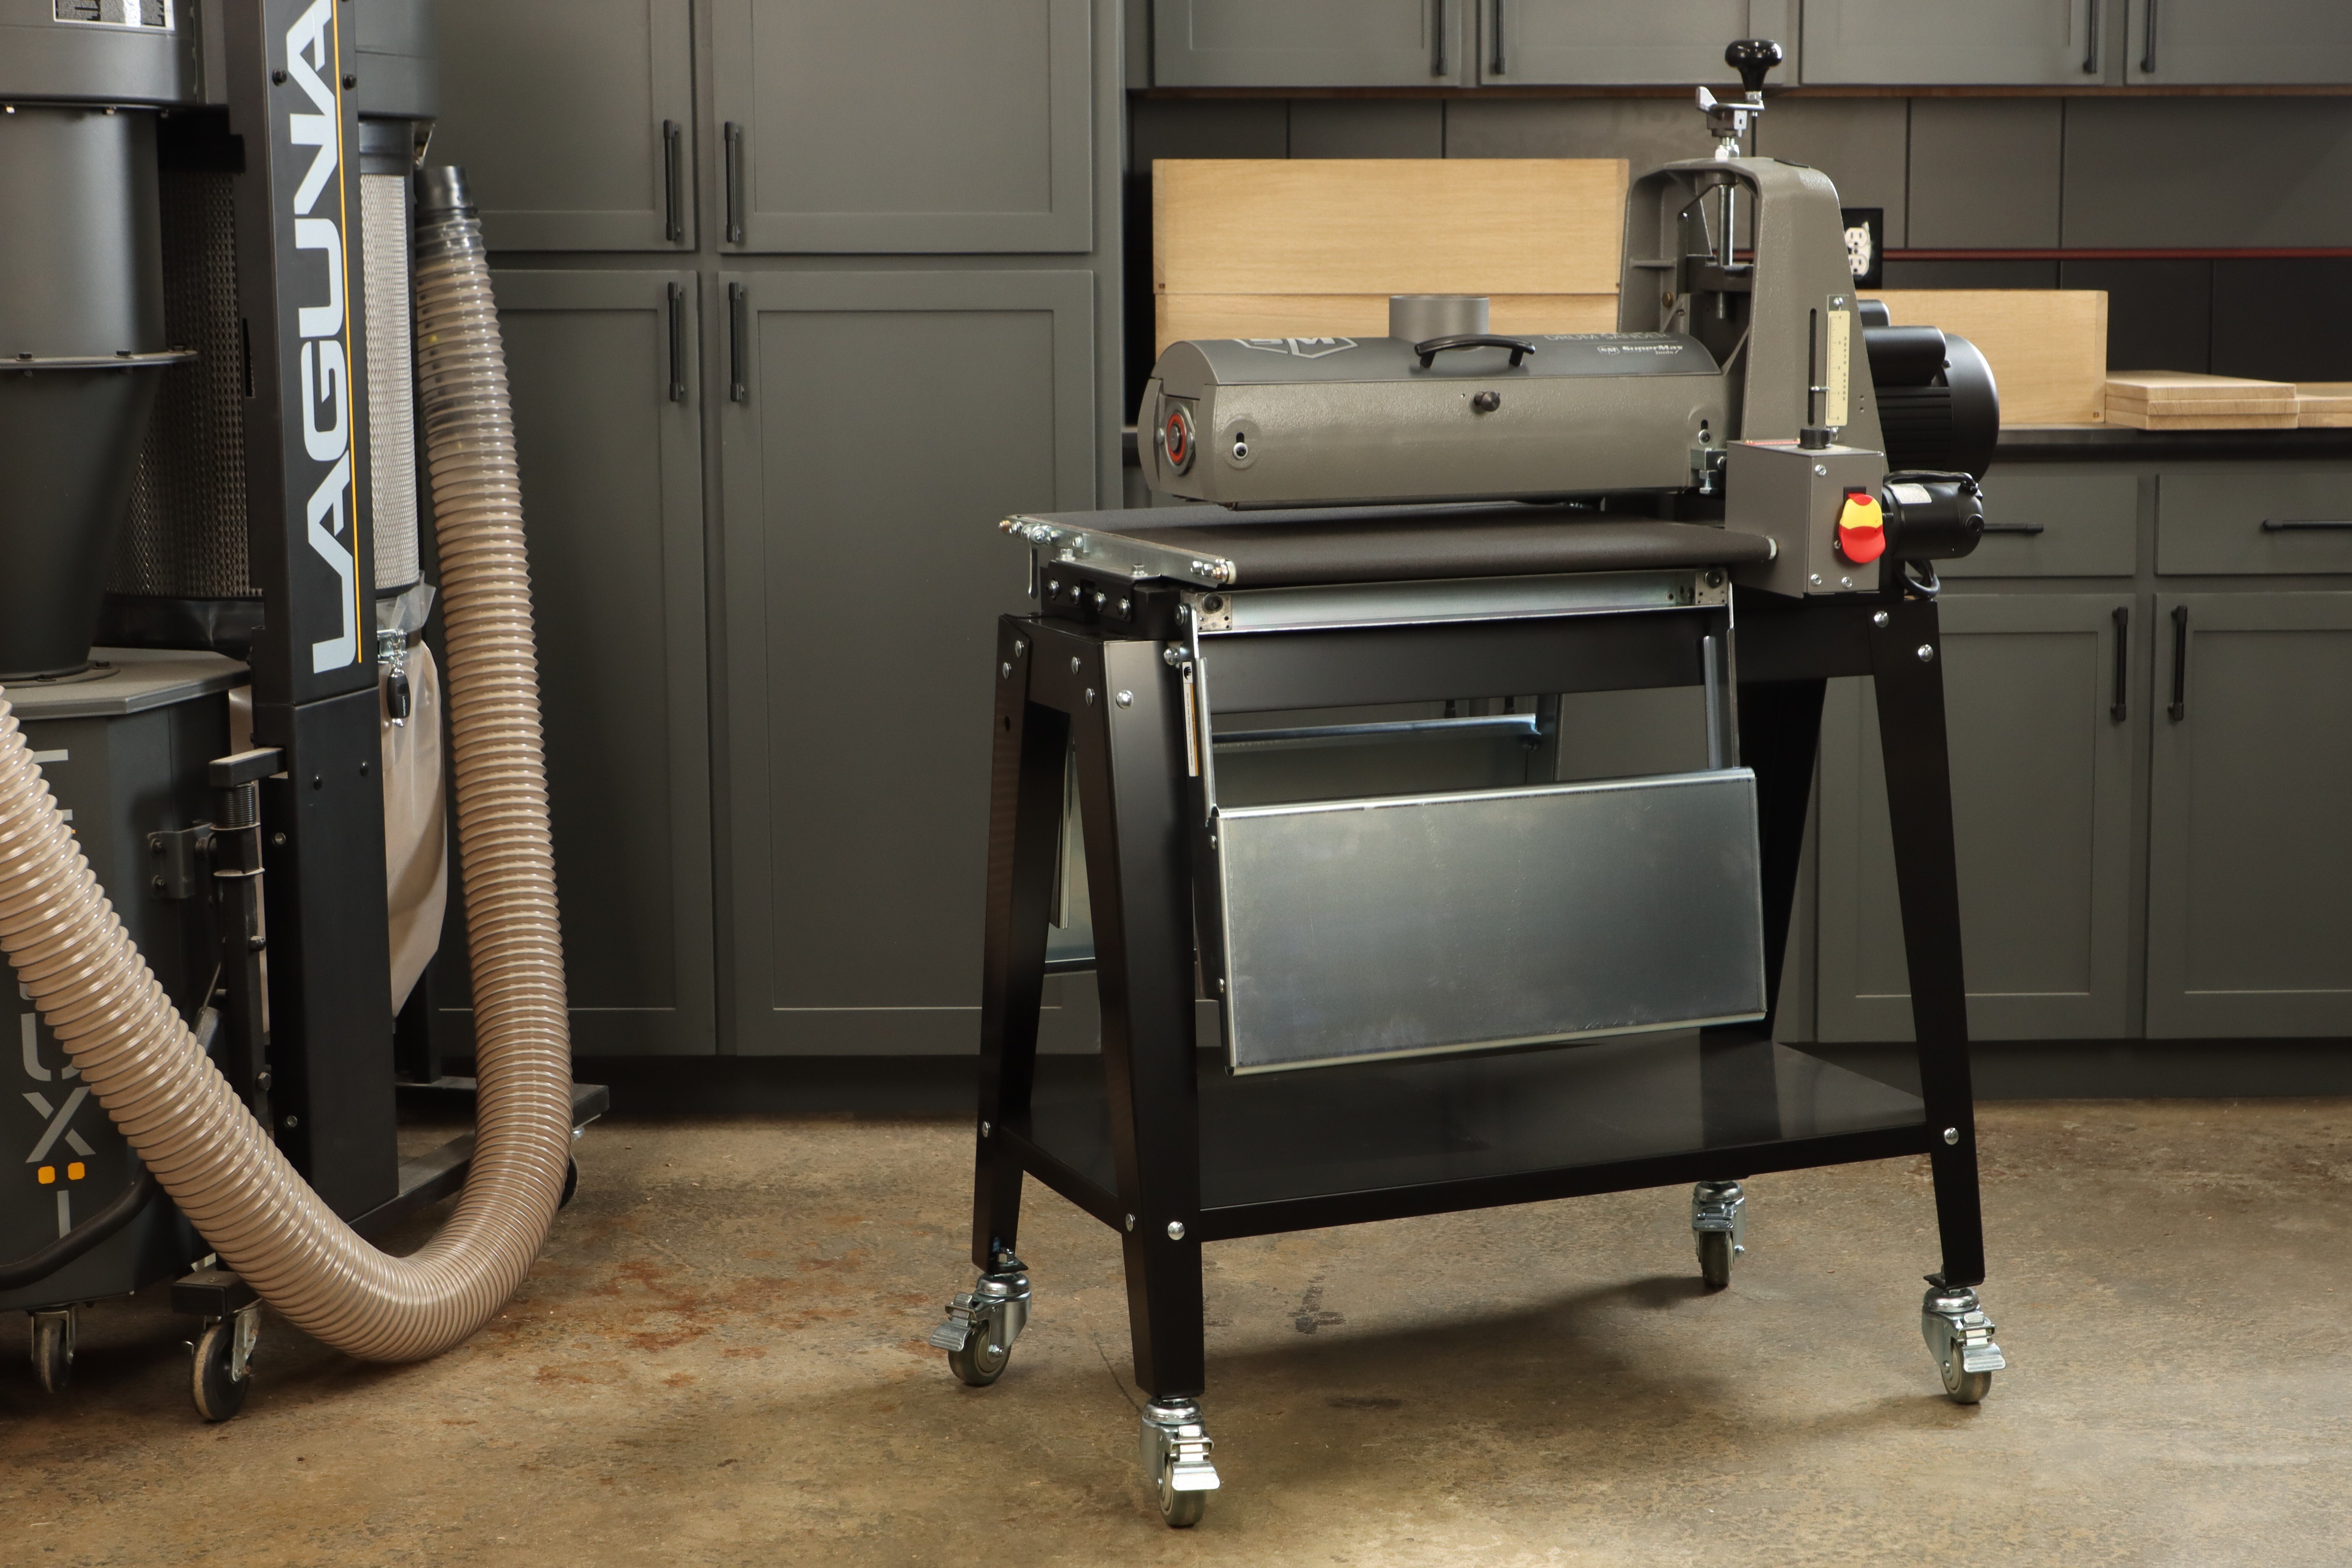
For the above project, I was able to use solid wood, but it was only 3/4” pine. I am able to cut all the way through pine in a single pass. My laser is the Laguna MX with a 100 watt tube. A more powerful EX with a 150 watt could also handle this without any issues. Having a very dry wood also helps when cutting all of the way through. If your material is moist or has a lot of sap, it will often cause issues with penetrating all the way through. Sap will also cause a lot of overburn, making more work for you to clean off of your finished product. Knots are also important to look for as they are even more difficult to cut through. The most important and biggest time saver for through cuts is being able to do so without leaving any loose soot on the edge. Although you can cut through most materials, it may be very time consuming and leave a scorched edge that now needs to be cleaned up.

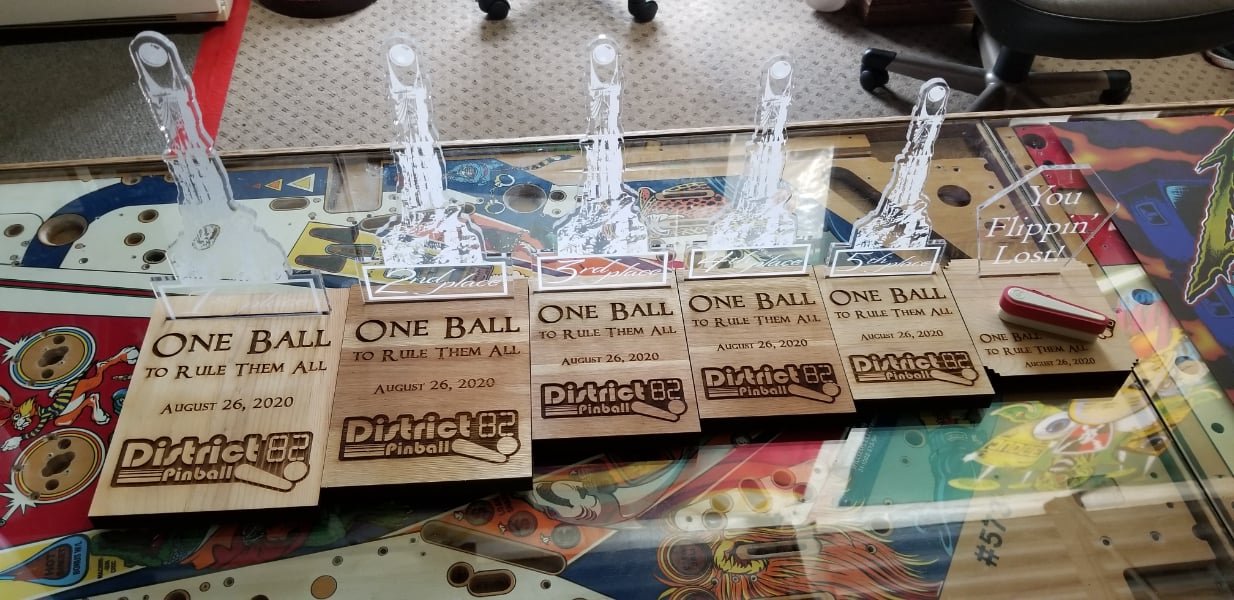
When making these miniature pinball machines, I needed to use a thin, strong material that does not warp a lot. The pinball machines have very tight tolerances and if the material warps, they will not hold together well or look good. I chose 1/8” Baltic birch plywood. Although this is one of the most common materials cut on a CO2 laser cutter, you still have to ensure that your speed and power are appropriate for both the wood species and the thickness. It is also important to choose your wood from a manufacturer that uses a glue that is not too flammable. When you have an undesired glue with a low flash point, it will burn very quickly and leave ash or even deep burns on the edges of your project.
Particle board is an example of a wood that I avoid at all costs. It has way too much glue and tends to burn way too quickly. I also have found that some of the glues that are in particle board are caustic. I only use it if I have scraps lying around and want to test an engraving design. I don’t even suggest doing that in most cases, as you should always test on the material you are using for the final project. I will use it for alignment testing but only if I do not have any scrap acrylic available.

Speaking of “scrap acrylic”, I use almost all of my small scraps for tiny promotional items. In this case, I am actually referring to acrylic that has been too badly scratched to be used. I no longer have any of this in my shop as I now have a great pro tip on what to do with it. I use 400 grit sandpaper on my 5” random orbit sander, and I scuff the surface until it is uniform. This gives the appearance of smoked, or opaque acrylic! This is much better than throwing it away, as acrylic is more expensive now than ever before.
Watch for more information in future blogs on plastic choices!
If you have any questions, suggestions, or ideas for future posts, leave a comment below or send me an email.

Cheers!