Floating shelves have a nearly magical look, with no visible hardware holding them on the wall. Here are some tricks that’ll help you create floating shelves.

Buy the hardware first!! The functionality of floating shelf hardware is pretty consistent. A bracket with rods projecting off of it gets fastened to the wall. The rods project into the shelf to support it. But there are also subtle differences. The manufacturer will tell you the maximum depth the shelf can be, how thin and long the shelf can be and how much load it can support. Don’t machine any material until you know these parameters.
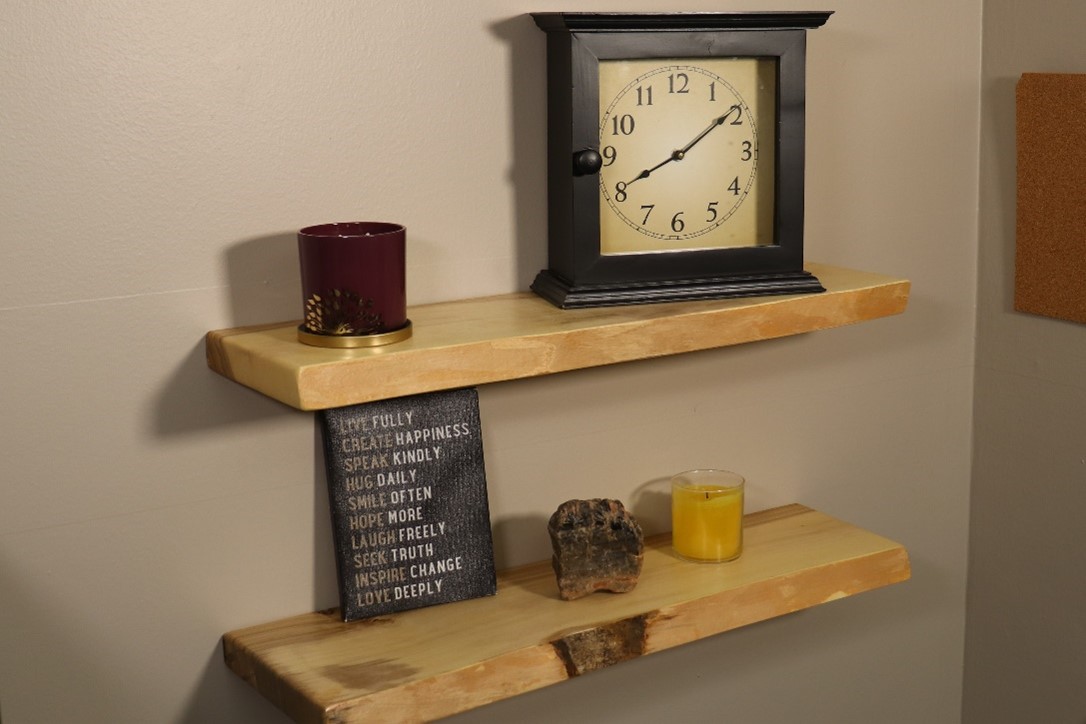
The hardware shown here holds up to 90 pounds and works for shelves 24” to 36” long and 8” to 10” deep.
Machine the shelf for the bracket
The wall mount hardware can be made completely invisible by machining the back edge of the shelf to hide it.

Install a dado head in your table saw and set the height of the blade so it’s slightly above the wall mount bracket. The width of the dado head should be slightly more than half the width of the wall mount bracket. Use a 5/8” wide dado head for a 1” wall bracket.
Calculate the fence position on your tablesaw by subtracting the width of the wall mount bracket from the shelf thickness and dividing the result by two. For example, if the shelf is 1-1/2” thick and the wall mount bracket is 1” wide, the result you’ll get is 1/4". Position the rip fence 1/4" from the dado head.

Make a test cut by using a piece of scrap that’s the same thickness as the shelf. Make a cut with one face against the fence…

…rotate the piece end for end and make another cut.

The bracket should fit in the resulting groove. Adjust the blade height and fence position as necessary.

Make the same cuts on your shelves.

Measure the rod to rod distance on the bracket. Subtract that from the length of the shelf to determine how far in from the end the rods should be. For example, if the rod to rod distance is 18” and the shelf is 28” long, the rods should be 5” in from the end.

Mark the rod location on end of the shelf and position the rod at that mark.

Hold the hardware in that location and mark the position of the other rod. It’s easier, and more accurate, to trace and transfer the rod locations than it is to measure and lay out the locations. It’s very important that the rod holes are drilled in exactly the right spot, or the shelf won’t mount to the wall bracket.

Determine what size hole the rods call for. Use a self-centering dowel jig clamped in the correct location to drill the hole. The jig will ensure the hole is drilled perpendicular to the edge, and straight. Be very careful locating the jig on your work, making sure it’s perfectly set on the lay out lines made in the previous step. Drill as deeply as you can.

Due to the length of the rods, you most likely won’t be able to fully drill the holes with the dowel jig in place. Remove the jig and continue drilling, allowing the bit to follow the hole that was started with the dowel jig.

Instead of doing a two-step drilling operation you can use extra-long drill bits to drill the holes in one step, without having to remove the dowel jig.

Test the wall bracket in the holes you drilled. If it doesn’t go in you can, possibly, slightly enlarge the holes you drilled. This is not, however, good practice and may weaken the shelf’s contact with the bracket, and cause it to sag.
Plug the grooves
The grooves made to hide the wall mount bracket will show on the end of the shelf unless you plug them.

Plane a scrap piece of the shelf material until it just fits in the groove.

Rip pieces of the plug material so their thickness matches the depth of the groove. Cut them to length and glue them in. Keep the plugs short so they don’t interfere with the wall mount bracket seating in the groove.

It’s best to make a number of plug pieces so you have plenty of choices and can match the color and grain of the plug to that of the shelf.
Install the shelves

Using a level, mark a level line on the wall in the shelf location.

Position the bracket on the level line and trace the locations of the screw holes.

Predrill for the screws or anchors. Be sure to use the correct fastener for the wall type you’re working with. Screw directly into studs whenever you can, and use robust fasteners and anchors.

Drive the screws securing the wall mount brackets to the wall.

Slide the shelves onto the wall brackets.
You may have to vary this procedure a little, depending on the what mounting system you purchase, but the overall process of hiding the hardware will be similar.


