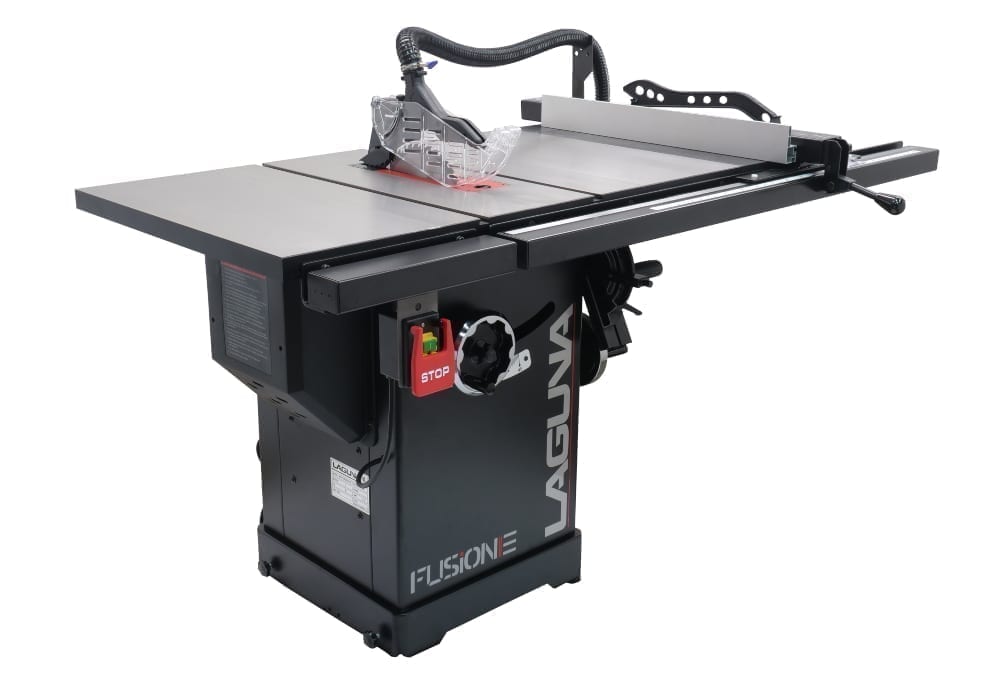
Tenons and half lap joints can easily be cut on a table saw equipped with a dado head. Tenons, of course, accompany mortises in mortise and tenon joints.
This joint is commonly used in furniture construction. Half lap joints are an excellent way to make frames.
Thanks to their large amount of glue surface, they’re incredibly strong. Check out this video for a full demonstration of these techniques.
Cutting Tenons

When making a mortise and tenon joint always cut the mortise first, then cut the tenon to fit. Tenons are typically sized to be 1/3 the thickness of the material, and twice as long as they are thick.
For example, if the rails for your project are 3/4” thick the tenons should be 1/4" thick and 1/2" long.

Set up a dado head in your saw. The width of the dado should be slightly more than the length of the tenon you’re producing.

Unplug the table saw any time you’re making adjustments or changes to the machine. Use a piece of bar stock (see Sources) to set the height of the dado head.
The size of the bar stock is equal to the shoulder you’re cutting on the tenon. In this case I’m working with 3/4” thick stock and making a 1/4” tenon. That means the shoulder, and bar stock, will also be 1/4”.
Start with the dado head a little too low, below the top of the bar stock. The result will be a tenon that’s too big. We’ll slowly sneak up on the final, perfect, height setting.

Use bar stock to position the fence. The fence location determines the length of the tenon, 1/2” in this case.

With the part held against your miter gauge and registered against the fence, make a test cut. Cut from both faces to produce the tenon. Your test pieces must be the same thickness as your project pieces.

Test the tenon’s fit in the mortise. It should be too big. Raise the dado head, in very small increments, and do additional test cuts until the tenon fits.
Remember that each change in the height of the dado has twice that effect on the tenon, since we’re cutting from both faces.
If you raise the dado head too much you’ll make the tenon too small. If this happens lower the dado head and start over.

You have a good fit when you can push the tenon into the mortise by hand, no need for a mallet, and there’s enough friction to hold the parts together when you lift up on the rail.

Cutting the final tenon entails cutting from both faces AND both edges so you have shoulders on all four sides.
Half Lap Joints

On half lap joints we remove half the thickness of each piece so the faces end up flush. The HUGE amount of glue surface in these joints makes them incredibly strong.

Mark the center of your stock and set the dado head slightly below that mark.

Hold the material against your miter gauge and make a test cut on two parts. Your test pieces must be the same thickness as your project pieces.

Check the results. If your parts look like this you need to raise the dado head. Make changes in small increments. Each change has twice that effect on the resulting joint.

Continue with test cuts until the faces of your parts are flush.

Use a project piece to position the fence. With the part held against the fence the dado head should project slightly past the edge of the piece.
This makes the half lap slightly too wide (about 1/32”), which we want. Trim the excess off after the joint is glued together.

Mark one face of each project piece to help you keep track of which face you’re cutting. The X should be up for all your cuts.

Cut the joints.

Butt the end grain against the fence to define the width of the half lap.

You can further reinforce half lap joints by drilling holes through the face of the joint and adding dowels. Dowels of a contrasting color provide a very nice decorative touch.
Sources
Check out this article on Mortises on a Drill Press


