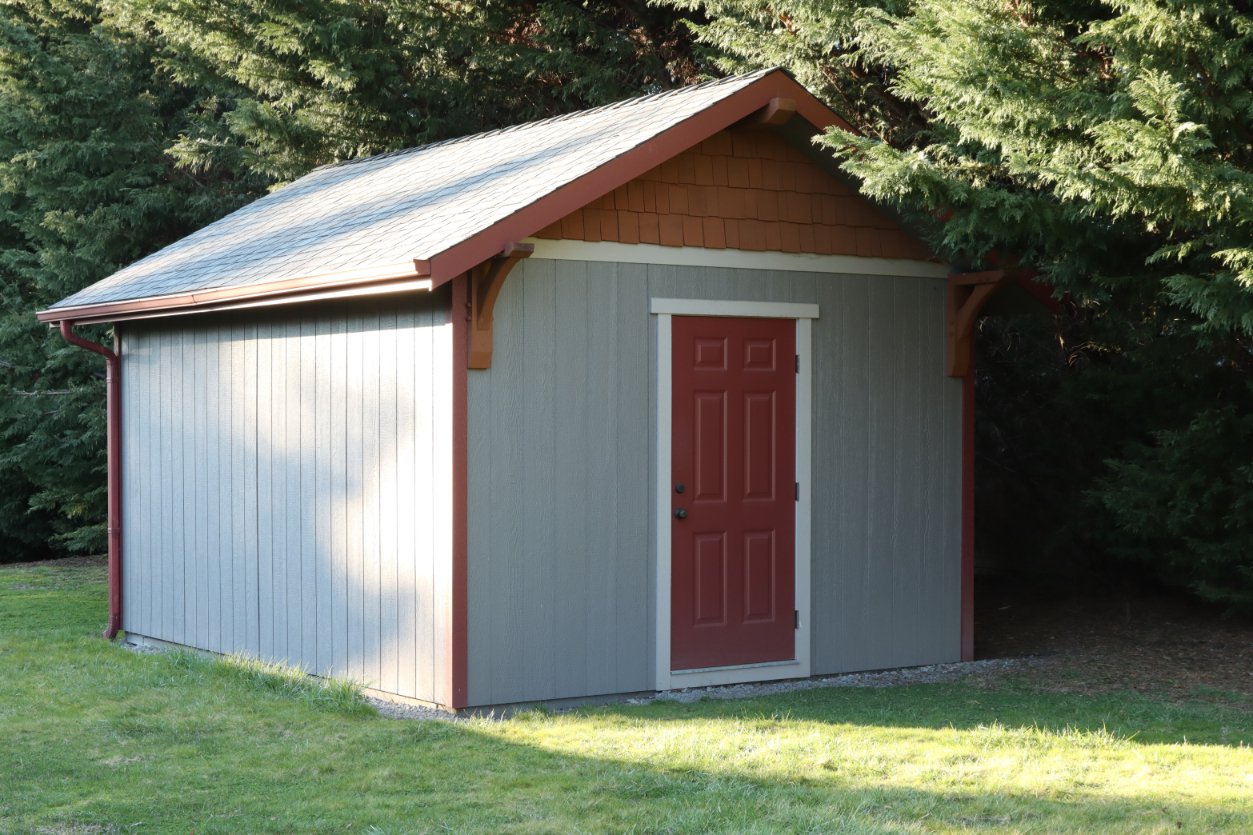
One of the biggest boons to sourcing hardwood lumber has been my lumber kiln. Before having the ability to kiln dry my own lumber, I was reliant on hardwood lumber stores for material. I found that building a backyard “shed kiln” helped to control the quality of hardwood lumber, and decrease expenses compared to a retail environment. I was aware of good deals on green lumber in my area, but I had no way to dry it. Now that I have a small kiln to dry lumber, I can take advantage of those good deals offered by local sawyers. Now I don’t buy lumber by the board-foot, but by the trailer-load instead.
From the outside, the kiln looks like an ordinary shed, but there are some special features inside.

Stacked and Stickered. The lumber is stacked neatly on stickers to maintain space between the boards. This allows proper airflow to each layer of lumber as the stack dries.
A household dehumidifier removes moisture from the air.

Empty the dehumidifier nightly. Initially, you’ll collect a large volume of water every day. In fact, the first few days of a kiln cycle I’ll drain the dehumidifier every 12 hours. As the lumber continues to dry, you’ll notice less water in the container, until it’s just a dribble after 2-3 weeks.

Stickers Ensure Flat Lumber. It’s important to place the stickers directly over the previous course. This transfers the considerable weight of the stack directly to the floor. Improper stacking can create permanent defects in the lumber, that renders it nearly useless. This is the biggest mistake I see well-intentioned people make as they try to dry their own lumber. So, remember to take your time and stack the lumber carefully.
Stickers should be placed every 18” for 4/4 hardwoods, and 24” apart for 5/4 and thicker boards.

If this was a listing for a tiny house, the real estate ad might read “Ceiling Fans and Hardwoods Throughout.” Four large attic fans are housed in custom shrouds, and mounted to the ceiling. They provide constant air circulation as the charge of lumber dries. I rotate the fans halfway through the drying cycle for even drying, and to avoid any “dead spots” in the airflow.

Heat it Up. When I first built my kiln, I thought a space heater would work well for supplemental heat. Since then, I’ve switched to overhead heat lamps. Four heat lamp bulbs help reach the 130-140 degree temperature required to sterilize the lumber at the end of the kiln run. Remarkably, I’m able to maintain a 115-120 degree operating temperature without auxiliary heat. The heat produced by the dehumidifier and ceiling fans is enough to run the kiln, and the heat lamps usually aren’t turned on until the sterilization phase.

Kiln Control Central. Okay, okay it’s just a few light switches on the wall. One switch controls the four heat lamps, and another controls the bank of four ceiling fans. The third switch is an emergency shed switch that cuts power to the entire structure. If I had the wiring to do again, I might control the lights with two separate switches. This would give even greater temperature control.

A battery-operated thermometer and hygrometer monitors kiln conditions. Here we see the relative humidity is 10% after a kiln run, and the max stored temperature was 138 degrees.

Moisture Meter with External Probes. A moisture meter is a key tool in monitoring your lumber as it dries. I use a pin-type moisture meter with external probes. The probes are screwed into boards deep in the stack, which gives a good indication of core moisture content. Once the moisture content readings are consistently 6-8%, which usually takes 2-3 weeks with air-dried lumber, the kiln is ready for the sterilization phase.

Remote Monitoring. Having the ability to remotely monitor and graph kiln conditions is a great help. The sensor takes temp. and humidity readings and sends them by WiFi to your device. You can set text alerts, such as over-temperature alerts, customized to your application.

Air Dry First. It’s smart to air dry the lumber before it ever goes in the kiln. When you first take possession of the lumber from your sawyer, be sure to end-seal the lumber with a wax-based coating to minimize end-checking and deep cracks in the lumber. Dry it stacked and stickered in a location where it’s out of the rain, but exposed to the wind, like an open shed. I’ll air dry for about 1 year per inch of lumber thickness.

Level Up. You’ll need a level spot to air dry the lumber, such as these 4x4 skids on a gravel base. Add stickers under the first layer of lumber, and between successive courses.

Keep plenty of stickers on hand. You need more than you think for a large stack of lumber! Make sure to use stickers of uniform size like 1”x 1” or 1” x 2”.

Let Off Some Steam. The final phase of the kiln drying process is to steam the kiln. Add a source of steam and run the fans for a few more hours. This will slightly increase the moisture content of the very dry outer layer of lumber, and minimize moisture gradient. A wallpaper steamer could work, but I use a steam bending kit from a woodworking hardware store.
I first wrote about my shed kiln in a Woodworker’s Journal article, which you can read for more details including the baffle system here.


