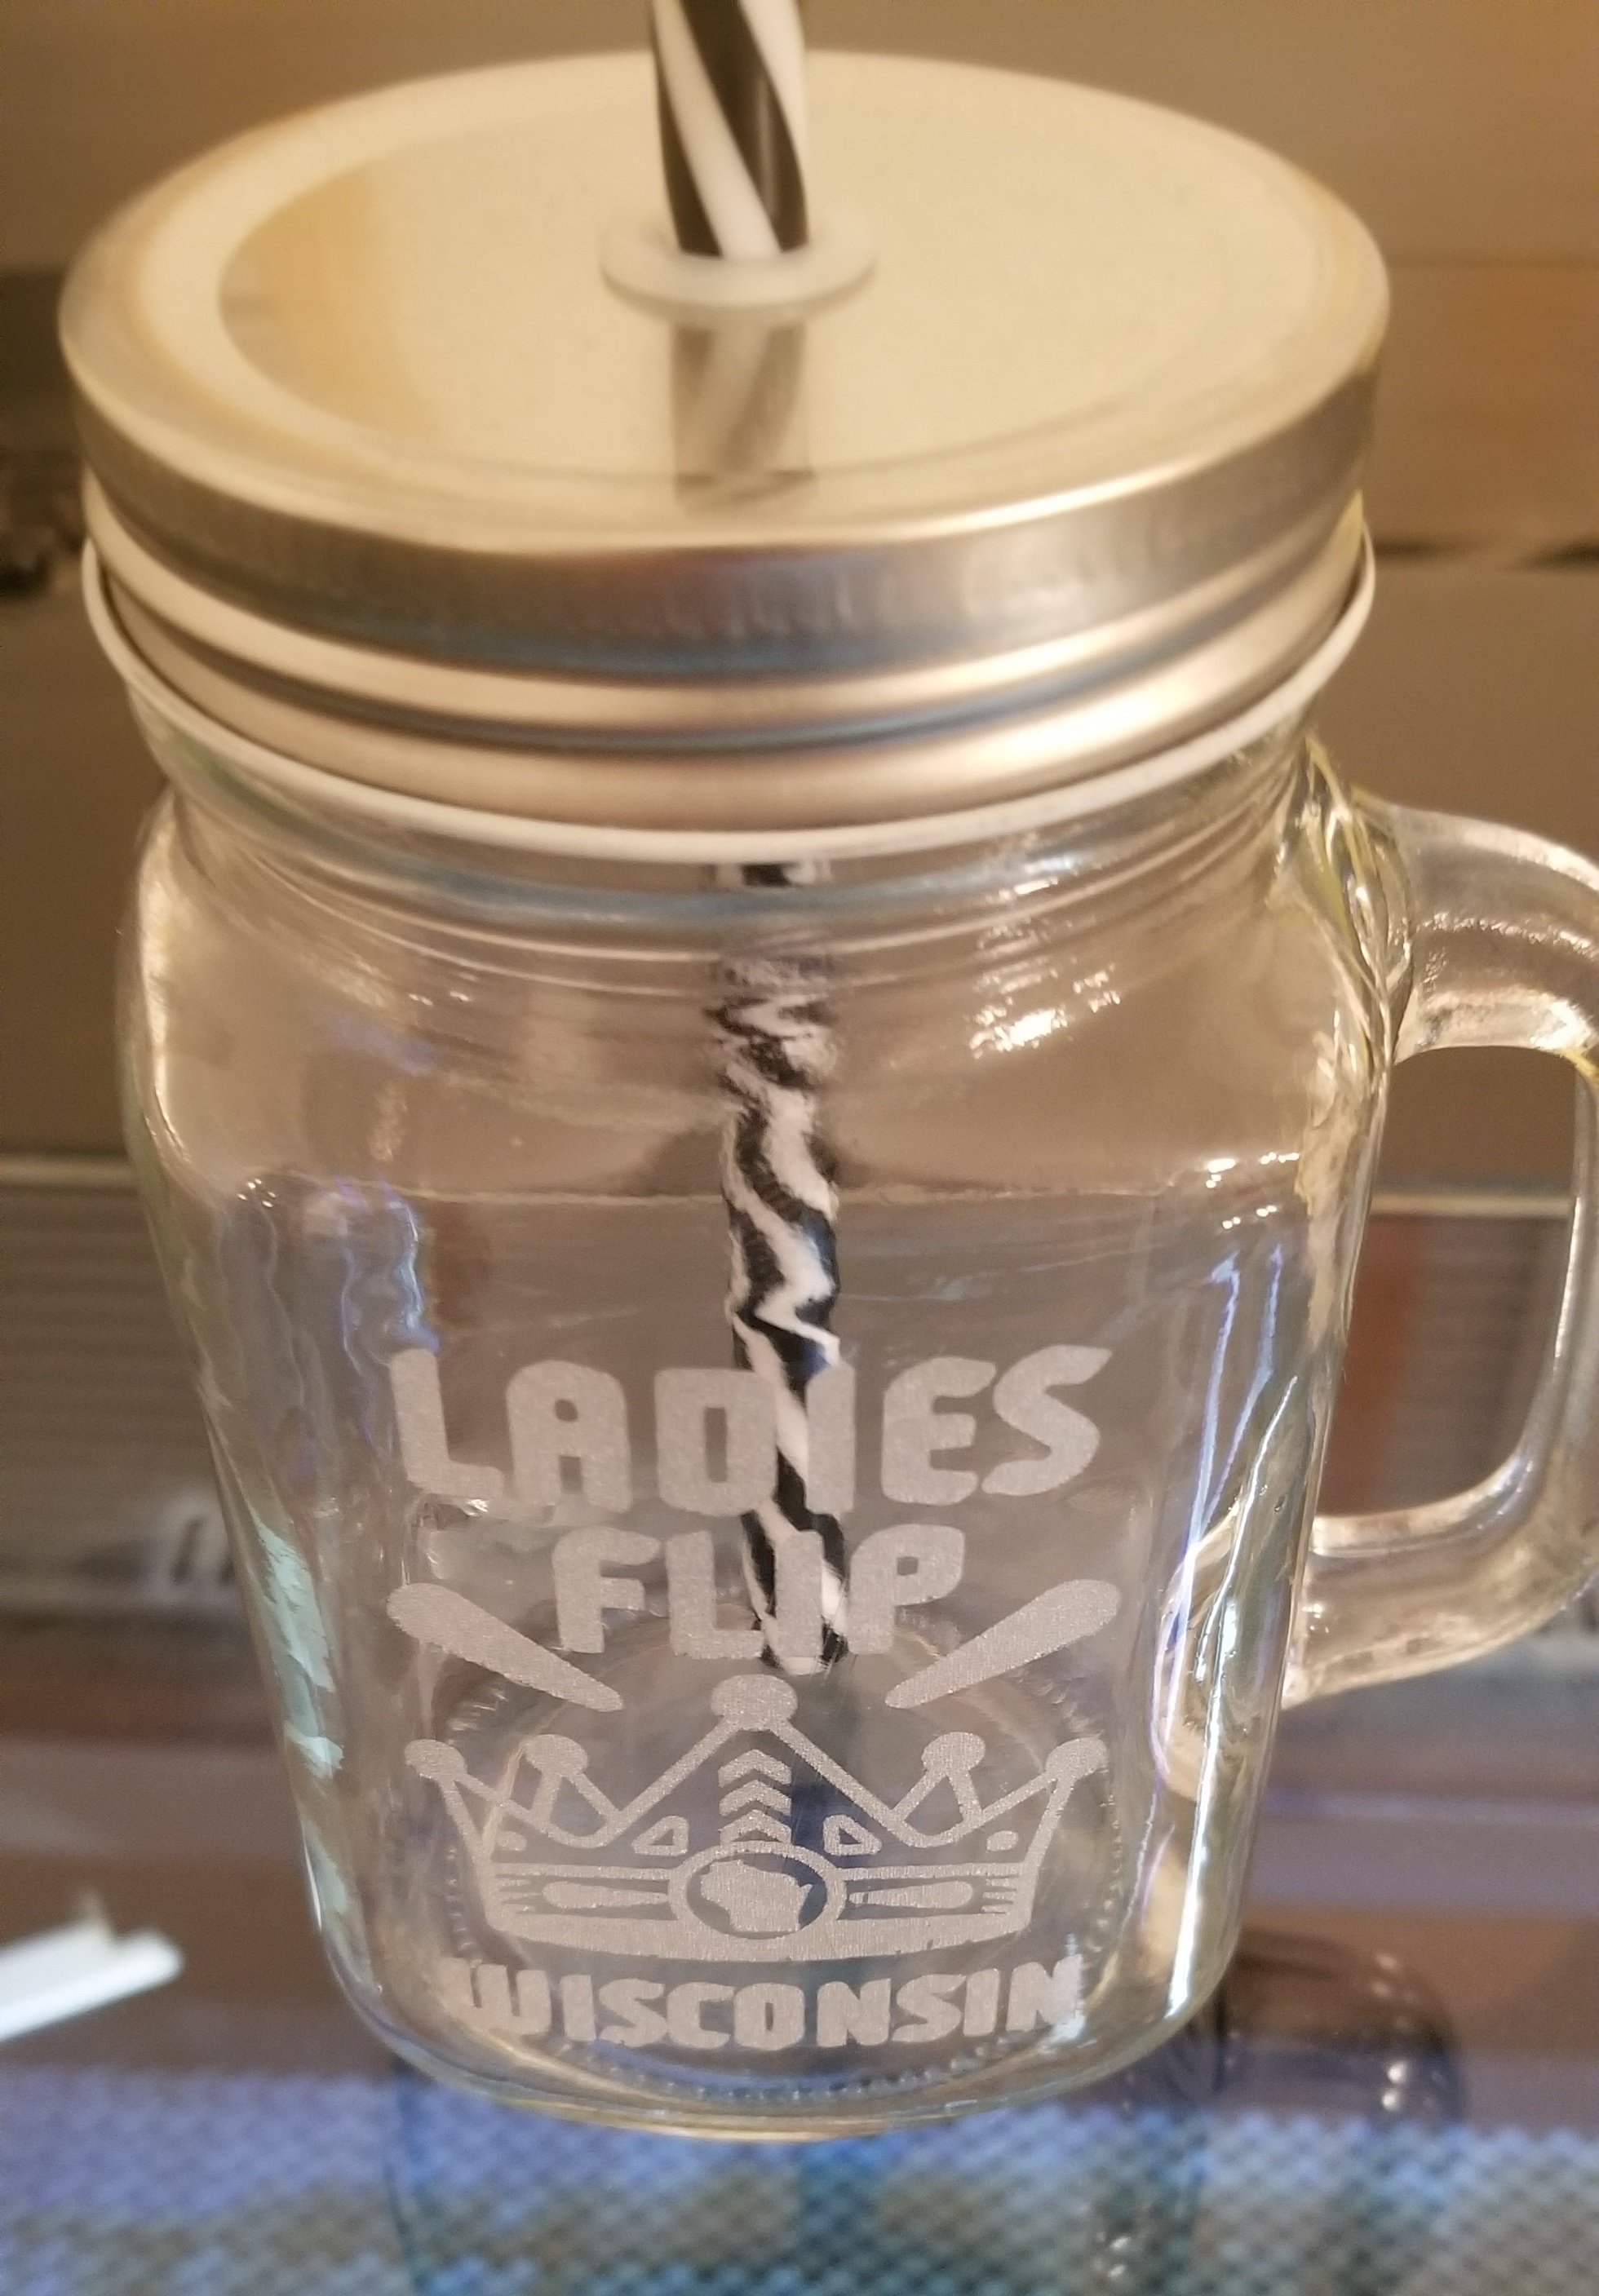
The Laguna CNC laser is a unique tool in that it can work on many different types of products. I personally do a lot with wood, and some with acrylic. I recently got an order for glass jars, showing another great example of the machine’s capabilities.
The first step that I take when engraving a new product is to do some testing. When working with a material that I have not worked with before, I usually will turn to the internet to at least get a starting point on what my power and speeds should be. These numbers are usually not the ending ones that I use, but are a good benchmark to start testing. With glass, if you burn too intensely, you can crack, or even shatter the glass. Having at least somewhere to start will reduce this possibility, and the eliminate lengthy cleaning process of getting all the glass shards out of your machine.

When engraving flat items, it is easy to position them on the laser bed. If the piece is warped or bowing at all, you can use clamps, or even magnets to hold the material down. With engraving this style of glass, there was not a great way to hold it down, so I needed to make a jig. This allows the glasses to be taken out after engraving and put the new one in without having to reposition the laser every time. I used a pieced of packing foam, compliments of the packing material my laser came with. I used a long knife to cut the shape of the glass into the foam.

I then fastened the foam cutout to a piece of wood to add weight and stability. I also noticed that the glass was able to rotate slightly so I had to cut another piece of foam to go under the handle.

This is the glass positioned on the bed. I used smaller pieces of scrap to go around the sides of my jig, and used magnets to hold them in place. This made the jig unable to move from side to side.

Now for testing! I like to start with my logo when doing testing. I designed my logo to not only be unique and marketable, but to also show off the capabilities of my laser. It has a lot of fine detail and small words that need to be readable. It is also never a bad thing to have your logo on different things to show off your work and promote your business. In the first test, the logo was too large, and it started to fade near the edges of the glass. This is because the focal point was set at the center of the glass, and as the laser moved to the edges it was not close enough. The power levels and speed actually worked out on the first try.

In the second test, the logo was too small, but the new adjusted z-axis was perfect. I then enlarged the logo, used the new z-height, and the finished product was perfect.

Next was to engrave the customer's logo on to the cup. I loaded the file, used the jig and all the settings that I tested, and engraved all of the cups.
Most projects that you cut or engrave on the laser do need to be cleaned up in some way. My cleaner of choice is 90% alcohol or higher, but diluted with water in a 1:1 ratio. Alcohol works well because it cleans well, but evaporates quickly and does not leave a residue. The water helps reduce potentially harmful effects of the alcohol on your material, like cracking acrylic and making it brittle. It also makes the alcohol not evaporate too quickly.
Another very important note on glass is that when you are done engraving, there will be a lot of small shards of glass left on the surface. The same alcohol mix works very well, but I marked the micro fiber rag to note which side I was using for the glass, and which side I was hanging on to. Otherwise, you could grab the side you were cleaning with and get a handful of glass.
As always, if you have any questions or ideas, please leave a comment or send me an email!


