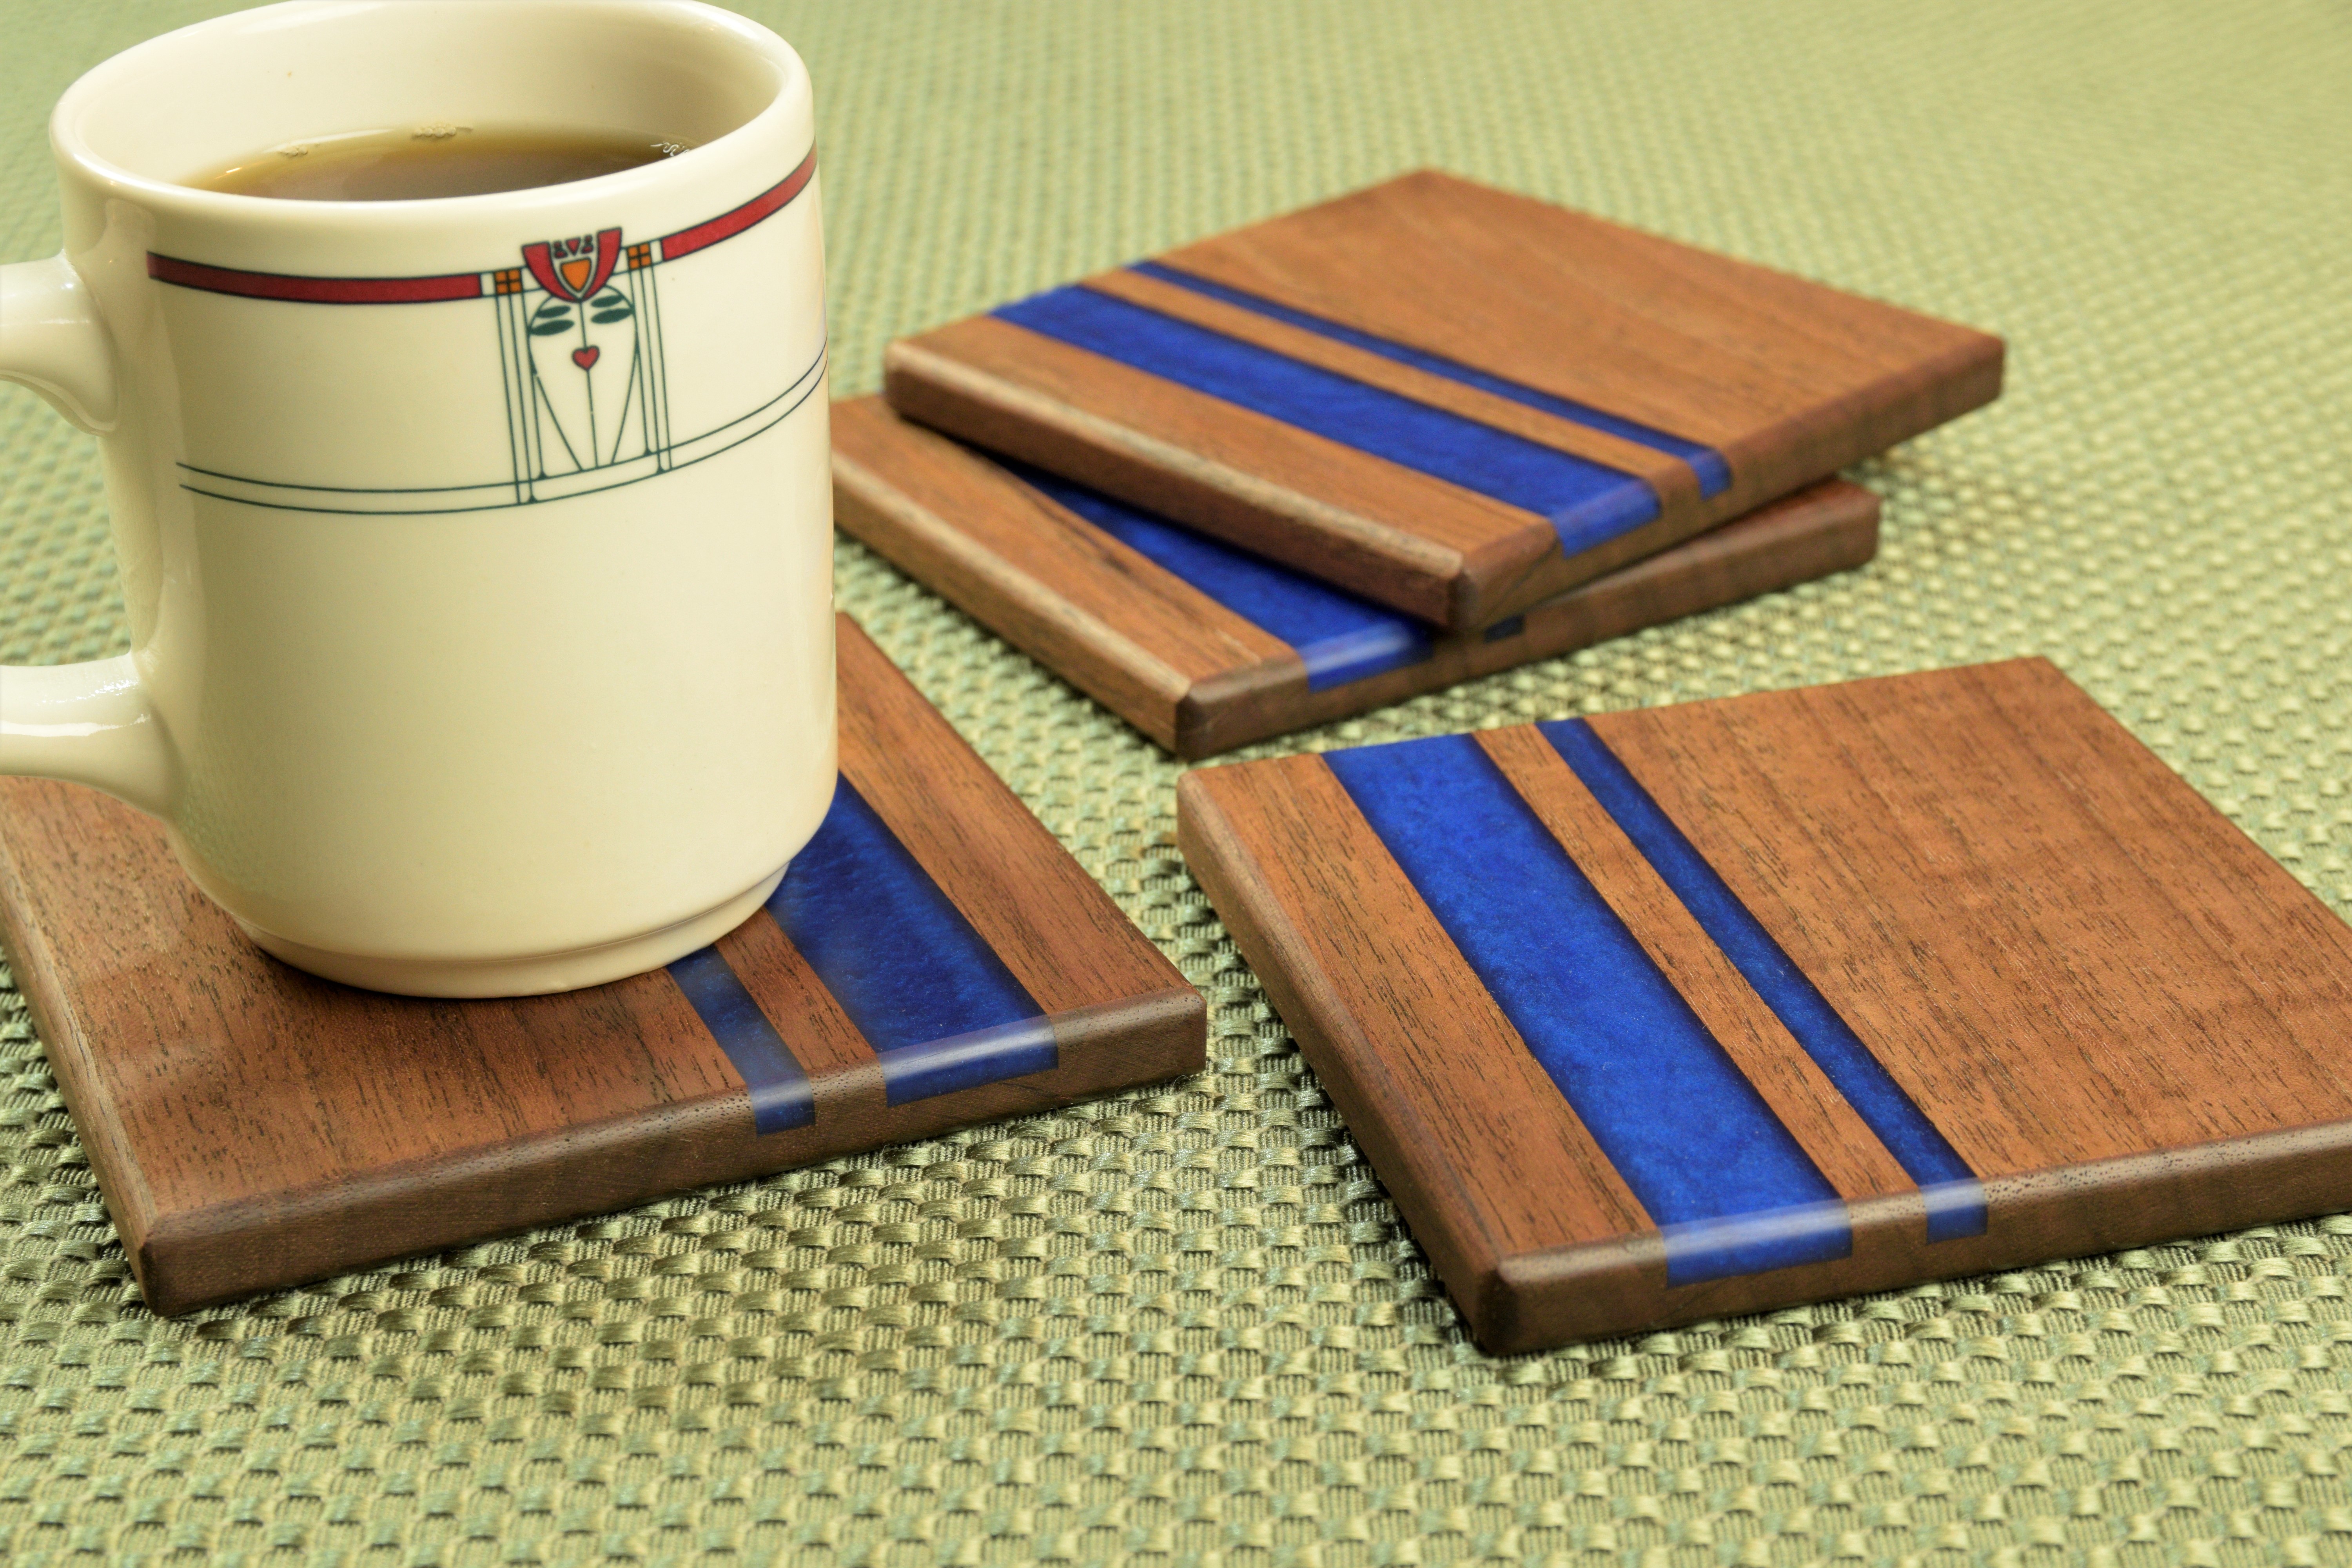
How about a quick little project to add a pop of color to your living room? These cool dual-stripe epoxy coasters are fun to build, and make great holiday gifts. Usually epoxy pours involve building a form to contain the liquid until it hardens. That’s the great benefit here, the dado channel acts as its own form! No need to make a separate mold, just cap off the ends before you pour.

Prepare a 19” long x 4-1/2” wide x ½” thick hardwood board. Install a ¼” wide dado stack on your tablesaw, and plow a groove from stem to stern. The layout of the grooves is entirely left to your discretion, but I set the fence 1-3/4” from the dado blade for this first pass.

Next, install a full ¾” wide dado stack, and make a second pass. I decided to position the wide groove about 3/8” from the first. Don’t have a tablesaw that will accept a full dado stack? Then you might want to peruse the Laguna Fusion Tablesaw lineup here.
I’m using the Fusion F2 to build this project, and it has no trouble spinning a full 8” dado stack.

Level the board in two directions in preparation for the epoxy pour.

Clamp scraps of sheet goods to both ends to prevent the epoxy from leaking out. Wrap these end pieces with house-wrap tape to keep the epoxy from sticking to the board. Position the clamps to give good access to the grooves for the following steps.

Mix the color of your choice into a small container of two-part epoxy. We’re using 2 scoops (1/8 teaspoon each) of deep blue mica colorant in this small silicone container. Stir the epoxy for 4-5 minutes, and let it sit for a few minutes to release some of the trapped bubbles. With large projects like thick tables, you’ll want to select specific epoxy appropriate for “deep pours.” However, since the grooves in our coaster project are only ¼” deep, just about any 2 part epoxy will work. Just read the directions included with your epoxy to be sure.

Pour the colored epoxy down both grooves. Work back and forth until the epoxy is level with the wood surface, more or less. Don’t worry if the epoxy level is a little too high or too low, as we’ll take care of that in the next couple steps.

Heat the bubbles out. Use a heat gun or butane torch to heat the epoxy and release any trapped bubbles. This process works quickly, especially because the epoxy is only ¼” thick.

Once the epoxy cures (usually takes a day or two, depending on temperature) send the board through the planer. You’ll notice the epoxy becomes dull and lifeless once trimmed by the planer knives. But not to worry, we’ll restore the deep blue color and full luster with some sanding.

While the board is still in one piece, sand the faces up through 1500 grit. If you don’t want to buy a full box of each wet/dry sanding grit, just get a sample pack with a few discs of each grit. Don’t worry about sanding the end grain yet, as we’ll do that after the coasters are cut free from the board.

Set a stop block on your crosscut sled, and cut the coasters to 4-1/2” long. Learn how to make your own “X-Cut Sled” for a Fusion F2 tablesaw here!

Round over the top and bottom edges of the coasters at the router table. Then sand the edges, just as you did with the faces previously.

Wipe on some natural (clear) Danish oil to pop that color. Both the walnut grain, and the deep blue epoxy color are accentuated by the oil. Once the Danish oil dries overnight, add the topcoat of your choice. I used spray lacquer in a satin sheen.

The beauty is in the simplicity of this project. No live edge slabs or “deep pour” epoxy needed. If you want to try additional epoxy projects, but aren’t quite ready to tackle a live edge epoxy table, check out my Epoxy River Boards video here!
Willie Sandry is a Freelance Writer for all the major woodworking magazines, blogger and crafter. Check out more woodworking and leather upholstery videos on his YouTube channel the Thoughtful Woodworker.