Woodworkers have become very intrigued by the prospect of working with log “cookies.” They’re using small-scale versions as centerpieces on tables (very popular for weddings), and large-scale versions for table tops and stools. Unfortunately, it’s nearly impossible to get truly flat and parallel surfaces from a chainsaw, so some amount of flattening and leveling is required. If you have a CNC router, you can easily take care of this.
This video comprehensively covers the topic. Here’s an overview of what you need to do to flatten cookies on a CNC router.
What is a Cookie?
Let’s get started by defining what’s meant by a log cookie. Cookies are very different from the lumber you normally use for projects.
A cookie is cut across the grain, instead of with the grain. As a result when you’re looking at the face of a cookie you’re looking at end grain, not long grain.
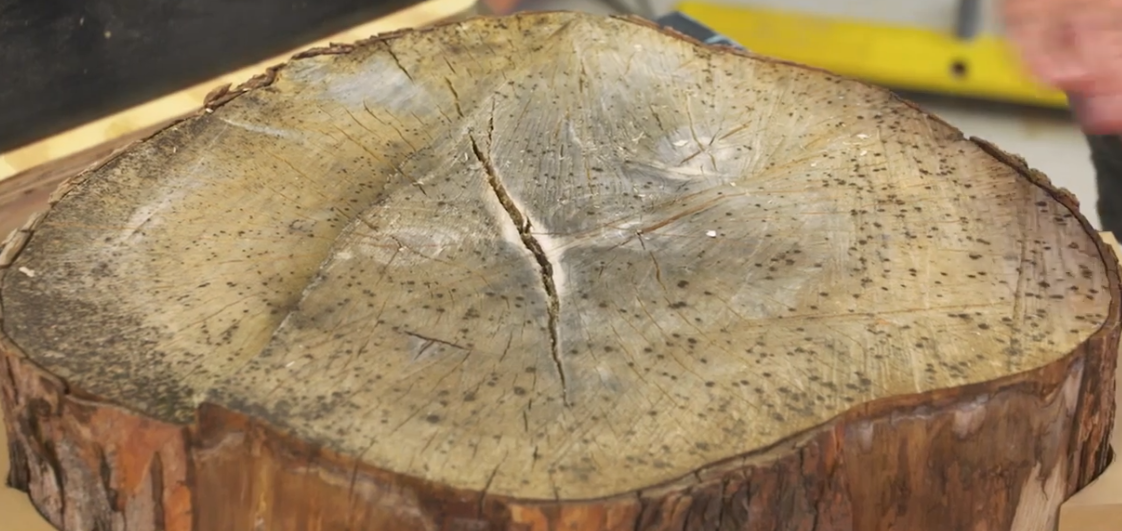
What About Cracking?

One of the biggest problems with cookies is stabilizing them to prevent cracking. Because a cookie includes heartwood, sapwood, and everything in between, it’s nearly impossible to get cookies to dry naturally without cracking.
That’s why bowties are often added, bridging the crack and stabilizing the cookie. If you are going to add a bowtie do that after the cookie has been flattened.
To reduce the likelihood of cracking let the cookie dry slowly. A 2” thick cookie could easily take a couple years to completely air dry. Don’t force it.
There are products that are very effective at chemically stabilizing wood. Be sure to read the directions that come with them.
Mounting the Cookie on Your CNC

Cookies are generally an oddball shape, so it may take some creativity to get them secured on your CNC. We’ll be cutting the entire surface, so can’t have any hold downs touching the top face.
For this cookie I traced its irregular outline onto four pieces of scrap MDF, and cut on those lines. On the CNC the scraps can be used to surround the cookie, with conventional hold downs securing the MDF, keeping it tightly against the perimeter of the cookie.
Starting the Cuts

On many CNC routers you can “freehand” your cuts. Instead of creating a toolpath to remove high spots you can simply run your CNC router manually.
Do this by turning the spindle on and using the buttons on your fob to move the spindle in the X and Y directions. Use the Z to control depth of cut.

If the high spot is so significant it doesn’t fit within your Z capacity you can use an electric planer to reduce the overall thickness of the cookie.
A planer works great for this and leaves behind a much better surface than a chainsaw would, but it would be very difficult to get both cookie faces dead flat and parallel to each other using a hand-held planer. The CNC excels at that.
Running Your Toolpath

If you’re using VCarve to set up your cuts, do the work with a Pocket Toolpath. On this maple cookie I’ve set up the toolpath for a total depth of cut of 3/16”, doing that in three passes.
Nearly any straight router bit could do this work, but a large diameter spoilboard bit will do the best job and, with its large diameter, get the work done quickly.
What to Expect

When the toolpath is complete, you may need to run it again. Simply check the surface of the cookie to see if it still has imperfections, chainsaw marks or low spots.
If it does, zero the Z axis to the fresh surface and rerun the toolpath. No need to create a new toolpath. Don’t change the zero position of the X and Y axes.
When one face is complete flip the cookie over and repeat the process on the other face. Once the cookie is flipped you’ll need to reset the X, Y and Z axes.
Just like the first face, continue running the toolpath until the face of the cookie looks good, the two faces are parallel, and the cookie is the thickness you’re trying to achieve.
You’ll need to do some additional clean up after the CNC work is complete. A random orbit sander, starting with 80-grit paper, will make short work of the marks left behind by the spoilboard bit.
Enjoy your cookie!


