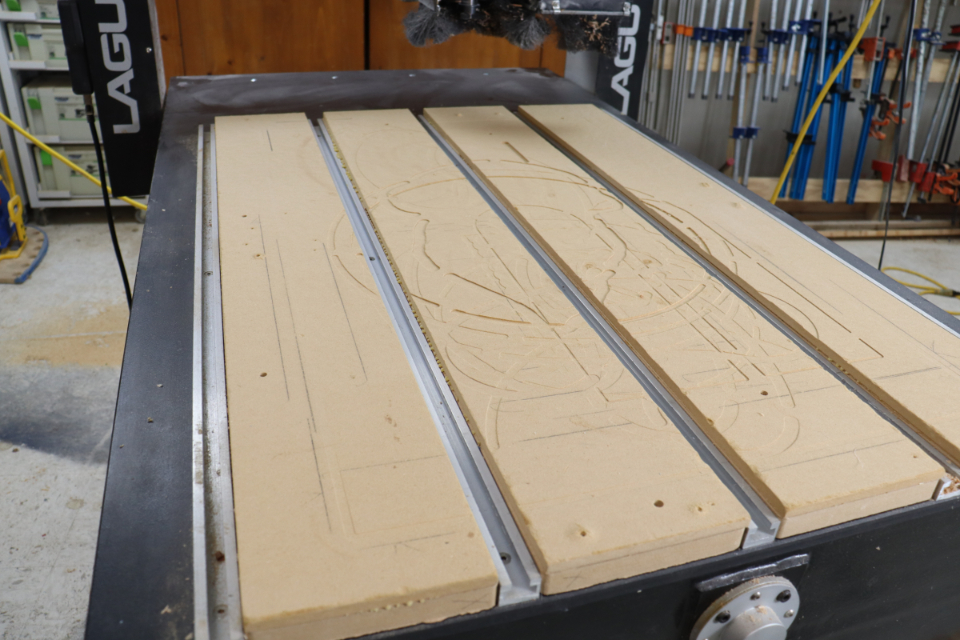
The spoilboard on your CNC needs to be dead flat, unlike this one. As you use your machine and do through cuts on projects you’ll cut (slightly) into your spoilboard. Over time the spoilboard starts to look like the surface of the moon and needs to be leveled, also called flycutting.
Even a brand-new CNC router needs its spoilboard flycut. In addition to leveling, flycutting ensures that the face of the spoilboard is perfectly parallel to the travel of the spindle.
Getting ready

Ouch! I messed up a toolpath and WAY overcut into the spoilboard. Most of the “normal” cuts in the spoilboard are only .020” or so deep. My big overcut is way more than that, but I don’t want to flycut the entire spoilboard to get down to that level.

Fill extra deep cuts with auto body filler. Follow the mixing directions and give the filler plenty of time to dry.

Choose your bit. Any endmill can be used for this job but, of course, a larger diameter bit will get the job done much faster. My flycutting bit is 2” diameter and has carbide insert cutters. It’s the same bit I use to level epoxy pours, end grain cutting boards and slabs.

If you’re using a large diameter bit reduce the rpm of the spindle. A 2” bit should run around 12,000 rpm. Remember that most CNC machines read in hertz, not rpm. If that’s the case with your machine multiply the number on the display by 60 to get rpm.
Design and toolpath

Create a new job and use the size of your spoilboard as the Job Size. Thickness isn’t important.

Navigate to the Draw Rectangle tool.

Create a rectangle that’s 5/8” larger than your spoilboard.

Center the rectangle on your workpiece/spoilboard.

Navigate to the Pocket Toolpath.

Set Cut Depth to .025” and choose the endmill you’ll be using. When you do through cuts on your CNC you should only cut .020” beyond the thickness of the material, so a flycut depth of .025” should be sufficient. Check the Ramp Plunge Moves box.

Preview the toolpath. It won’t look like much, but you can see where you’re at and make necessary changes. You’ll need to flycut the spoilboard multiple times in the life of your machine, so save the toolpath.
Do the flycut

Zero the X and Y axes. It can be hard to zero the X and Y axes with a large diameter bit mounted in the spindle. It’s much easier with a V-Bit.

Install the router bit and zero the Z axis.

Run the toolpath. Be sure to connect dust collection. MDF is incredibly dusty stuff. If you get a warning that the X or Y is Out of soft limit, double-check the XY zero. You may need to reduce the size of the rectangle you created for the Pocket Toolpath.

If one pass doesn’t level the spoilboard simply rezero the Z and run the toolpath again.

You can see that auto body filler provides a great way to level overly deep cuts without removing excessive material from the spoilboard.


