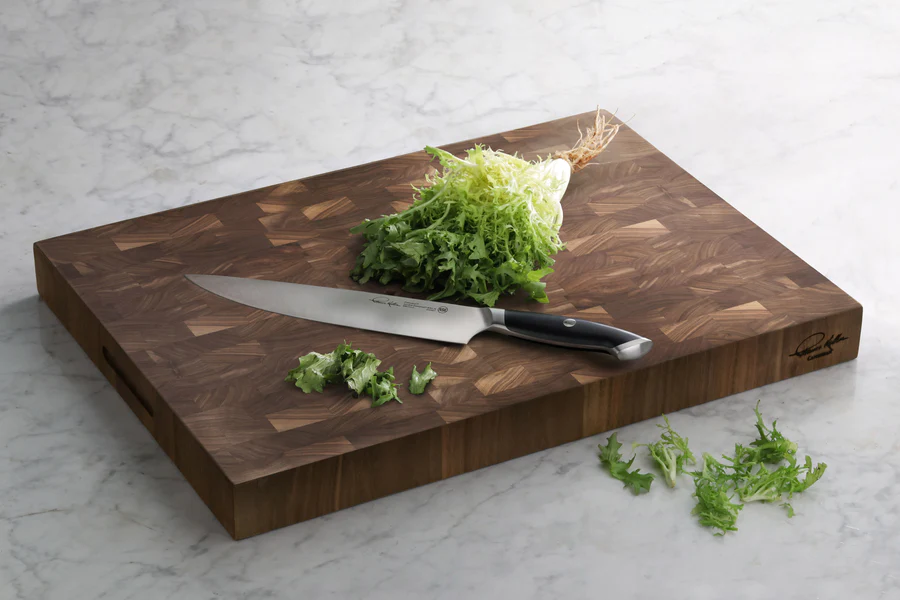
The world of woodworking is vast and full of unlimited possibilities for beginners and seasoned woodworkers alike. That being said, where do you start? With all the options available at your fingertips, it can be tricky to decide what to make. So, why not start with a classic? The cutting board: A kitchen tool that truly lives up to its name.
Building a cutting board made from exotic wood is a great way to sharpen your skills. Don’t let the notion of working with exotic wood scare you off. With the right tools and careful craftsmanship, you will be able to build your own personal cutting board.What Is Exotic Wood?
As fancy as it sounds, exotic wood means that it’s imported from some other part of the world. The types of exotic wood that you could potentially work with include some of the following:
- Purpleheart
- White Limba
- Padauk
- Jatoba
- Mahogany
- Bocote
- Canarywood
- Olivewood
On the other hand, domestic woods are slightly different, as they’re typically sourced from trees that you can find located in North America. Those trees include Oak, Birch, Walnut, and Maple.
Exotic woods may have similar traits to their domestic counterparts, but a key difference is that exotic wood tends to be harder and more expensive. However, they are quite striking, with beautiful and unique-looking grains and colors that you might consider when building your cutting board. Although, one thing to keep in mind is exotic woods may be more porous than domestic woods, as well as being prone to knife marks. The last thing you want is a deteriorating cutting board, so it’s best to seal the board with either wood cream or mineral oil to prevent future damage.
Another thing to be mindful of when working with exotic wood is that as beautiful as they look, they may come with potential allergy issues. Some exotic woods can cause a wide range of allergic reactions and health issues. The Wood Database has a helpful chart that includes some of the most common health issues derived from specific woods. While that doesn’t mean that you will experience symptoms, you should still brush up on the potential risk factors to stay safe.
The wood cutting experience can cause a huge mess. With wood dust and chips flying around, the last thing you want is any of it getting in your eyes or worse. Our friends at KJP Select Hardwoods recommend that you should always reduce the chance of inhaling wood dust with effective dust collection systems and/or wearing a mask.
Tools Required
You will need a variety of tools in order to make your cutting board:
- Safety equipment
- Pencils
- Measuring tape
- Table saw/CNC machine
- Router
- Sandpaper/planer
- Clamps
- Silicone/rubber feet
- Glue gloves and a glue brush
Cutting Board Design
Creating the design of your cutting board is probably the most fun you will have. This is the time to let your creative spark take control and figure out the look of your board. There are endless choices and combinations to consider, such as a striped Brazilian Walnut and Cherry wood combo with a butcher block style or perhaps an end-grain style that shows off the unique grain patterns or wood rings.
Length, Width & Thickness
You can choose the size and shape of your cutting board, but it’s a good idea to measure your counter space to ensure that it will fit.
Some basic dimensions we recommend are:
- Length: 12” to 18” long
- Width: 12” wide
- Thickness: 1 ½” to 2” thick
Cutting the Wood
Before you start cutting, make sure you have all of your safety equipment on, such as goggles, dust masks, and earplugs if necessary.
You will want to start by measuring the wood to get your desired length, width, and thickness. Use a pencil and measuring tape to outline the dimensions of each piece. Feed the wood through the table saw, cut along the measured lines, and make sure you cut each board the same length and width.
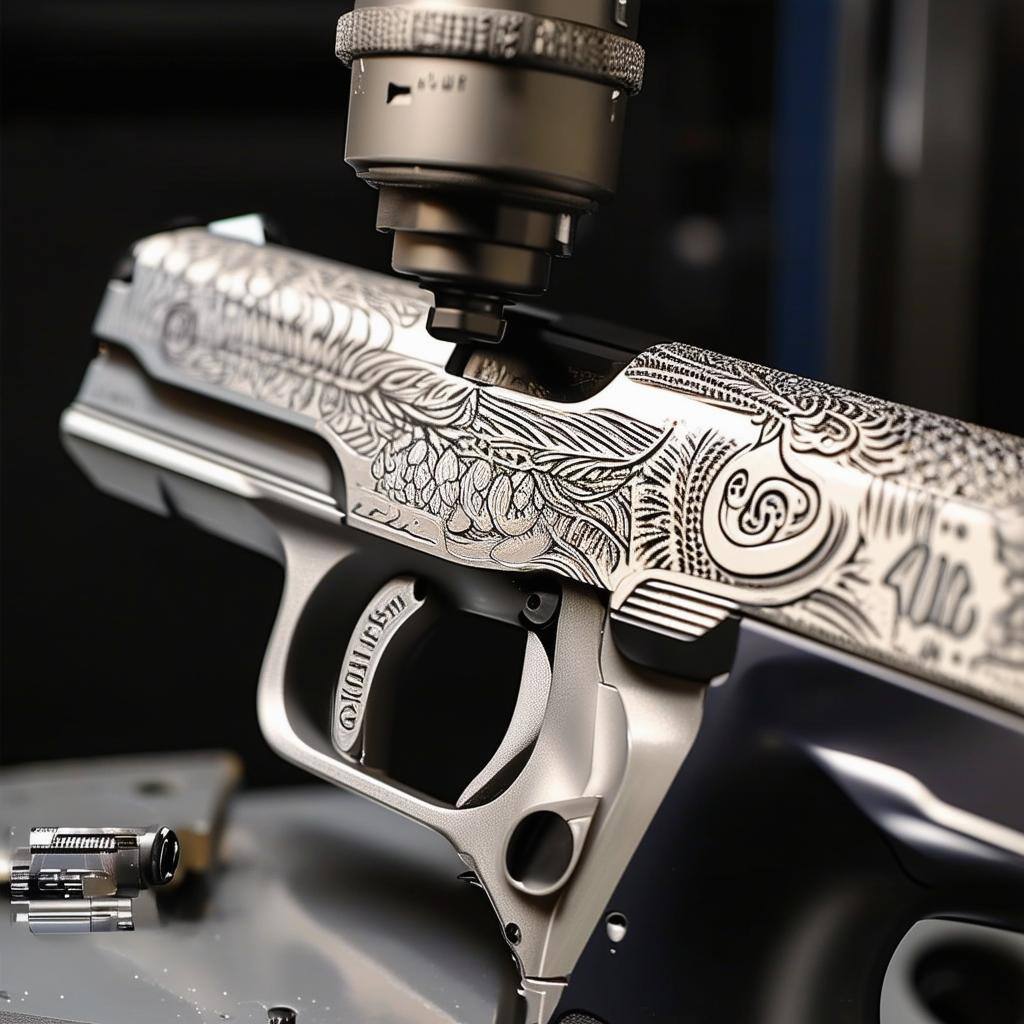
On the other hand, we strongly recommend the Swift CNC machine when cutting wood. It makes the cutting process faster and more efficient. CNC machines have the added benefit of producing more cutting boards than you could if you did it all by hand. If you’re a beginner, the IQ Series Standard CNC is a useful introductory machine that is compact and easy to use.
Assembling & Gluing
Once you’ve ensured that each piece of wood is measured correctly, you can begin gluing them together. Put on your latex gloves and spread the glue along the wood using a brush. Then, you can assemble each piece, press them together, and use your clamps to ensure the fit is secure.
The clamps may cause some glue to squeeze out of the sides of the wood pieces. Use a damp cloth to remove any glue spillage, and if the glue has hardened, use a chisel to scrape it off.
The glue will take roughly two hours to dry. Once the glue has set, add rubber feet to the bottom corners of the board to ensure that the board will stay in place once it’s in use.
Preparing the Surface
You’re going to want to sand the board to get it smoothed out. Start by running a planer over its surface to level it and remove any remaining glue. When it comes to smoothing the surface, you may use sandpaper, but we recommend using a drum sander; a perfect tool to provide a flat and smooth finish.
During this process, you may round out the edges to provide a sleek and stylish appearance. Use a router and pass it over the corners of your board to make them smooth and even. Feel free to get creative with it and add some decorative handles or edges to your cutting board.
When the board is at your desired smoothness and shape, coat it with wood oil to finish it. Make sure that you let the finish dry for one full day before you start cutting and chopping.
There are various options for you to put your exotic wood cutting board together, whether it’s pre-packaged or built with your own hands. Whatever option you choose, remember to stay safe and have fun during your upcoming woodworking project!


