Sign making on a CNC router is very common. The letters you cut will really pop if they’re painted. Here’s an easy way to mask off the sign before painting so the paint only goes in the letters.
Masking

The key to masking a large surface is a roll of Oramask. Oramask is a self-adhesive stencil film specifically designed for this task. Cut it to length, slightly longer than the project you’re working on. The roll is 12” wide. If your sign is larger than that, use multiple pieces with a 1” overlap.

Peel the paper backer from the end of the Oramask, start at one end, adhere that portion to the material, and then pull the backer and seat the film at the same time. Take your time and be careful with this step so you don’t get bubbles or wrinkles. The surface needs to be clean and flat in order for the mask to adhere well.

Use a J-roller to press the film onto the surface. Start in the center of the board and work toward the outside to roll out any bubbles. Even if you don’t have bubbles it’s important to use a roller to make sure the film is tight against the material.
Cutting

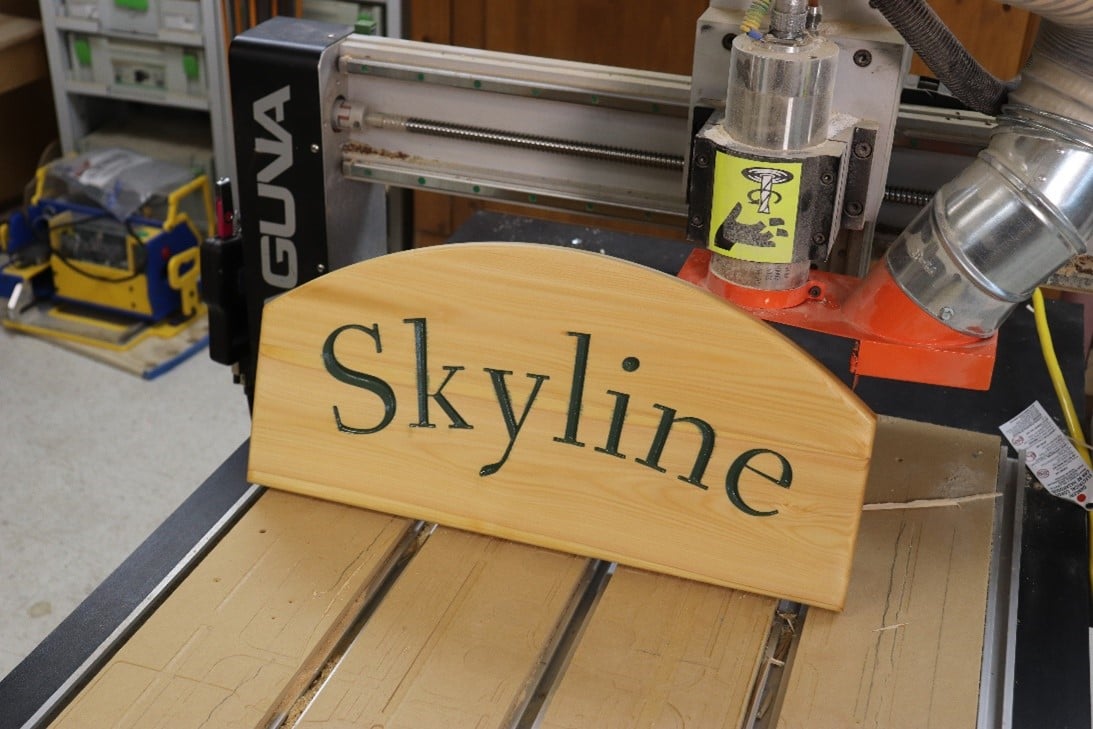
Secure the project to your CNC router, zero the X, Y and Z axes and make the cuts. The router bit, in this case a 90-degree V-bit, cuts through the Oramask, exposing the material.

Change bits as needed to wrap up the project.
Clean up

Blow the dust out of the letters, but use VERY gentle air pressure. If you go overboard with air the air stream can get under the film and lift it from the board.

Use the J-roller again to press the film around the letters.
Painting

Spray the letters with shellac to seal them before applying paint. Lots of end grain gets exposed when the letters are routed into the wood surface. A preemptive coat of shellac will reduce the likelihood of the paint weeping into the surrounding surface.

Paint the letters after the shellac is dry. An aerosol can of paint works great for this.
Peel and finish

Peel the mask from the board. You may need to use a utility knife blade to get it started.

Lightly sand the surface.

Apply topcoat to the sign going over the letters and surrounding wood.


