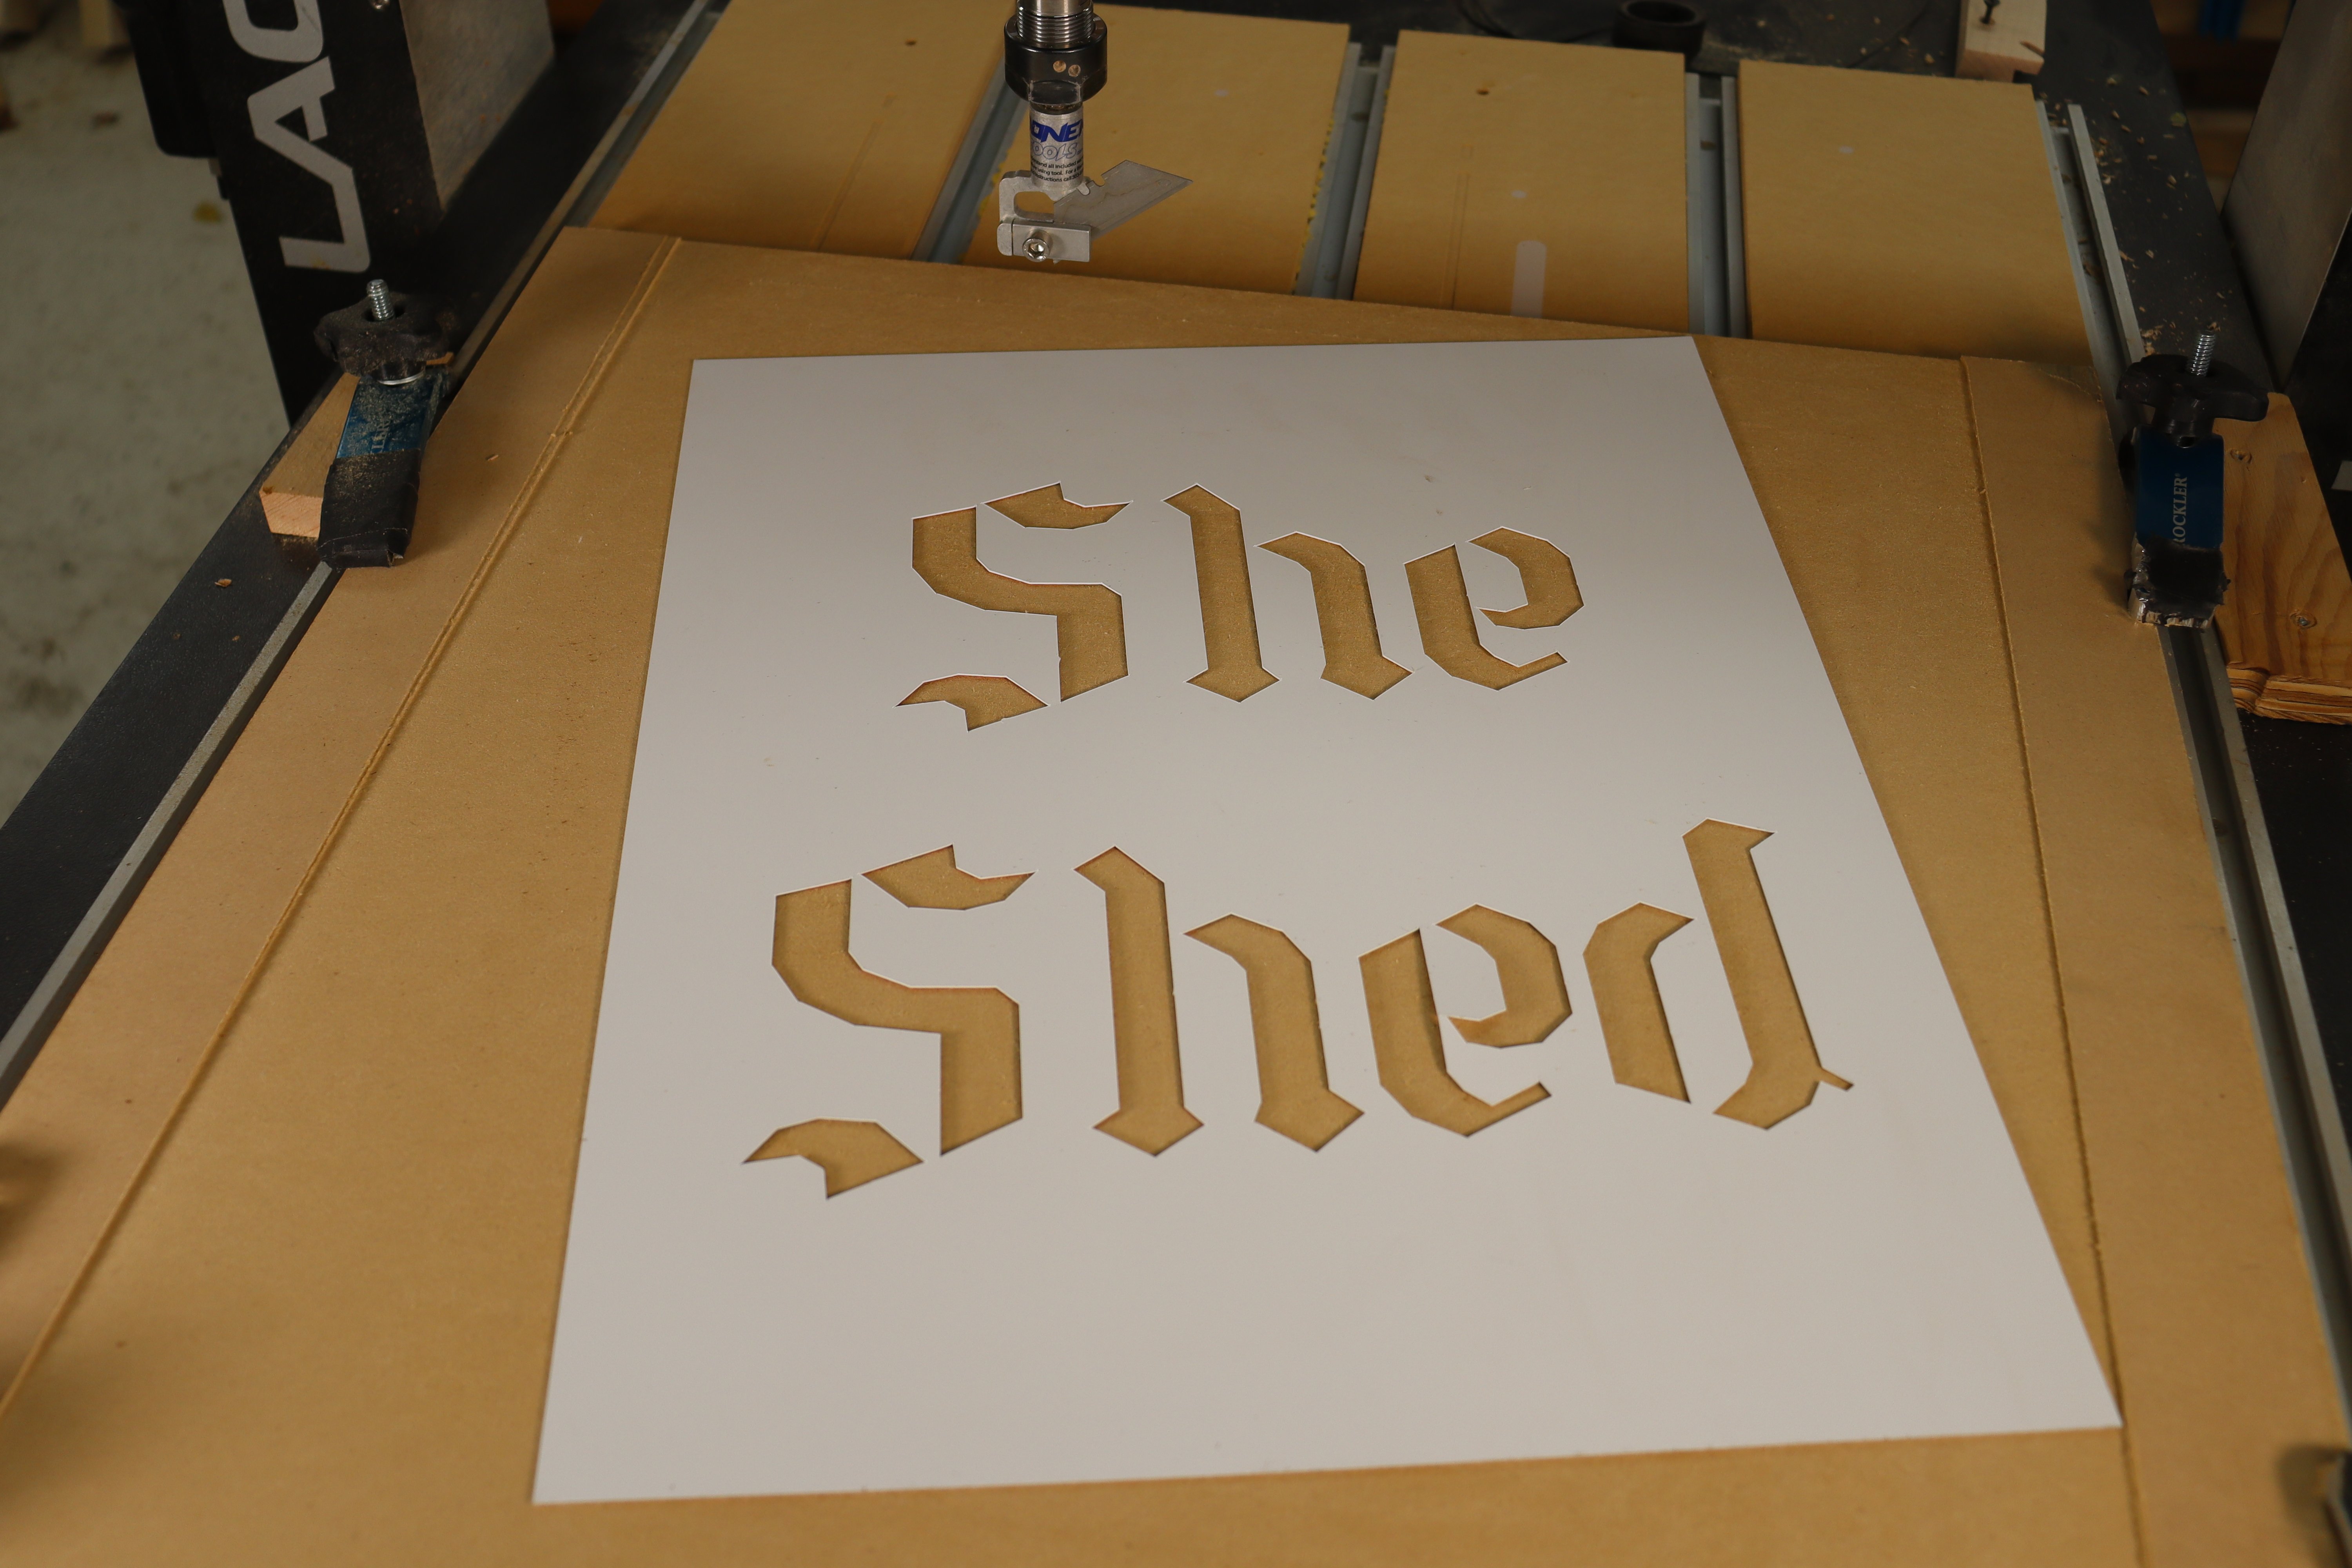
Grab a plastic sign from your local hardware store, install a dragknife on your CNC router, and you can easily create your own stencils.
Required readingBefore diving into this project, you should have a look at What a Drag Knife Is and an additional article about how to cut leather with a drag knife here. That’ll provide you with some background you need for this project. The design work is being done in VCarve Pro and the drag knife is a Donek D3.
You need a stencil font
In order to create a stencil, you need to choose a stencil font. Stencil fonts include bridges so the internal parts of letters like A or D remain in place. Stencil fonts may or may not already be included on your computer. Websites like dafont.com offer a HUGE array of fonts to pick from.

Type “stencil” in the search window and click Search.

You’ll find a wide array of stencils you can download. Look for instructions online about installing the font on your computer. This process varies depending on the operating system you have. Once it’s installed on your computer it will automatically be available in VCarve. If you already have a design in process, you may need to close VCarve and reopen it before you see the new font.
Create your design

Carefully measure the thickness of your sign material using digital calipers. For Sale signs, Garage Sale signs… This type of plastic works really well for a stencil.

Create a new job using the dimensions of your material. Be sure the Z Zero is set to Machine Bed.

Click on the Draw Text tool. Locate and select the stencil font.

Type out your stencil message.

We need to take one more step before tool pathing the stencil. Right click on the text. Navigate to and click on Convert to Curves. If you don’t do this the Drag Knife Toolpath won’t “see” your design. This typically only has to be done for fonts, not for designs you create from scratch.

Click on the Gadgets menu. Navigate to and click on the Drag Knife Toolpath.

The Drag Knife Toolpath automatically opens. Cut depth is equal to your material thickness. Swivel depth should be about half the material thickness. These Donek videos do a great job of explaining what the Swivel depth is all about, and also walk you through Blade Offset. It’s important that you understand how these values fit in to creating a toolpath. Click OK.

This automatically creates a toolpath. There’s no need to do any additional work in the Toolpath window. Using the drag knife-specific toolpath creates sharp inside corners. The toolpath automatically makes accommodations for the drag knife’s offset, and how the knife behaves as it swivels to turn corners. I find it best to use the Drag Knife Toolpath for inside cuts like this stencil, but you can do other workarounds on outside cuts, like the leather cutting project, here.
Cut the stencil
Zero the Z axis on your CNC router following the procedure provided here. Make sure the spindle or router is turned off.

Use spray adhesive on the back of the sign and adhere the sign to your drag knife spoilboard. Zero the X and Y axes. Spray adhesive works better than masking tape for this thin plastic.

Run the stencil toolpath.

Gently peel the stencil from the spoilboard. The letters will stay behind, stuck to the spoilboard. Be careful as you peel so you don’t tear the thin plastic.
Grab a can of spray paint, and you’re ready to stencil!


