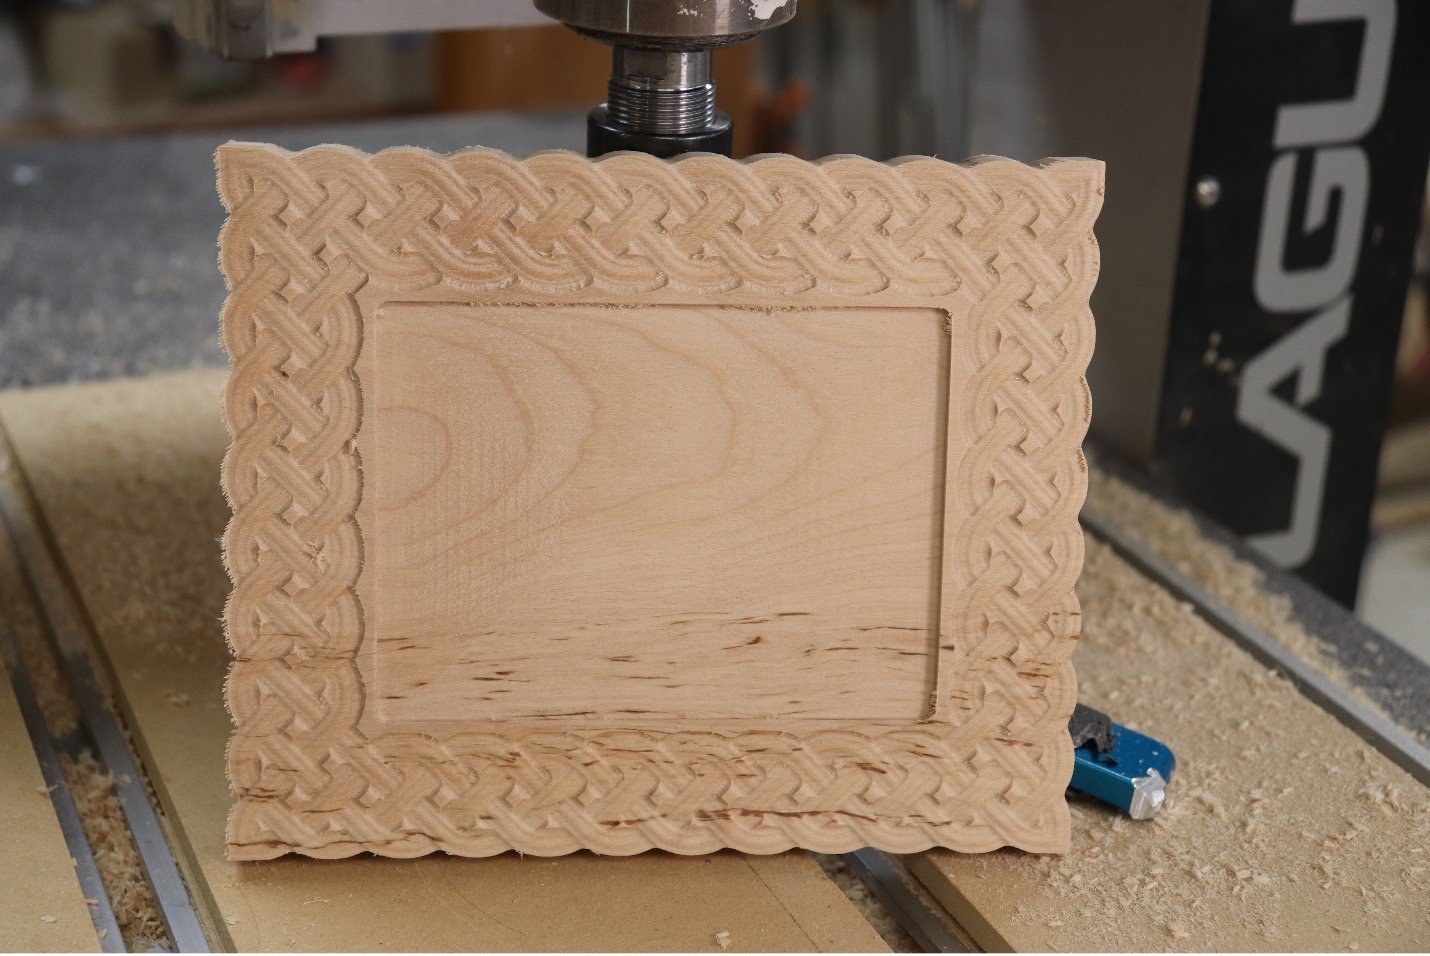
It’s easy to add a weave pattern to a frame using VCarve Pro to design your CNC project. There are different weaves available, and you can resize them as needed for your project.

Set up a new job with the dimensions of your project piece.
Choose and set up the weave

Navigate to the Clipart tab.

Within Clipart choose Weaves.

This opens up the menu of weave options.

Drag and drop the frame and weave you want onto the workspace. Use Align Objects-Center to center the weave on your work.
Resize the frame

If the frame isn’t the correct size for your project use Set Selected Objects Size to change the size of the frame.

If you change the size of the frame leave Link XY checked so the frame stays proportional in both axes.
Outline the frame
If you want to cut the frame to the outside shape created by the weave you need to create vectors to do this. This is very simple.

Click on the modeling tab.

Select the frame and click on Create vector boundary around selected components.

The resulting action is just what the icon name indicates: it creates boundaries around the 3D object. This is very handy any time you want to be able to cut directly around 3D clipart.

The resulting lines are all grouped together. You need to ungroup them for the next step. With the new lines selected, right click on them. One of the menu options you’ll get is to Ungroup objects. Click on that option.

This allows you to select only the outside line/vector, necessary for cutting the frame to that shape.
Toolpaths

With the outside line selected use the 2D Profile Toolpath. Add tabs and ramps. Click Calculate.

Use Preview Toolpath to double check your work. Make adjustments to your toolpath as needed.

Select the frame/weave and use the Finish Machining Toolpath to cut it. Choose a ball nose bit that is a good match for the scale of your weave. I’m using a 1/8” ball nose bit on this project.

Use Preview Toolpath to ensure you’re getting what you want. You can get more detail by using a smaller ball nose bit, or a faster machining time by using a larger ball nose bit.

If you want to use this as a frame create a rectangle inside the weave. Use this as a recess to place a picture in.

Use the Pocket Toolpath to cut inside the rectangle and create a pocket for your picture.

As always, use Preview Toolpath to make sure you’re getting what you want, and make any necessary changes.
Machine the project

Zero the ball nose bit on the X, Y and Z axes. You’ll get the best detail by cutting the weave in a close-grained wood like walnut, cherry or, in this case, maple.

Run the weave toolpath.

Swap for the pocket/profile toolpath bit and rezero the Z axis. Remember to not change the X and Y axes.

Run the pocket toolpath…

…and the profile toolpath. Both of these cuts are being done with a ¼” upcut spiral bit.

Lightly sand the weave with a flutter sander.

When you choose the correct material and the right size ball nose bit, the detail is incredible.


