One of the most common materials to be engraved or cut on the laser is wood. There are all types of wood that serve different purposes, whether the project involves laser engraving or a woodworking CNC machine. It is important when doing a job to understand exactly what your customer is going to be using the product for. You must ask where the product will be used, how long is it expected to last, and even if the customer wants to do their own finish on the project.
I was asked to do a sign for a customer and as usual I asked all of those questions. He said that the sign will be hung by his cabin so people will be able to see where to turn into his road. This told me a few things about what he actually needed. For example, it will need to be large, easy to read, and able to withstand weather, which in Wisconsin changes a lot, as well as being very wet and cold.
The first step was to choose a species of wood. I chose cedar for its ability to withstand outdoor environments. I also wanted the wood to be solid, as plywood will split and fall apart in moist conditions.
Next was the design, one of the most important parts of sign making. The customer was replacing an old sign that had some trees and animals around the border. When designing the new sign, I asked if he would like to have that in the new one as well. I already gave him a quote, and told him that adding those items would not add any cost. He still said no.

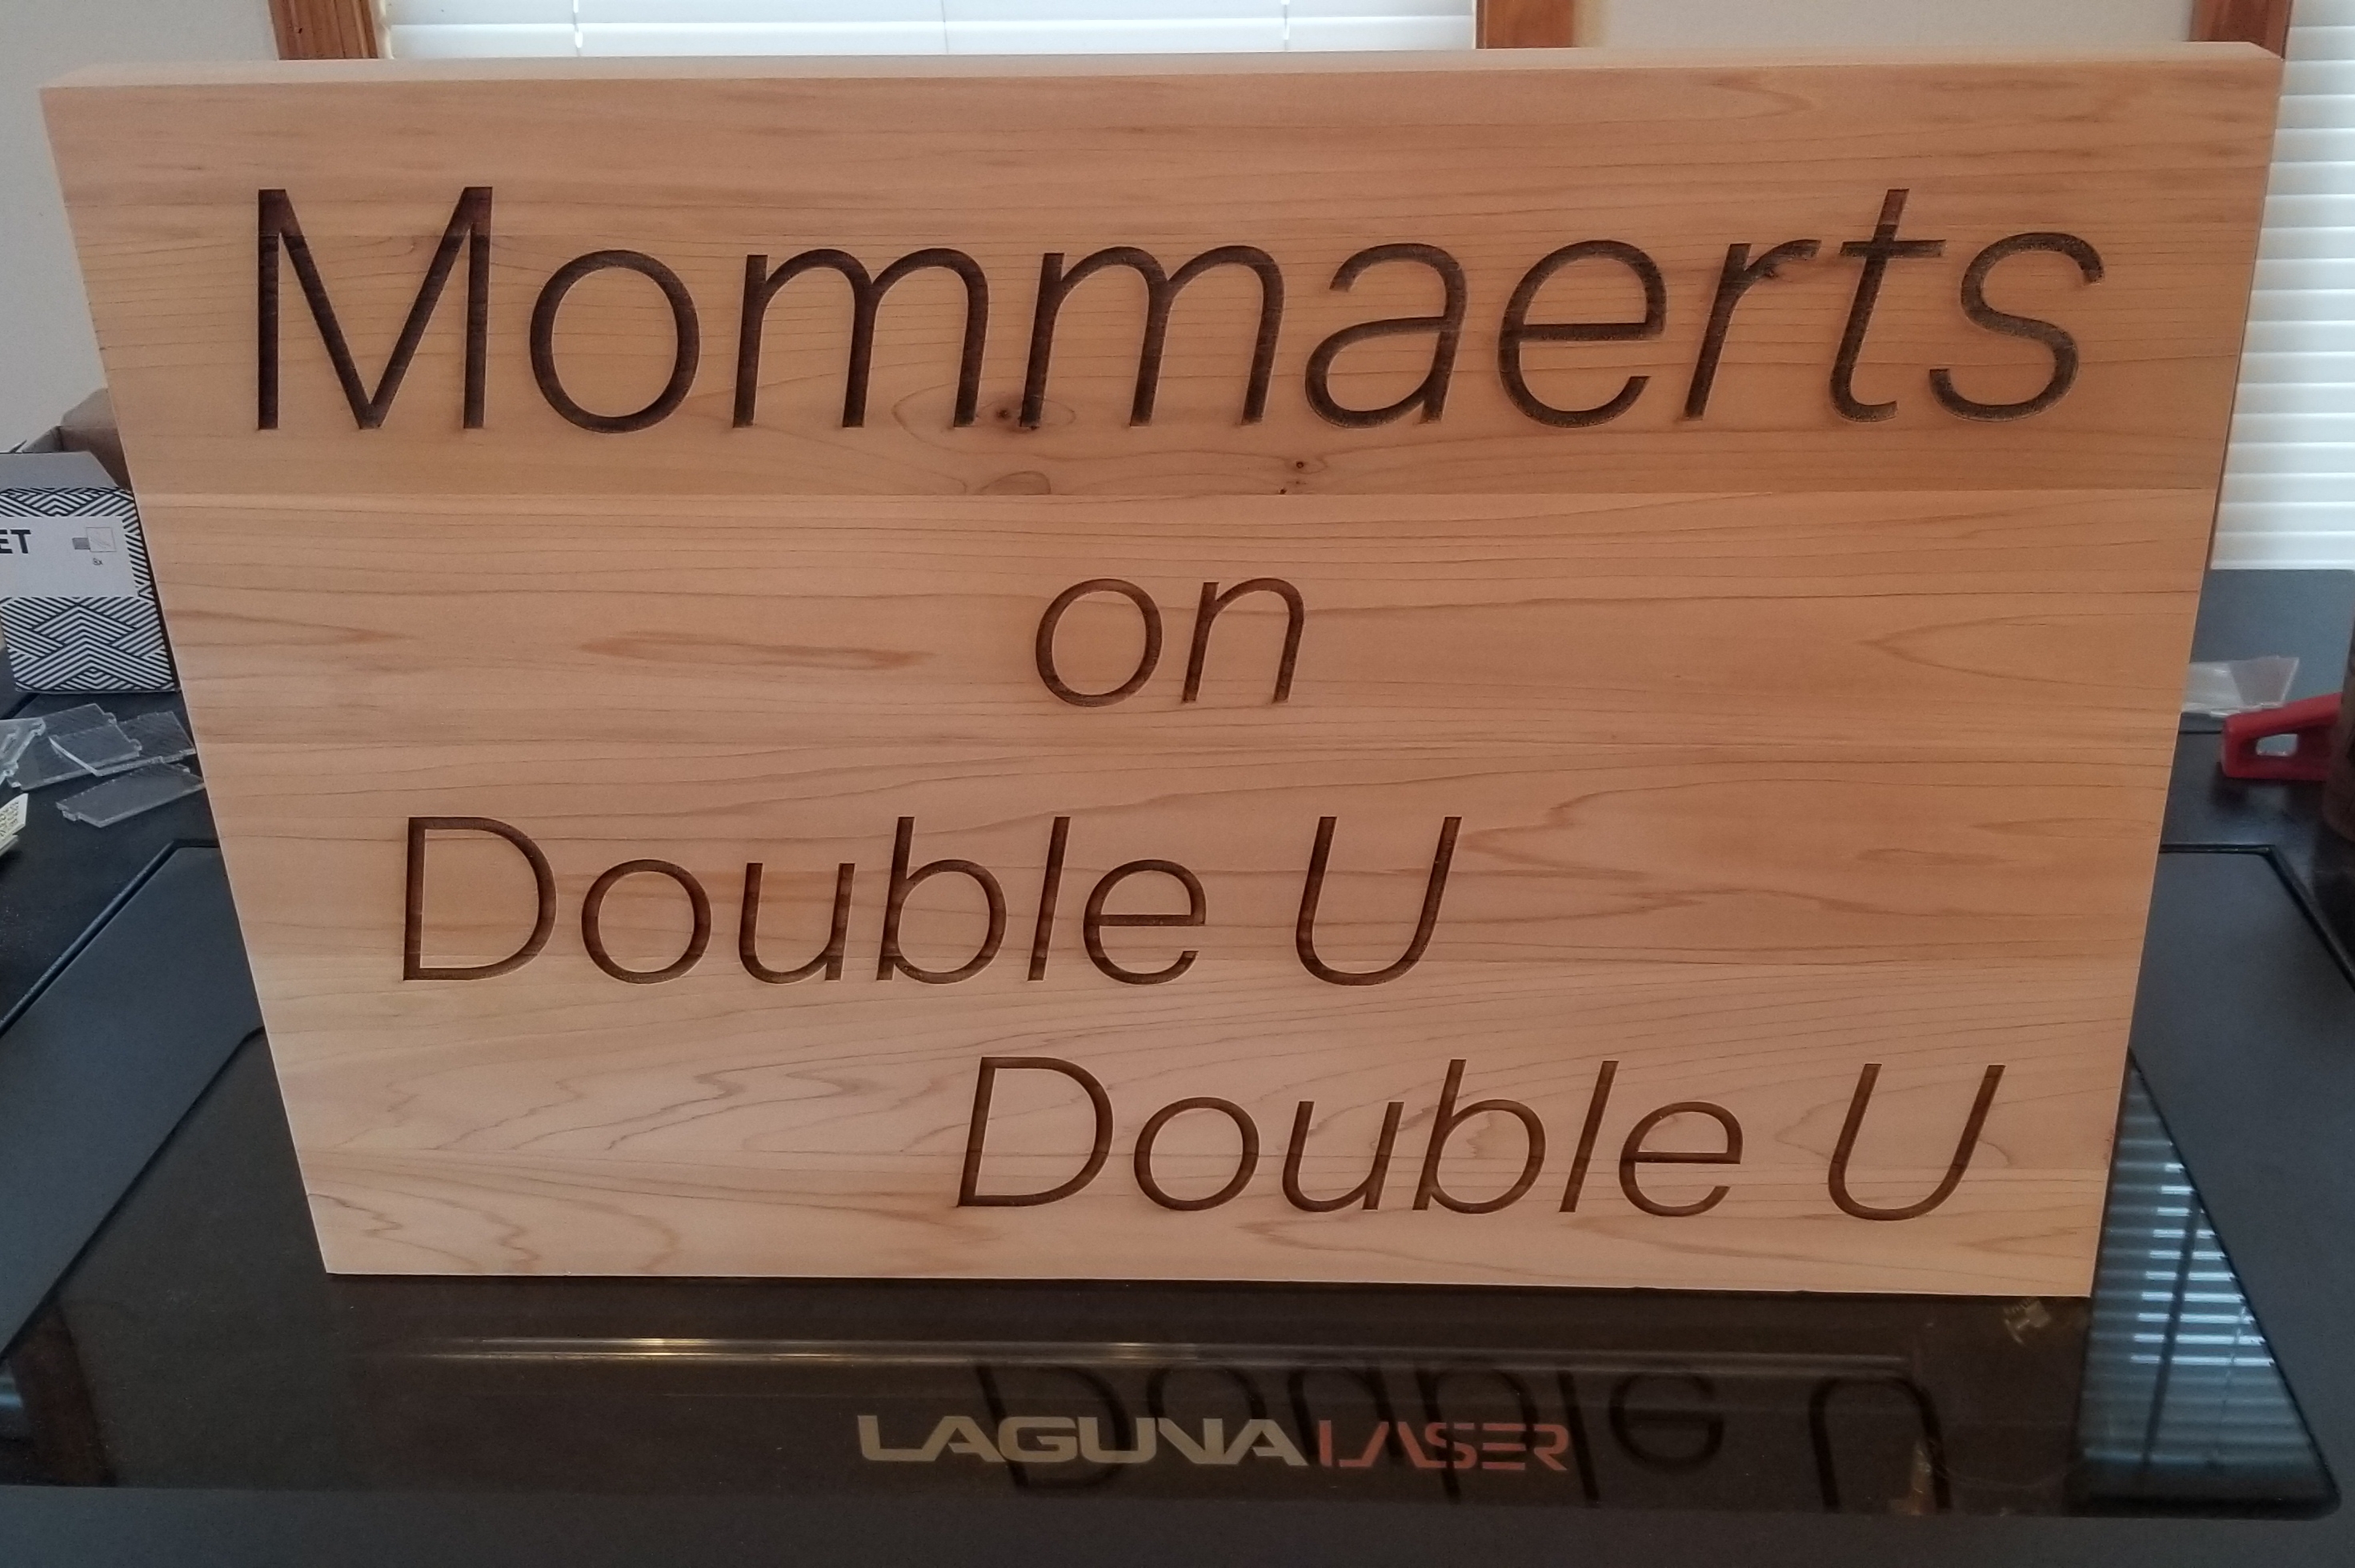
This is where it is important to remember that the customer is always right. Although the design is not one that I would have chosen for my cabin, the sign is not going in my cabin. The customer wanted something modern and simple. I left the sign free of any extra frills and just put the words on it in the way he wanted it.
The last step was to choose the finish. I worked with a local wood shop to do the finish, as they have a lot of knowledge and equipment to do a great job. They used an outdoor sealer, sanded between each coat, and put on a lot of thin layers. This made for a very smooth, strong finish that will last for a long time.
I have not engraved on this exact material before, so I ran some test burns. I started with the settings I used for similar woods in the past and made note of how it turned out. I then made some adjustments and made note of that as well. A practice that I use is to keep these small sample pieces and write on them with marker what my settings were. That way I can go back later and reference them.

I then set the finished board on the laser and framed in the design. I had a lot of time and money in the board, so I wanted to run one last test to ensure that the engraving was going to come out correctly. To do this, I slipped a thin piece of scrap wood between the sign wood and the laser. I then started the program and made sure that the sizing and angle were correct.

Once the final engraving was done, it was time to clean the “overburn” off of the material. Overburn is small particles of wood that are left on the surface of your engraving. They end up there from the compressor blowing out the project as it is running. To remove it, I spray a mixture of alcohol and water directly on the surface and wipe off the burn. Instead of wiping by hand, I cut a round piece of microfiber rag and attach it to a random orbit sander. I then run the sander over the surface and it all comes out very clean.

After the cleaning, it is off to get the finish and another happy customer is on his way!