Bowties add a beautiful element to your woodworking projects. One of the easiest ways to cut in a bowtie is to use a template kit. The kits come with instructions, but here are tips to help you along in the process.
The kits

The kits consist of a template, guide bushing and 1/8” router bit. The guide bushing is designed to work specifically with the template kit and allows you to cut the pocket and the inlay using the same template. You must use a plunge router with these kits. These kits can typically do inlays up to 3/8” deep, but check the specifications for your kit.
Set up

Install the router bit and guide bushing in your router and set the depth of cut. Place the template and bowtie material on your router base and set the depth so it’s 1/32” less than the thickness of the inlay. Be sure the router is unplugged when you’re making changes to the router.

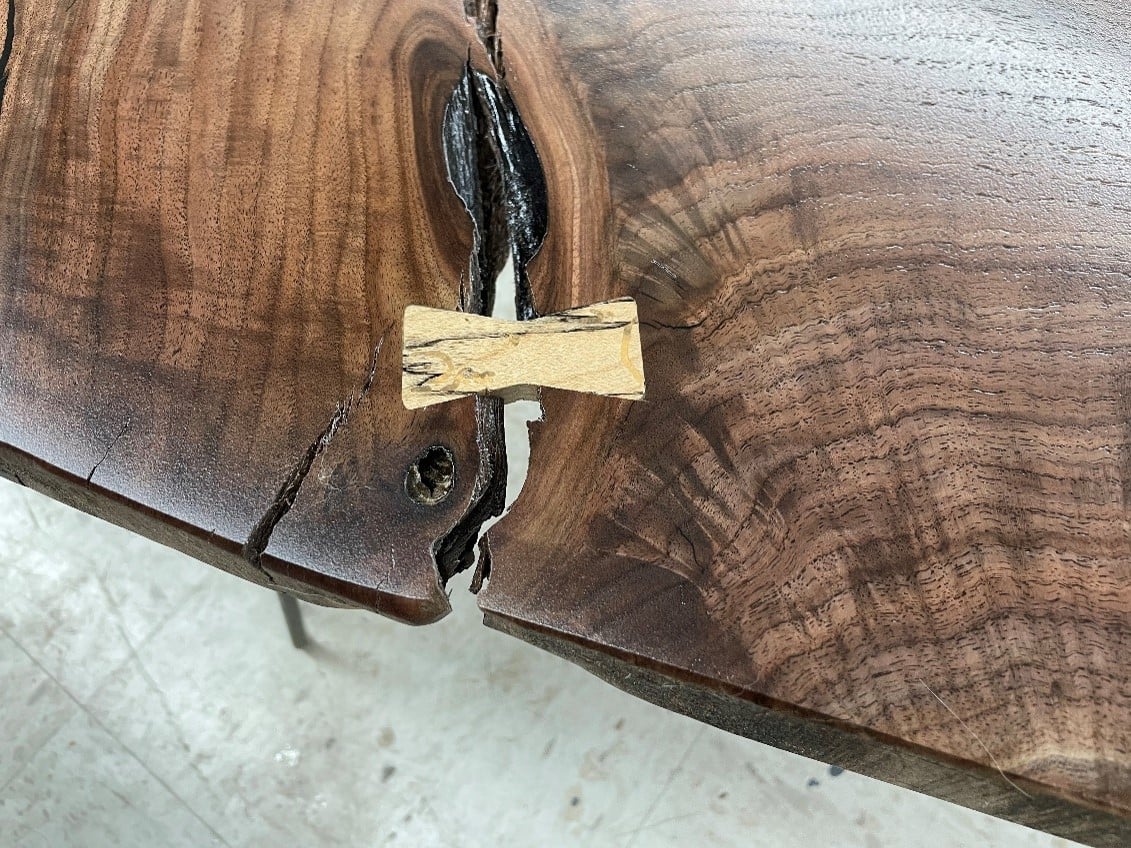
Experiment with different sizes of bowties and the bowtie’s position by tracing the template on your work. If you don’t like it, sand it off and try again. When working with dark wood a white charcoal pencil provides lines that are very easy to see.

When you’ve locked in on the bowtie size and position, fasten the template to your work with double-faced tape.

The guide bushing includes a removable ring. The ring must be installed on the guide bushing when you’re excavating the pocket, and is removed when you’re cutting the inlay.
Cut the pocket
It’s best to cut the pocket before cutting the plug. The pocket is easier and will give you a feel for the process and handling the router.

Position the router on the template with the guide bushing inside the pattern. Plunge into the work and move the router to remove the waste. It’s best to make the cuts in multiple passes, 1/8” deep each, to prevent breaking the bit. Make a final pass clockwise, keeping the bushing tight against the pattern.

Check your work before removing the template. Make sure the edge of the pocket is parallel to the edge of the pattern, and the bottom of the pocket is completely flat, with no high spots. As you’re clearing out waste dust builds up in the template and can prevent the guide bushing from maintaining contact with the pattern. If dust gets between the bushing and the pattern the edges of the pocket won’t be consistent. As you move the router to excavate the waste it’s easy to miss a spot. Both of these problems can easily be fixed while the template is still secured to the work.
Cut the inlay

Remove the ring from the guide bushing.

Place the template and inlay material on your router base and set the depth of cut so the router bit goes slightly beyond the inlay.

Secure the inlay material to a piece of scrap. Make sure the specific spot you’re cutting the inlay from has tape behind it so the inlay piece can’t move after you’ve cut through it. Secure the pattern to the material. Clamp your work to a bench.

Position the router on the pattern with the guide bushing tight against the pattern. Plunge into the inlay material, making the through cut in 1/8” increments, moving in a clockwise direction. It’s very important that the guide bushing stays tight against the pattern throughout the cutting process. If it wanders away from the pattern it’ll make the inlay smaller, which ruins it.

Check your results. If the bushing and bit wandered and ruined the inlay, you’ll have to machine a new piece. Remove the template and the inlay.

Put yellow glue in the bottom of the pocket and tap the inlay in.

Place a clamping caul over the inlay, and put wax paper between the caul and inlay so glue squeeze out won’t adhere the caul to your work. Clamp the inlay and allow the glue to dry.

Sand the bowtie flush with the surrounding slab and admire your work. Many different shapes, in addition to bowties, are available in these kits. The process is the same, regardless of the shape.


