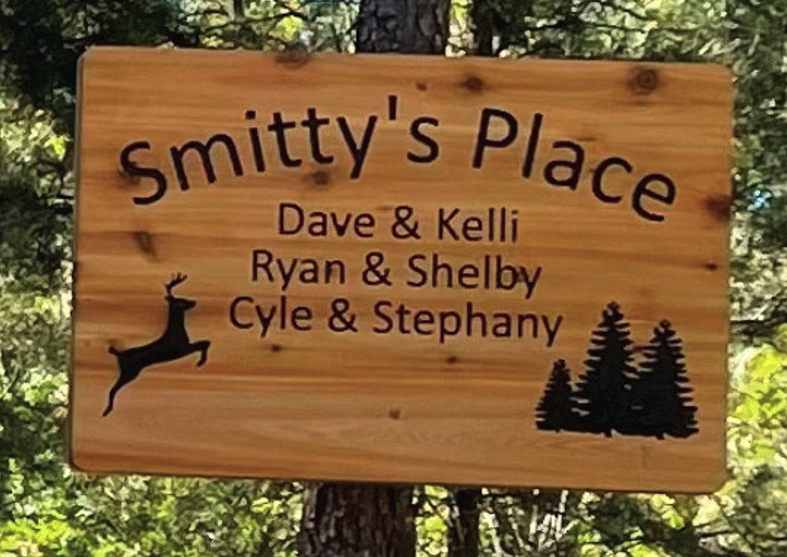
Intersted in making a painted sign? This 1-1/2” x 24” x 36” sign was made on a CNC. A number of steps were done to get this result, from glueing to sealing, this nice result. Here is a quick walkthrough on how to make an outdoor sign like this using a CNC router.
First, you'll want to cut the pieces to rough length, about 2” longer than the finished sign, and joint both edges. If you're looking to take your woodworking seriously and considering a jointer, the JX|8 Jointer from Laguna Tools is the perfect workhorse for your workshop. Most glues on the market are incredibly strong, but its important to note glue works best when the joinery is level on each wood piece. The best way to achieve a good sign like this is to joint every edge properly and use glue as the final step to create a strong bond.
Next, you'll want to check your work. The joints between the pieces should close on their own when placed next to each other without clamp pressure. If there are any gaps, its important to rejoint those edges to get a flush finish in between each piece. If the wood is stable you don’t need to worry about alternating end grain on the glue up.
Now that you've made sure there are no gaps, its time to glue the pieces together. For an outdoor project, it’s best to use waterproof glue. One of my favorite ways to apply glue is with a roller bottle, it quickly gives an even spread on the applied surface. Whatever method you choose, make sure to apply a good portion of glue to each edge.
Apply gentle pressure with the bar clamps to close the seams. You can't go wrong with any specific clamps, but you will more than a couple to get a flush finish. 
If possible, bridge the seams with F-style clamps. This holds the surfaces flush with each other. Allow the glue beads to get rubbery and then slice them off with a chisel or putty knife. Once enough cure time has passed by sand or plane the glue up flat. (Planer sander)
Before your CNC routes in letters or personalized artwork, I recommend to cover the board with masking material. This is just like using masking tape to protect areas that you don’t want to get paint on, leaving a cleaner and overall better finish. My personal choice is the 12" wide masking tape, perfect for covering up more surface area. Use a utility knife to cut the roll to length, a couple inches longer than your project. I've found that masking the surface before CNC engraving any design is the best way to get a clean finish.
Now the good part, time to cut the sign. After your CNC is done engraving, you'll notice that masking tape doesn't cause a difference for your CNC. Use an air compressor or shop vacuum to gently dust off the material particles off the artwork. Don't be too aggressive on the masking tape as it can lift the tape off the surface which will ruin your finish later. 
Check to see if any masking tape was raise. If so, you will want to reroll another layer of tape to smoothly adhere it to the surface. Once thats done, you can paint your sign after you apply clear coat/paint.
Peel the mask off after the paint is dry and then use a sharp object to lift and peel the mask from small areas.
Sand the surface to remove any paint that found its way under the mask, and clean off the dust.
Seal your sign with a good quality exterior grade finish. Once the finish is dry your sign is ready to hang in the great outdoors.
Following this recipe will give you a great glue up and crisp, clean letters on your painted sign.
CNC
How-to
Woodworking
Tips & Tricks
General
Jointers
How to Make an Outdoor Wood Sign
By
George Vondriska on September, 28 2022

Recommended Articles
- January 20, 2026
- March 7, 2025


