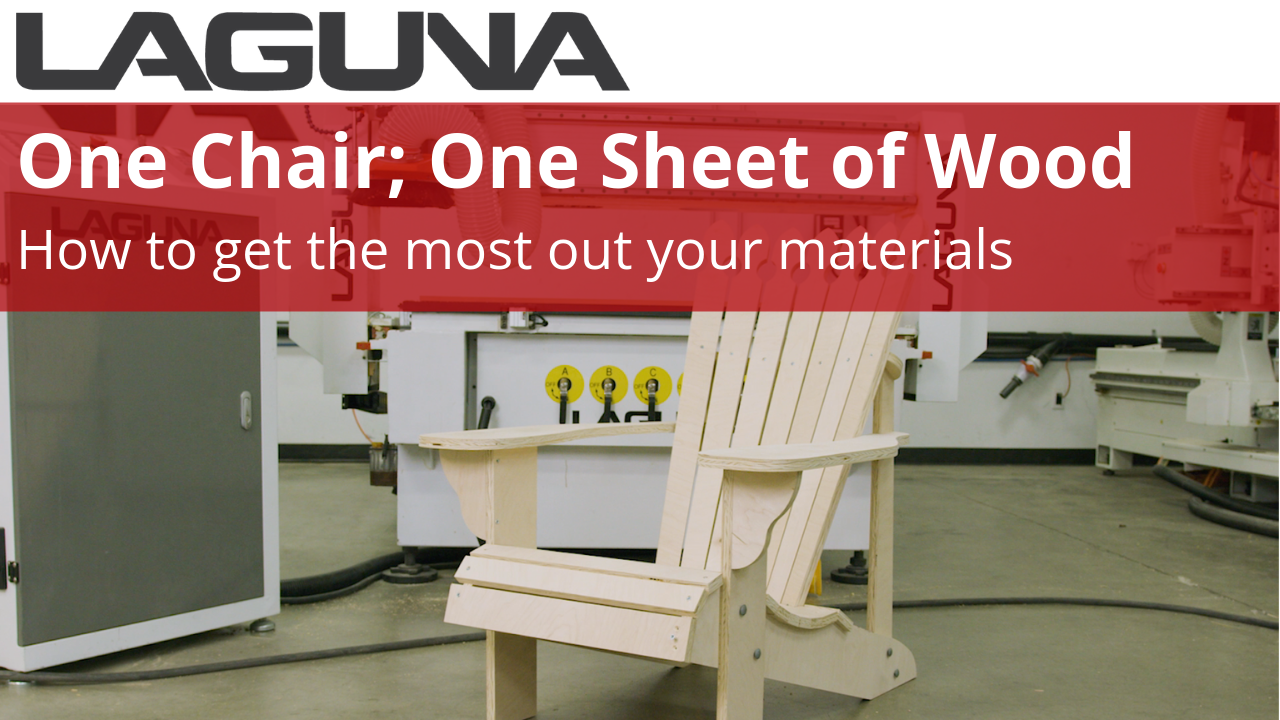
One of the biggest advantages of a CNC machine is being able to use as much of your materials as possible. This process is called Nesting. But, how do you nest the parts you need to cut? In this article, we'll cover how to effectively nest with your CNC so that you can save exponentially on material costs.
How Does Nesting Save Me Money?

Because you're able to organize your parts on the material, this allows you to maximize material usage. Every inch of your material can be programmed to be used.
Nesting properly saves you time and money by maximizing the yield on every sheet of material you use. Having the bonus of a vacuum table allows even more freedom of part placement when Nesting.
So, let's get into how you can Nest effectively on your CNC machine.
What You'll Need
- CNC router (Any size work table can work. We're using a 4' x 8' table)
- VCarve Pro – you can download it from us
- A DXF file of the design of your choice
- Material (if it's different than wood, you can specify that in VCarve)
Setting Up The Program
For this demonstration, we used a file from Etsy, which you can purchase here – might be helpful to use the same file to follow along easier.
However, the next step is the same. Once you've downloaded or finished your design, export it as a [dxf] file. Set up a new project in VCarve Pro and specify the work table size under "Job Size" with your work table.

In our case, since we're using a work table of 4' x 8' (48in. x 96in.), we set that into the Job Size parameters. If you're working in millimeters, you can specify that in that same Job Size box. Once you make the new file with the appropriate job size, import your dxf file, as shown.

Now, we need to tell VCarve what we want to nest. First, we have to set the tool diameter and how much clearance we'll need between parts. Then, the border needs to be defined to make sure VCarve nests the pieces inside the work area.

Once we've told VCarve how big the router bit is, how much gap needs to be in between each piece, and the border gap, VCarve is ready to Nest.
And for this, simply click "Apply." VCarve will now automatically set your pieces in the work parameters you've set. If you receive any errors, make sure the work table has been set correctly; or, play with the clearances and border gap.
Defining the Cutting
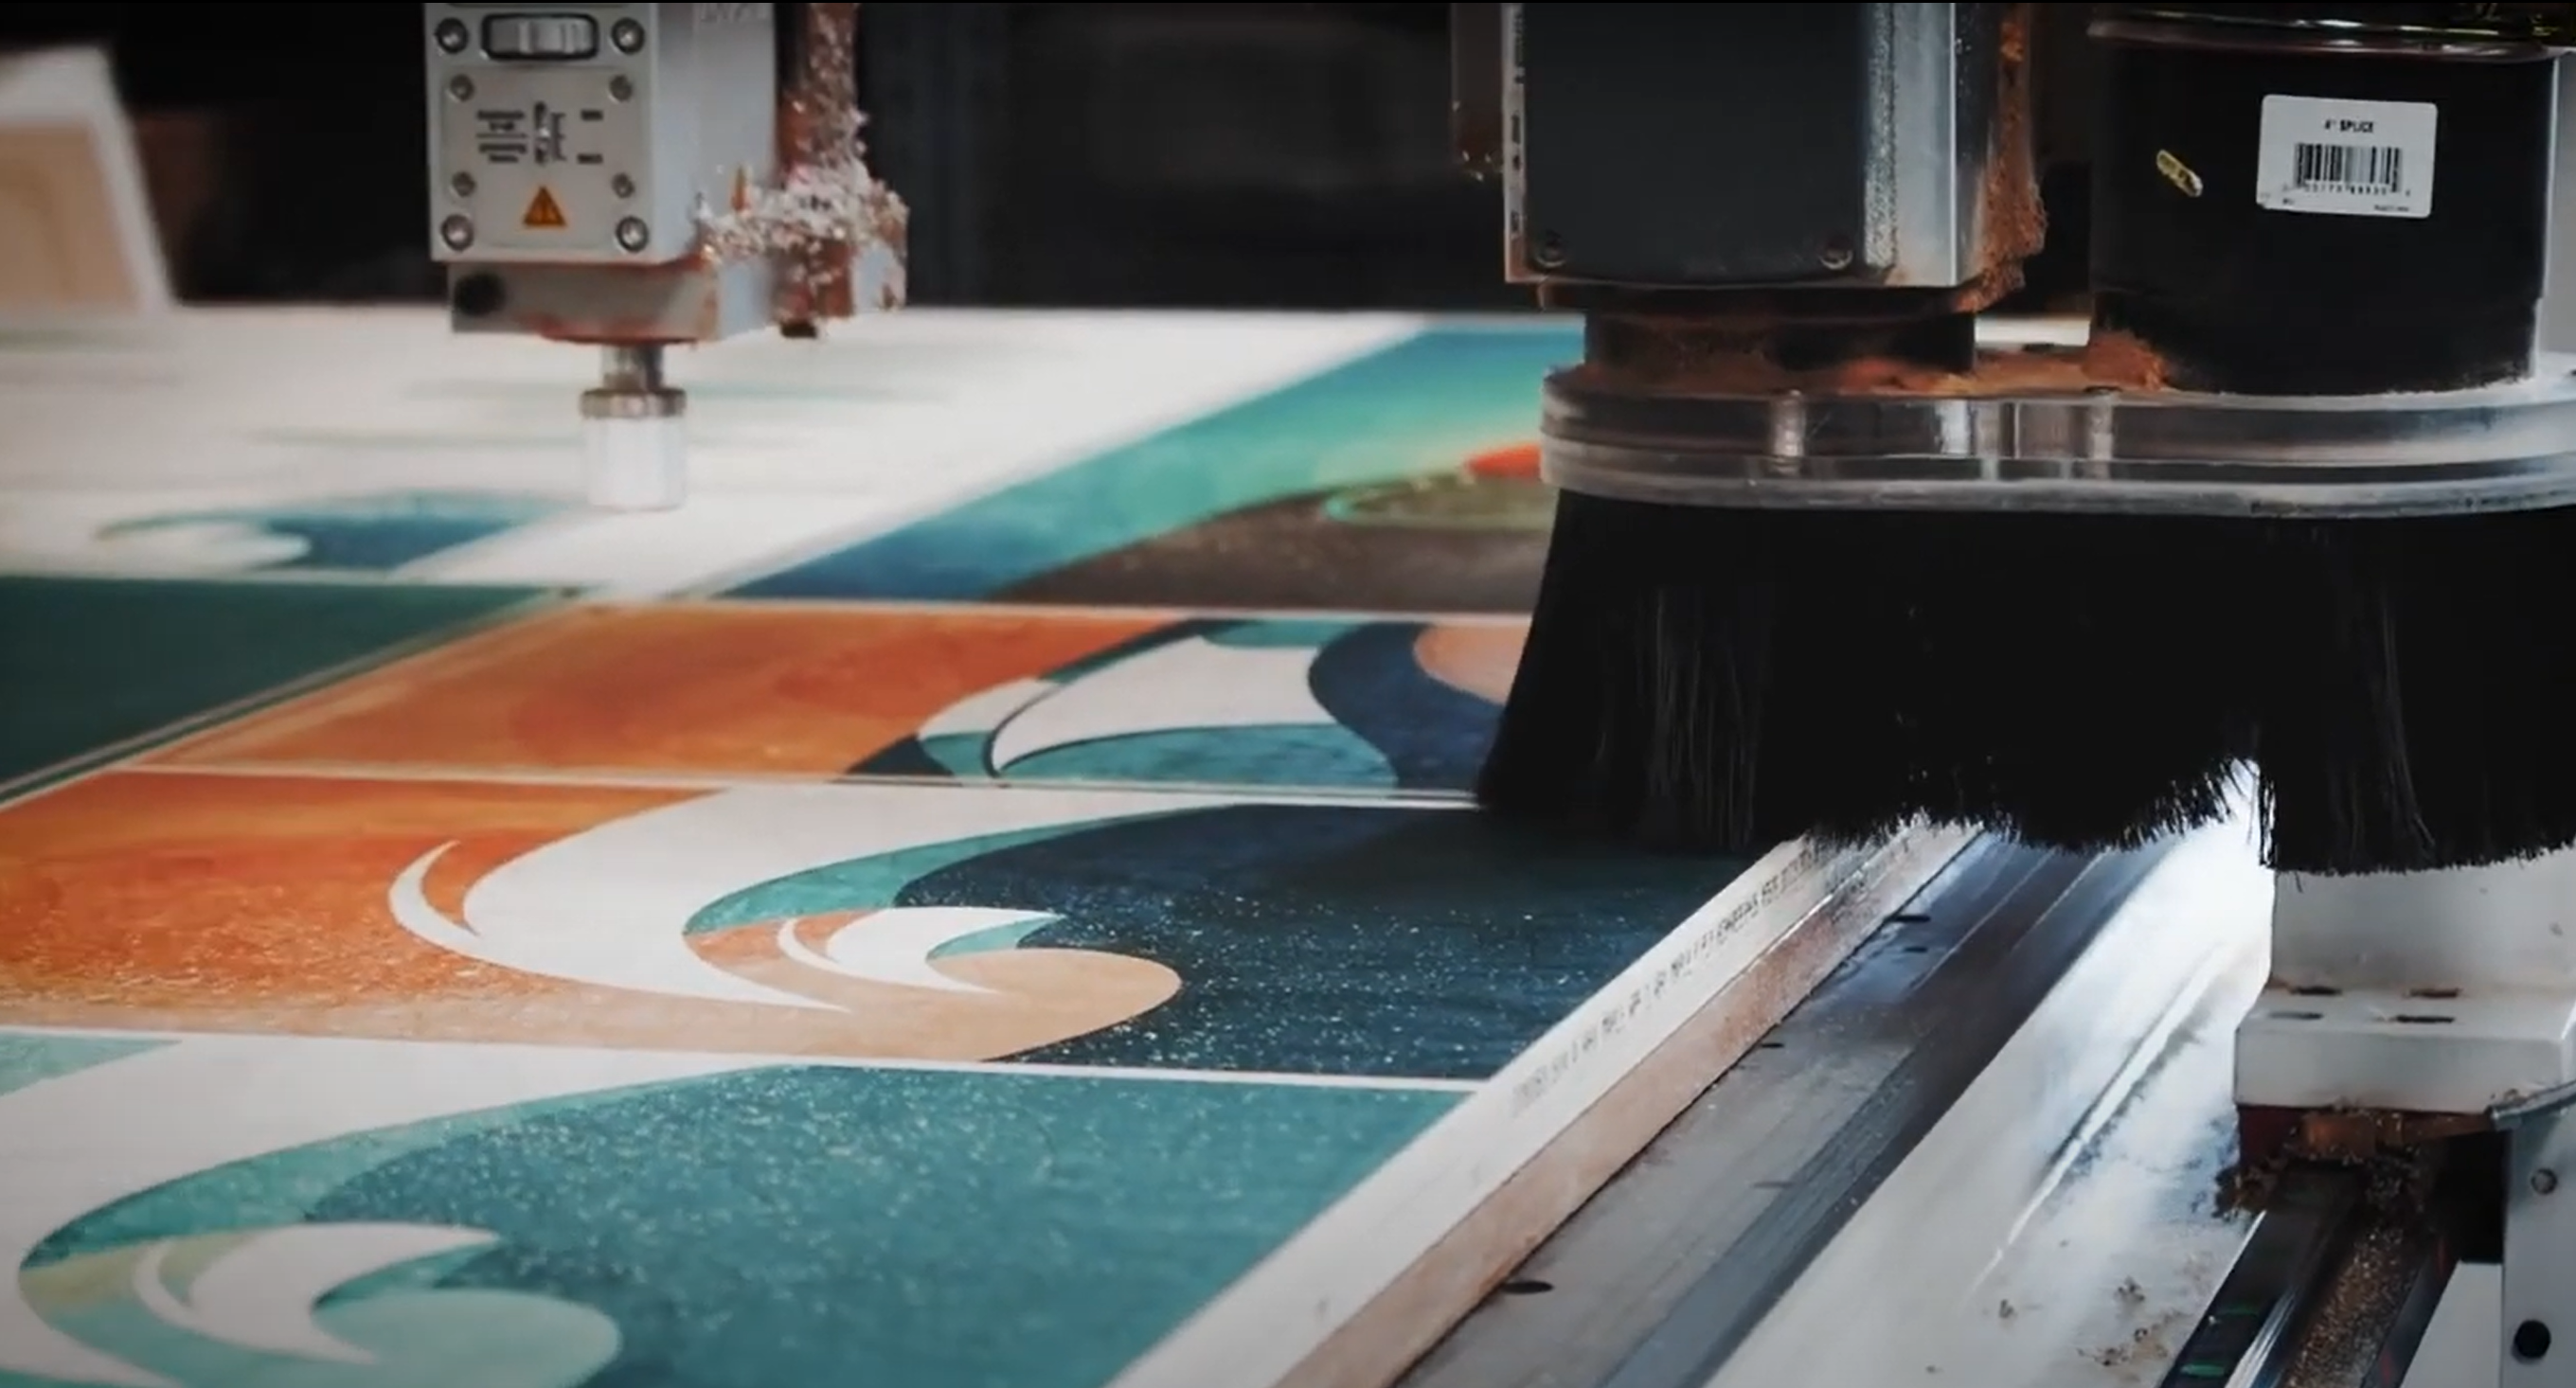
Now that we've programmed VCarve to organize our pieces, we need to define how our CNC machine is going to cut the pattern we just nested. Since we're going to cut around the edge of each piece, which is called a Profile Tool Path.
To do this we need to do two things: tell VCarve how deep to cut; and what tool to use. The tool is defined by the material. In our case, we used a 3/4" Compression bit for Plywood.
To set how deep to cut, we need to tell VCarve to cut just past the thickness of our material. This is why Spoilboards and Vacuum Pods] are essential: so you don't cut into your table. For our example, since our material is 0.75" thick, we need to tell VCarve to cut to 0.76" down, making sure it cuts all the way through.

A technique we can apply here is called Onion Skinning. This helps getting a much cleaner final cut. Essentially, we set up the machine to make two cuts, or "passes."
The first cuts through the majority of the material, leaving an extremely thin amount left. This allows the vacuum table to hold the pieces down easier.

The second pass cuts the last sliver of material. Because there's a tiny amount left, the vacuum table is able to hold the piece down more securely, eliminating most of the pressure and enabling the bit to cut cleanly through.
This technique is a great way to have ultra-smooth pieces.
To the Machine!
What we've done so far:
- Set our work table and material dimensions
- Calculated nesting by defining the bit diameter, spacing, and border
- Programmed our router to cut the outside of the pattern
- Defined the depth to cut through the material (0.01" of material thickness)
- Set up the router to make two passes: the second pass leaving a sliver of material

All that's left is to let VCarve calculate the whole process and generate a preview for us. Thankfully, this is very easy. Just scroll down, highlight all of the pieces, and click "Calculate."

This generates a preview to make sure there are no errors. This also lets you review the type of cut, which is important, especially if you're using a V-bit. Since we used a SmartShop 2, which uses a B&R Controller, we're able to import the file directly into the controller and use it from there.
The biggest advantage to having a self-contained controller is keeping everything sealed. In a shop, things get dusty. This is a great way to protect the "brain" of your CNC machine.

Thank you for following along with our nesting demonstration. Let us know what you thought, send us what you made, or tag us on social media! Comment below whatever questions you may have. Below is the full video.