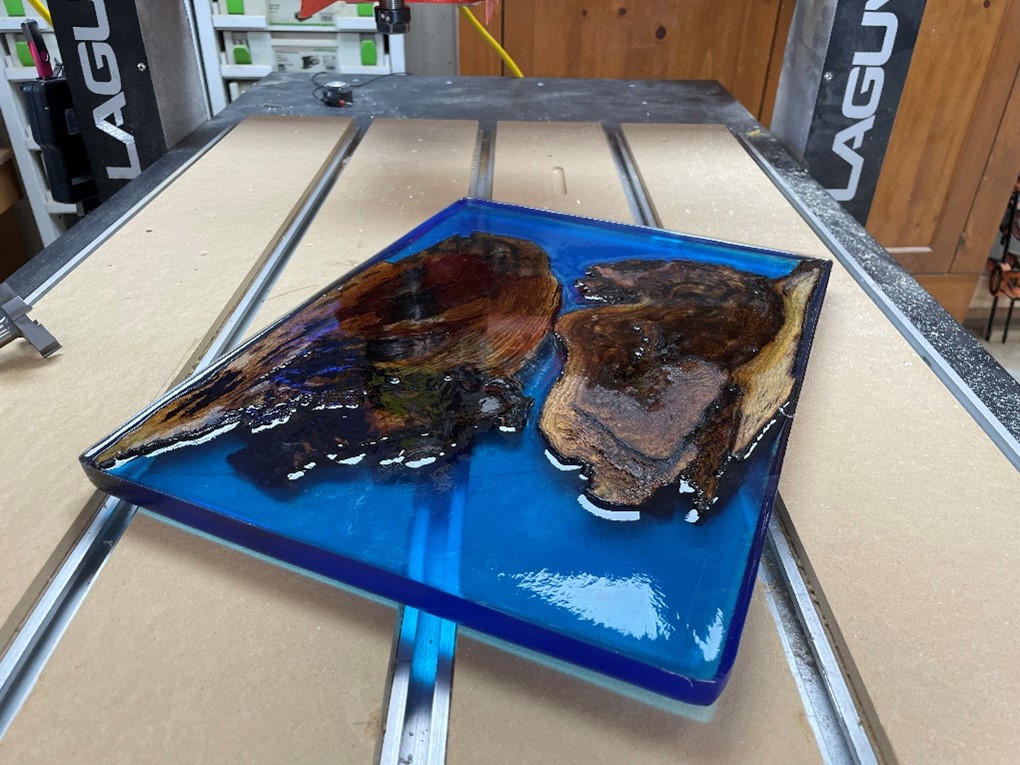
Working with epoxy is all the rage right now, and it’s common to pour epoxy alongside a piece or two of wood. You can easily level the resulting “tile” using your CNC.
Bit selection

Leveling the epoxy pour is basically the same as fly cutting your spoilboard. You can use nearly any flat-bottom bit, but a large diameter bit spoilboard bit will get the work done faster.
Design and toolpath
The software used in this article is VCarve Pro by Vectric.

Create a new file using the dimensions of the tile as your job dimensions.

Use the Draw Rectangle tool to create a rectangle or square that’s 1” larger than your tile.

The rectangle should be centered on your tile.

Select the rectangle and toolpath your design using the Pocket Toolpath. Choose the bit you’ll be using and set Cut Depth to .03”.

Be sure to select Ramp Plunge Moves and use a relatively long ramp. 4” works well. Click Calculate.
Head for the CNC

Secure the tile to the spoilboard. You can’t use hold downs directly on the tile since you’ll be cutting the entire surface. Secure a piece of scrap at one end, and use scrap and a wedge at the other end to lock the tile in place.

Cut the wedge with a 5-degree taper. After the second piece of scrap is secured tap the wedge with a mallet to lock the tile in place.

Mark the XY origin on the tile, locate the bit over it and zero the X and Y axes.

Zero the Z axis using the puck. If the surface of the tile is uneven make sure you’re zeroing the Z axis at a high point on the tile.

Before running the toolpath make sure your rpm and feed rates are correct. RPM for a large diameter bit like this, 2”, should be 12,000. With a four-flute bit like the one shown here start with a feed rate of 60 ipm. Epoxy is, after all, plastic. You want to make sure you’re cutting it, not melting it.

The right speed and feed should give you chips and shavings, not dust. Adjust the speed and feed as needed.

Run your toolpath and check the results. If there are parts of the tile that haven’t been cut yet rezero the Z to the new surface and run the toolpath again. Repeat the process until the surface is completely flat.
Clean up

Remove the marks left by CNC by sending the tile through a drum sander, or sanding with a random orbit sander.

The tile is ready for finish sanding, and it’ll look great as part of your next project.


