There are plenty of good reasons for mastering this process:
- Get species you can’t commercially buy.
- Control the dimensions of your stock. (Great for turners.)
- Heirloom wood-trees from your own backyard
I find that, working by myself, I can cut logs up to 12” diameter and 36” long. Cut the logs while they’re wet, as soon as possible after the tree is cut down. If there’s a delay between cutting the log and machining it into lumber, paint the ends of the log to slow down drying.
If the bark stays on the log, leave it on. This will also slow down drying. We want the log as wet as possible when it’s being cut.
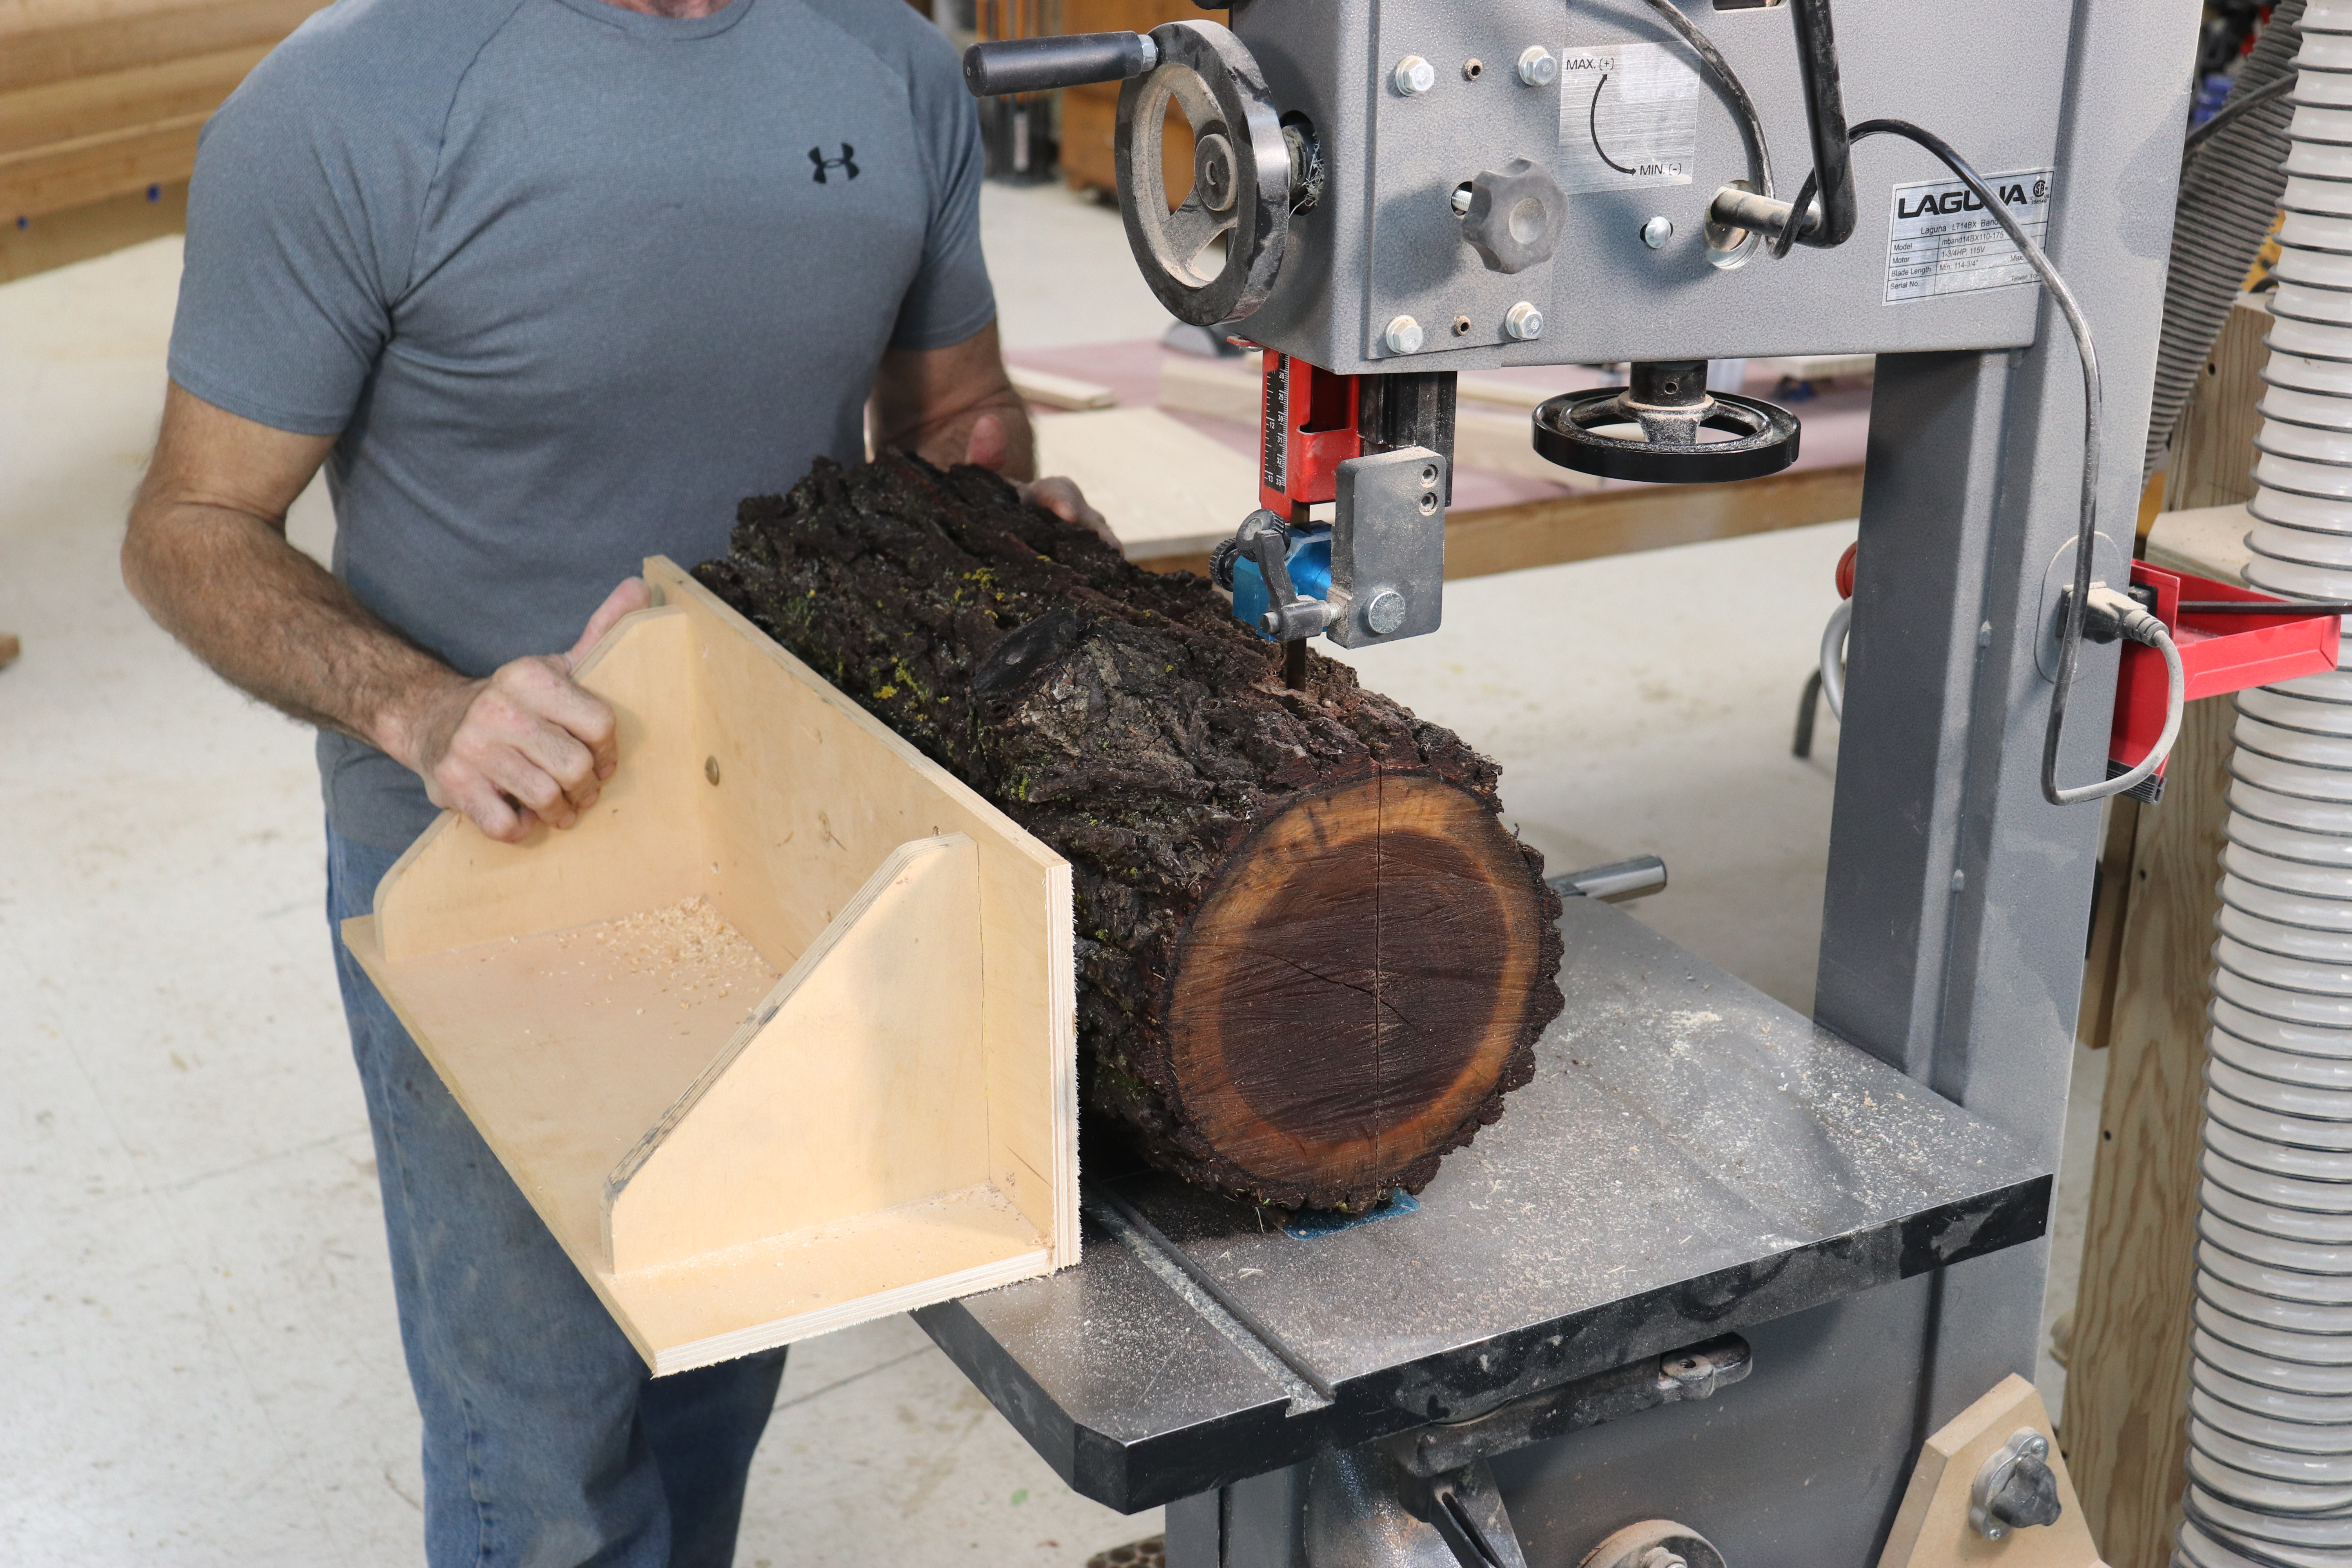
Build a sled


A log can roll, dangerously, during the cut, unless you stabilize it. This simple sled acts as an outrigger to keep the log stable. 3/4" plywood works well. Make the base and the vertical 6” wide. Make it as long as the log you’re going to cut. Drill a few holes for lag screws.
What you need

- A metal detector isn’t imperative, but if you’re not certain of the source of your log, it’s good insurance. Ruin a couple bandsaw blades, and the metal detector will look inexpensive.
- A moisture meter will help you determine the moisture content of your material, and when it’s dry enough to use.
- A snap line (chalk line) is the easiest way to get the first line on your log.
- Lag screws, or other deep threaded fasteners, are required to hold the log to the sled. I use 5/16” x 2” lags.

Use an aggressive blade, 3 or 4 TPI, as wide as your bandsaw will handle. Carbide blades like the ResawKing are great for this work.
Secure the log

Scan your log.

Logs are generally not perfectly round, and there’s no sense fighting gravity if you don’t have to. Look for the position the log naturally wants to roll to on your bench, and fasten it to the sled in that position.
The exception to this will be if you’re trying to highlight or eliminate something in the log like a knot, crotch, or defect.

Fasten the sled to the log. Two fasteners, in the approximate center of the log, will do it. Don’t worry about the screw holes in the log. There will always be slab wood from the log exterior that you won’t use.
Lay out the first cut

Using a knife, make a V in the log that aligns with the center of the “bullseye,” the pith of the log. We’ll take advantage of the V notch to snap our line.

Hook a chalk line in the end of the log you notched, and visually align the string with the pith on the other end log. Snap a line.
Cut the log

Cut the log into two halves, freehand following the snap line. Be sure to set up outfeed support. Logs are heavy! If there’s any question about being able to make the cut, get help.
Cut as straight as you can. The better the first cut is, the more lumber you’ll get out of your log.

Snap another line and make a second cut perpendicular to the first. This will make it much easier to keep the half round against the fence.
Get the drift

Using a board with a perfectly straight (jointed) edge, make a line parallel to the edge. Use a board that’s approximately 14” long.

Freehand follow the line, carefully adjusting your feed direction as needed in order to stay on the line. Once you feel you’re feeding at the correct angle to cut straight, freeze the board in place and shut off the saw.

Trace the edge of the board onto the bandsaw table. You have experientially found the drift of the blade, and are now transferring the drift angle to the saw.

Set your bandsaw fence to the line you traced on the table.

Make a test cut. If the board feeds perfectly, the fence is fine. If the outfeed end of the board trails away from the fence and a gap opens between the board and fence, the fence angle is too “open,” the outfeed end of the fence too far to the left.
If the board binds as you’re cutting it the fence is pinching, the outfeed end is too far to the right. Adjust the fence as needed. It’s not uncommon to have to do this test a couple times to tweak the fence into just the right position.
Make lumber

Add a tall fence as needed to fully support your log. Set the distance from the face of the fence to the bandsaw blade based on the thickness of the lumber you want to produce.
Remember the lumber will shrink as it dries, and eventually you’ll be planing off bandsaw marks, so allow enough thickness to compensate.
Stack ‘em, sticker ‘em and be patient

Seal the ends of the boards (latex paint works fine) and stack the boards with stickers between each layer for uniform air flow. Be sure the stickers are aligned with each other vertically. In order to prevent stains from the stickers, it’s a good idea to cut them from the same material you’re drying.
A general rule of thumb is to allow one year per inch of thickness for drying. 4/4 stock will take about one year to air dry. 8/4 will take about two years. Use a moisture meter to monitor the progress.
Leave the boards where air can flow over them but they’re not exposed to direct heat. Drying is a race that goes to the slow and steady.

Keep track of your boards and how they were cut, and when you’re ready to use them you’ll have amazing book matches….

…and butt matches. This article provides a lot of great info on air drying lumber, AND how to get different cuts of lumber from your logs.


