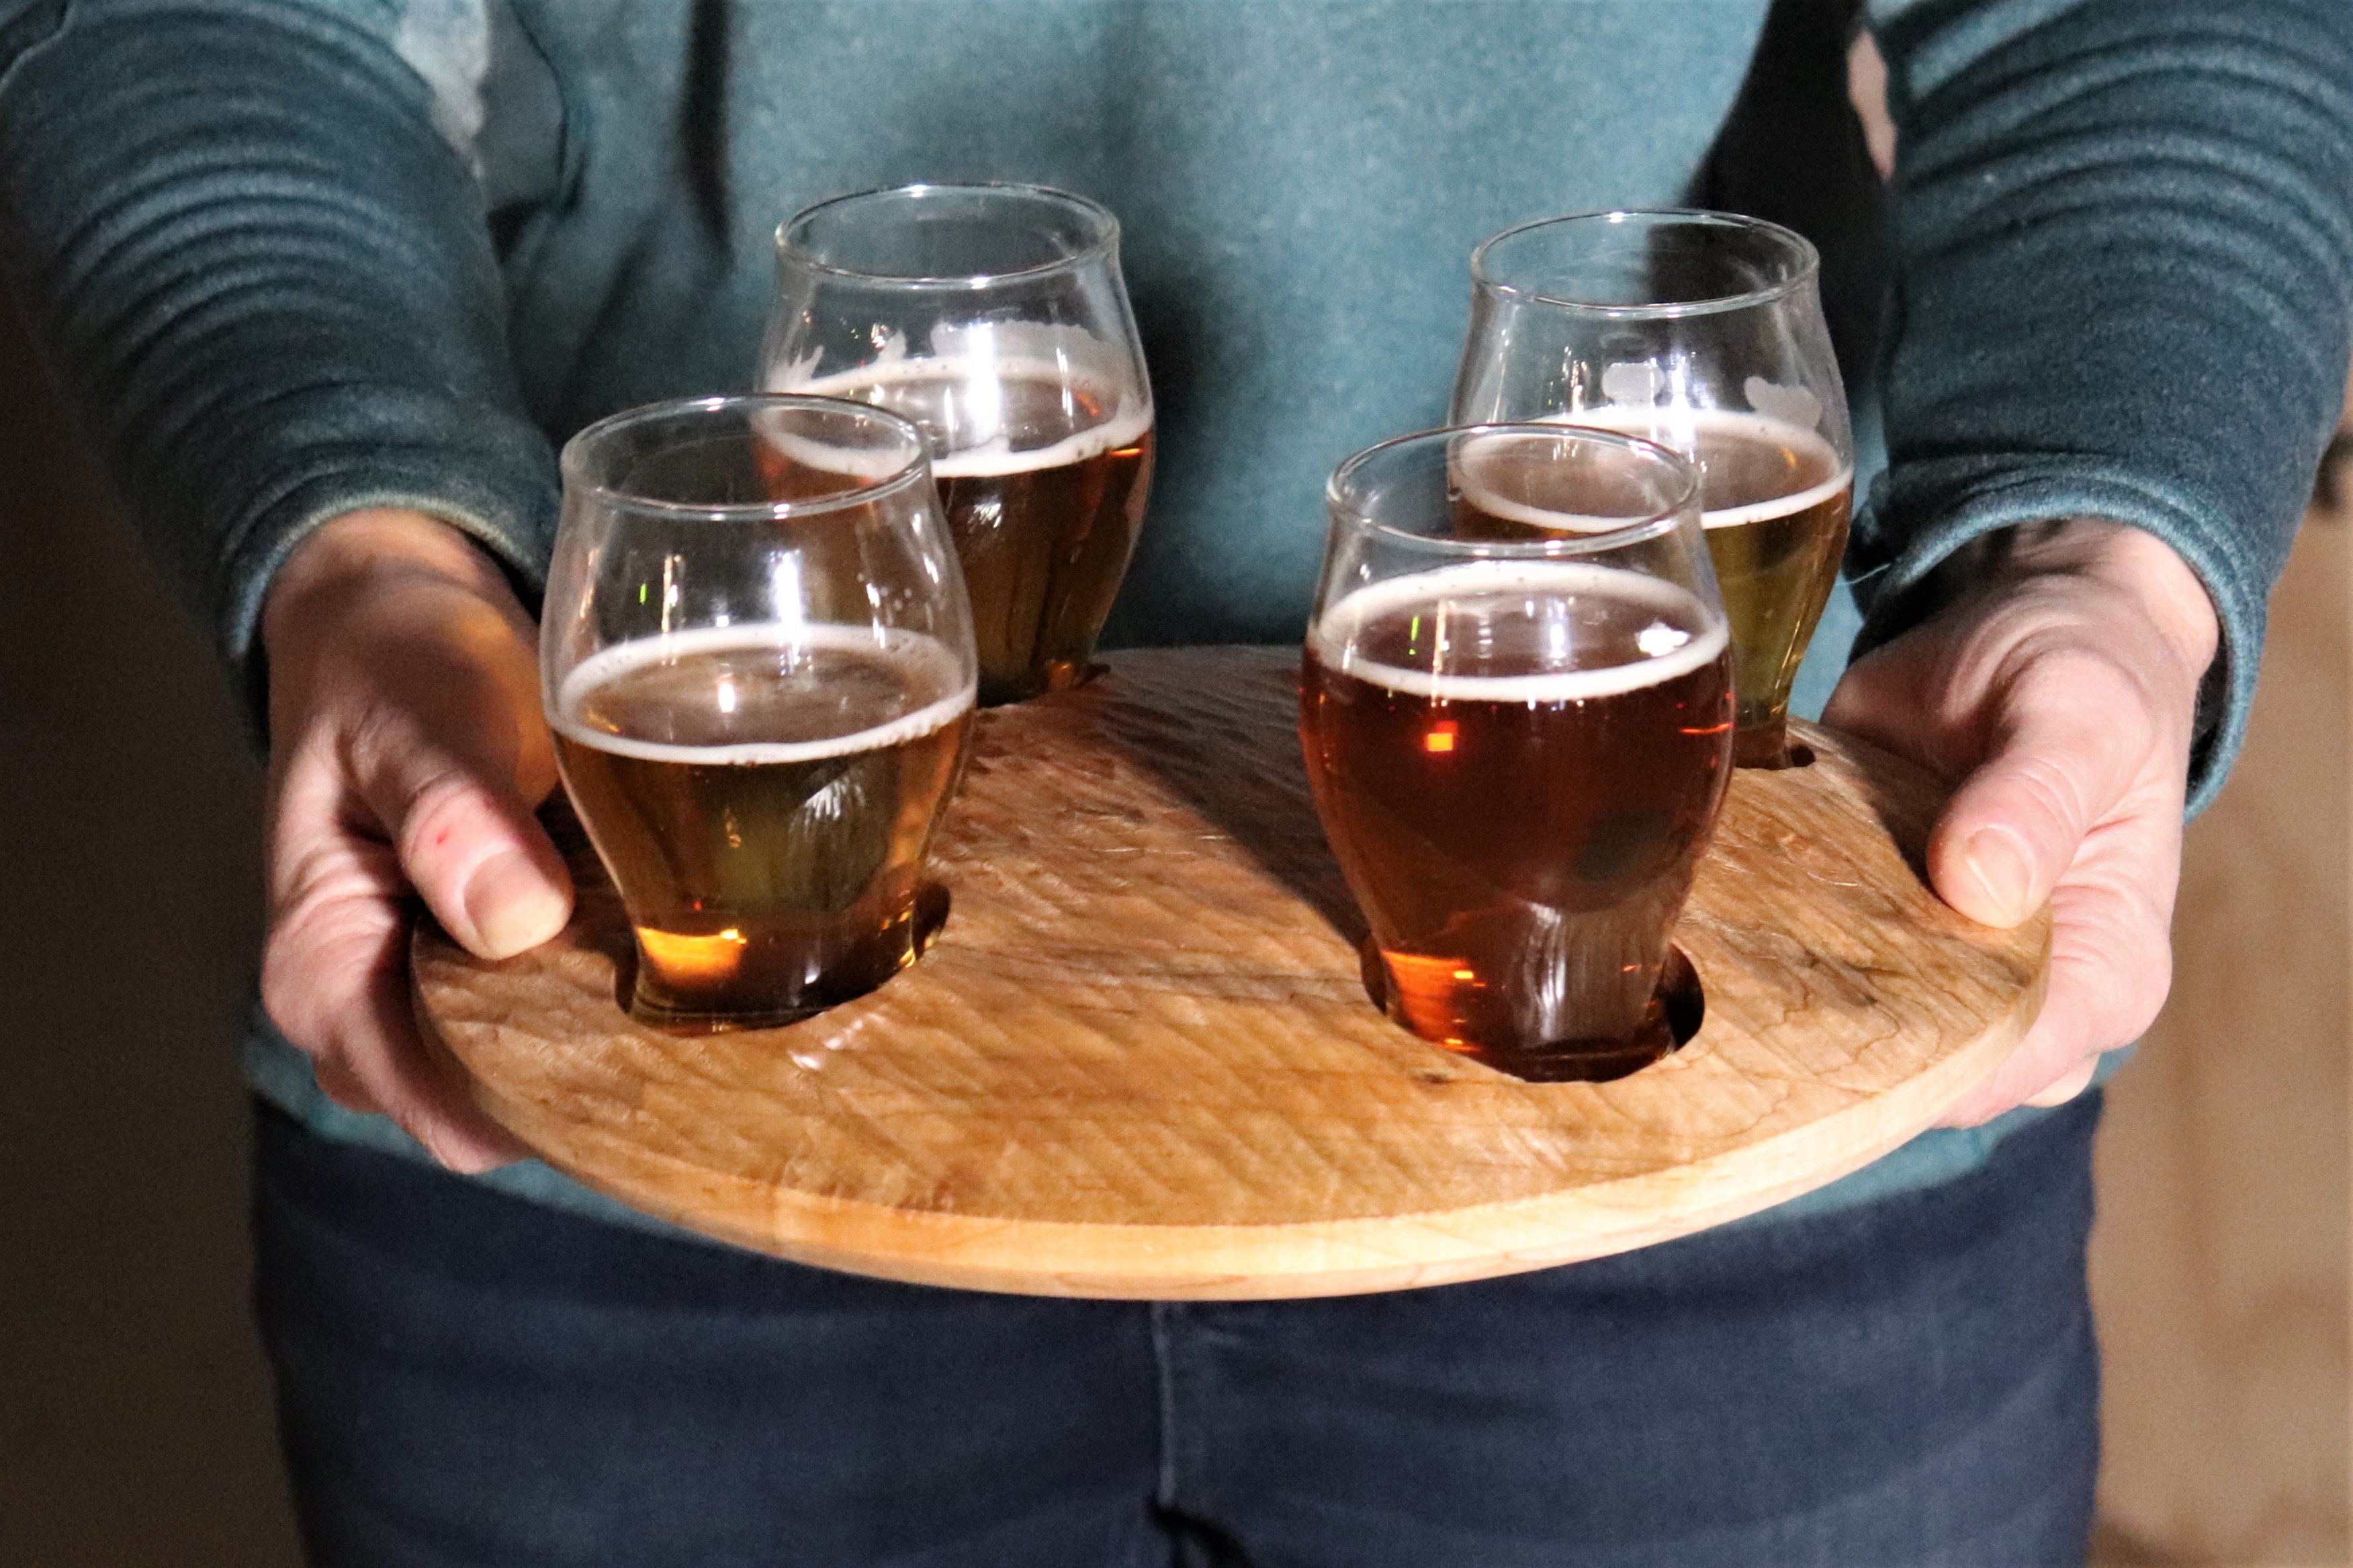
This is a great CNC project. You end up with a unique and fun beer flight, and you’ll learn how to create and texture a dome. We’ll even let you know where to get the glasses.
You need a workpiece that’s 1-1/2” x 12” x 12”. A close-grained hardwood is best for this project. Highly figured wood will really pop with the dome shape, but the texture will make any hardwood look great.
Lay out the project

The design and toolpath work is being done in VCarve Pro. Start by creating a new job with your workpiece dimensions.

Use Draw Circle to create a 10” diameter circle centered on your workpiece.

Navigate to and click on the Clipart tab.

Within Clipart locate and click on Domes.

Look for Dome/Dish 45.

Click and hold on the dome and drag it onto your workpiece.

Select the dome and click on Set selected objects size.

Make the diameter of the dome 10”. Be sure to check Link XY so the dome remains proportional in both directions.
Adjust the model size
The dome is a little too thick for this project, but that can be adjusted. Select the dome and open the Toolpaths tab. Click on Set under Material setup.

Look at Model Thickness. Our workpiece is 1-1/2” thick and the dome is 1.454” thick. We need to reduce that thickness. To do so click on Set.

When the Model Height window opens set the New Height to 1” and click Apply.

Now, within the Model Position in Material window, set the Gap Above Model to 0 inches.
Locate the holes

Use the Draw Rectangle tool to create a 4-1/2” x 4-1/2” square.

Center the square on your workpiece.

Open the Draw Circle tool and set the diameter for 2”. If you’re using glasses different from those we’ve sourced be sure to double-check this dimension.

Once you’ve set the circle’s diameter simply click on each corner of the square and you’ll plant a circle in each spot.
Create toolpaths

Select the dome and open the Rough Machining Toolpath. Select a 1/2" bit. Be sure to check Model Boundary. Click Calculate.

With the dome still selected open the Finish Machining Toolpath. Select a 1/2" ball nose bit and, again, be sure Model Boundary is selected. Click Calculate.

Select the four circles and open the Pocket Toolpath. Select the same 1/2" bit you used for the Roughing Toolpath and set the Cut Depth to 1-1/4”. Click Calculate.

Select the 10” circle and open the 2D Profile Toolpath. Choose the same 1/2" bit used for the Roughing and Pocket Toolpaths. Set the Cut Depth to .020” more than your material thickness. Add Tabs and Ramps and click Calculate.

Use Preview Toolpaths to check your work. Make any necessary changes.
Add texture

Open the Texturing Toolpath.

The Texturing Toolpath is interesting. It’s worth experimenting with the settings to see what effect they have on the final result. Select the same ball nose bit you used for the Finishing Toolpath and use the settings shown here, or try your own settings.

You MUST check the Project toolpath onto 3D model box. That’s what tells the software to put the texture on the dome. Click Calculate.

Use Preview Toolpath to check your work. If you want different results change the bit used and settings in the Texturing Toolpath and preview your work again.
Run the toolpaths

Mount your workpiece, install the 1/2" bit and zero the axes.

Run the Roughing Toolpath….

…and then the Pocket and Profile toolpaths.

Install the ball nose bit and rezero the Z axis.

Run the Finishing Toolpath…

…and the Texture Toolpath
Sanding and finishing

Install a 45-degree chamfer bit in a router table and create a 1/4" chamfer on the bottom corner of the workpiece.

Use a flutter sander (also called a mop sander) to gently sand the textured surface.

Apply a coat of finish.

Order your beer flight glasses and you’re ready for company.


