
Give your bottles of wine a special place by making this wine rack with your CNC router. It’s made from ½” plywood, has an epoxy accent and relies on cross lap joints to hold it together.
When designing and laying out the wine rack, you’ll learn how to easily place objects in a perfect circular array.
Create the design
The design work for this project is being done in VCarve Pro.
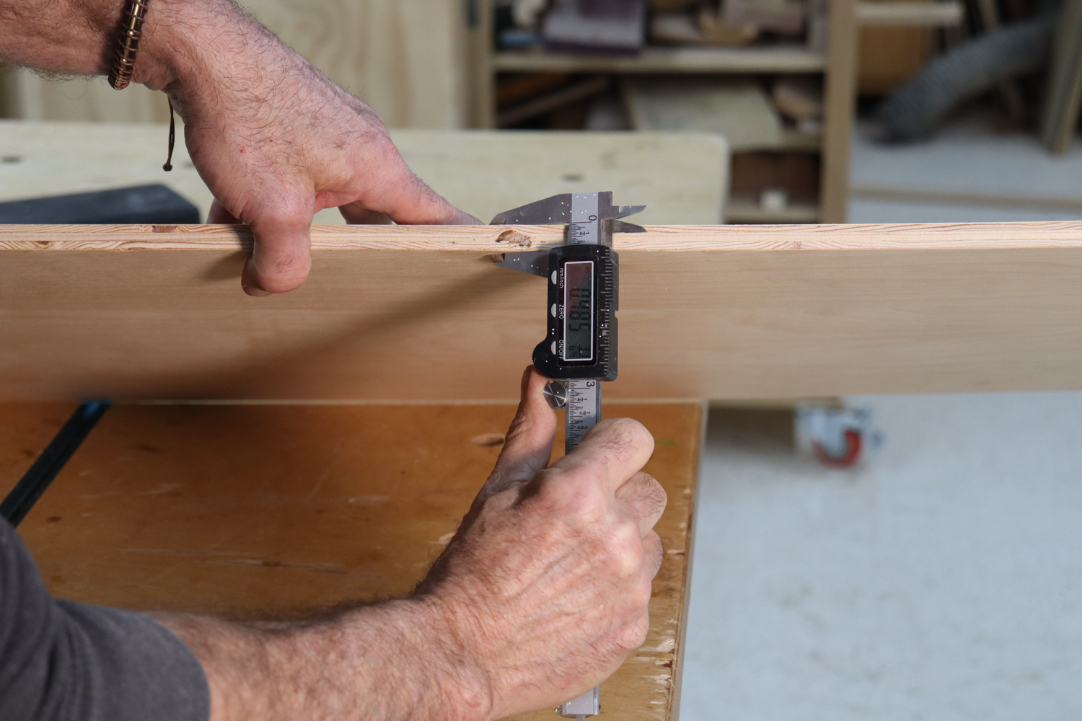 You need to know PRECISELY how thick your material is. Use digital calipers to get an accurate measurement.


Create a new job with a Job Size of 17-1/2” x 17-1/2” 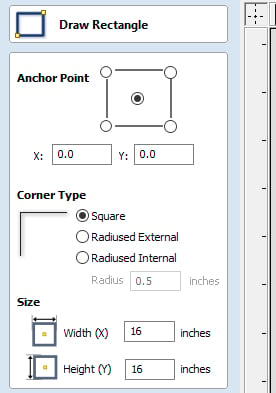 and the exact thickness of your material. Make the XY Datum position the center of your board.
Use the Draw Rectangle tool to create a 16” x 16” square, centered on your material.
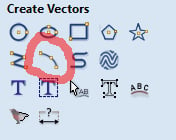
Select the Draw Arc tool.
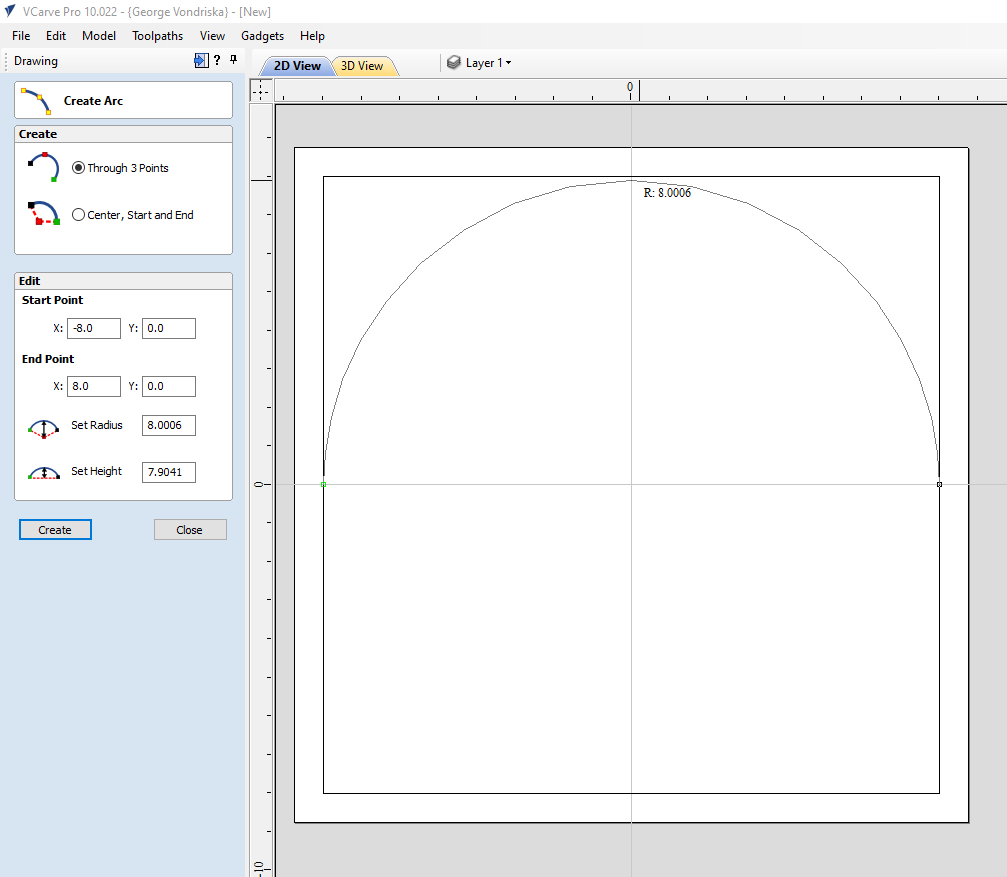
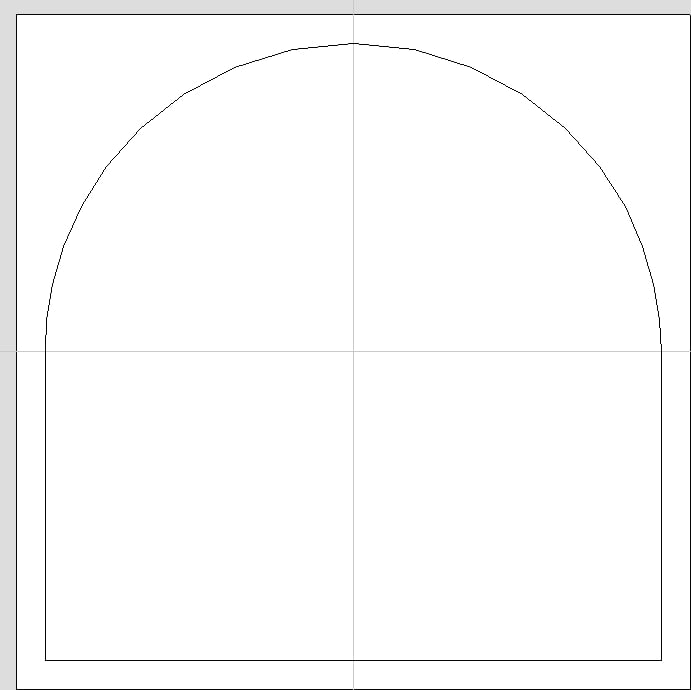
Select Through 3 Points. Click on the point where the center line meets the left side of the square, then where the center line meets the right side, then at the top of the square. This creates an arc. Remember that Control Z always undoes your last operation, so you can always undo your work and do it over if it doesn’t go right the first time.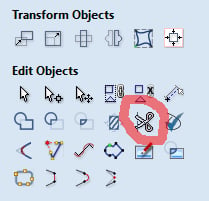
The Interactive Trim tool allows you to cut away lines you no longer need.
Trim your design so it looks like this.
Create the bottle holders
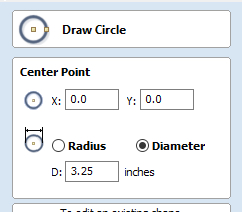
Create a 3-1/4” circle, centered at the XY origin, using the Draw Circle tool.
Select the circle, hold the Shift button and select the outside shape. They must be selected in that order, and should both be magenta. Use Align Left to move the circle and make it tangent to the outside shape.

Select the circle only and click on Move Selected Objects.

Within Move Selection select Relative and enter ¾” in the X Position. Click Apply to move the circle to the right, a perfect ¾” away from the outside shape.
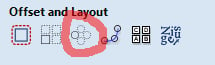
With the circle still selected open Circular Copy.

Use the parameters shown to create a uniform array of the wine bottle circles. Make sure the Rotation Center is 0,0. Click Copy.
Circular Copy is an excellent way to get perfectly uniform spacing of objects in your design.
Layout the cross lap joints
Use the Draw Rectangle tool to create the notch for the cross lap joint. Follow the guidelines in the article about making this joint to get the height of the notch right. Make it 7/8” wide. Position it at 0,0.

Position the notch against the outside shape using the Align Left tool.

Once again Circular Copy makes it easy to uniformly position an item.

This positions the notches around the top half of the wine rack. Delete the notches that touch circles and use Interactive Trim to cut the remaining notches open and make them part of the outside shape.

Draw another rectangle, this time with the width based on the thickness of your material and a height of 7/8”.

Position these two notches on the bottom of the rack, located 2” in from the outside corners. Use Interactive Trim to make the notches part of the outside shape.
Make an epoxy recess
If you want to have an epoxy accent in the front of the wine rack you need to create a recess for the epoxy to go into.

Create a 5-1/2” circle.

Locate the circle in the center of the rack.
Create toolpaths

Before creating the tool-paths open Set job dimensions and origin and double the size of your material so you can make a front AND a back. I find it easier to lay out the project working within a square instead of a rectangle so I can take advantage of the center point. Copy and paste the rack so you have two components, and delete the epoxy recess from one of them. If your machine doesn’t have the capacity to cut this large a piece, cut the front and back separately.

Use the 2D Toolpath to cut the outside shape. Do a separate last pass and add tabs and ramps. Edit the bit diameter as needed to get a good cross lap fit.

Select the bottle circles and use the Pocket Toolpath to remove the waste, cutting all the way through.

Select the epoxy recess and use the Pocket toolpath to cut a 3/16” deep pocket.

Use Preview Toolpaths to check your work. Make any necessary changes.
Make the connectors
The feet are made from 3-1/2” x 8” rectangles with two arcs cut in them. The upper struts are 1-3/4” x 8” rectangles with a single arc.

For the feet, create a rectangle with notches ½” from each end. The width of the notches is based on achieving a good fit in the cross lap joint. The length is 1-5/8”.

Place a layout line on the rectangle ¾” down from the top edge. Use the Draw Arc tool to create an arc that starts where the layout line meets the end of the rectangle and ends at the center of the top edge. Use Interactive Trim to cut away extraneous lines.

Add layout lines, one at the center of the rectangle and two more aligned with the edges of the notches. Use these create an arc across the bottom of the foot. Use Interactive Trim to get the final shape.

Round the outside corners using the Fillet tool.

Set the Fillet/Tool Radius to 1/8”.
 Click on each outside corner with the fillet tool…..

…to achieve this final look.

Go through a similar process to design the upper struts. The notches are 7/8” long, located ½” from the ends. The arc starts 1-1/4” from the ends and is ¾” from the top edge in the center. Round the corners with the fillet tool.

Position two feet and four struts on your material and use the 2D Toolpath to cut them out.
Cut your parts

Cut the front and back…

…and the feet and struts.
Epoxy and assembly
Remove your parts from the CNC, sand them and add the epoxy accent. Read more about epoxy accents in our bowl turning and cribbage board articles.

Apply finish to the parts and put your wine rack together. If you achieved a good fit on the cross lap joints there’s no need for glue. En vino veritas!


