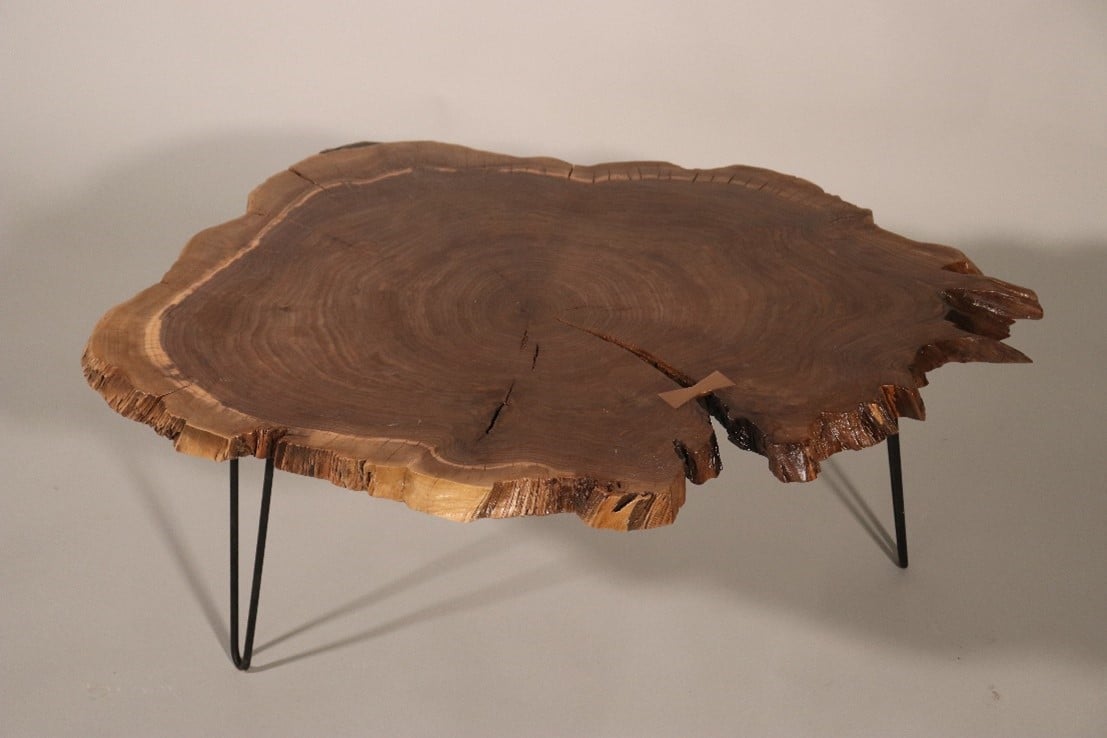
Log cookies, or rounds as they are also know, can be the beautiful foundation for your next woodworking project. Add hairpin legs, and just like that you have a lovely table for your home.

If the cookie was freehand cut with a chainsaw the faces will probably be very rough, and they won’t be parallel to each other. Use a router jig to level the cookie, and a belt sander to remove the milling marks left by the router.

It’s easy to mishandle a belt sander, taking too much material off of one spot. Avoid this by making a series of pencil lines across the face of the piece.

As you sand keep the sander in one spot only long enough to remove the pencil line, then move on. When you’ve removed all the lines from the face make new lines and continue sanding. Repeat this process until the faces are smooth.

If there are cracks in the round you can bridge them with a bowtie. This can be done using commercially made templates or by freehand cutting the bowtie.

Metal bowties, like this copper one, are a lovely addition and bring extra character to the finished project.

It can be very interesting to count the growth rings on log cookies to see how old the tree was, and what significant points in history the tree lived through.

Use a label maker to make a timeline of events on the bottom of the table.

Apply finish to the long cookie and add legs. Use 14” hairpin legs for coffee tables. For taller tables, such as side table, use 28” hairpin legs. Predrill and screw the legs to the bottom of the table. Experiment with different layouts. On round tables, like this one, three legs often work well, rather than four legs.
Enjoy your new table and celebrate another woodworking project that can be shared with friends, family, or even your custom furniture business.


