Something about the holidays makes woodworkers get busy in the shop with all sorts of projects. Here’s a quick and easy guide for a handsome product in no time flat. All you need are a few scraps of lumber, a bandsaw, tablesaw and drill press, and you’re ready to go to work.

Mill up two pieces of walnut to 3/4” thick, and two pieces of maple to 7/8” thick. Laminate them together so the walnut pieces are in the middle. If you have solid 8/4 walnut, that would work too, just plane it to 1-1/2” thickness first.

Clamp up the blank and let it cure overnight. When the laminated block comes out of clamps, trim it flat and square again, before cutting it to final length. The finished dimensions of the tea light are 12-1/4” long x 3-1/4” wide x 4-1/2” tall.

The next step is to drill four large holes into the top of the laminated block for the votive candles. Use a 2-1/16” Forstner bit for best results. Ultimately, you’ll want to source the glass inserts first, to make sure the holes are the right size. My local craft store had several sets in stock to choose from. Drill the holes about 2-1/2” deep, or slightly shallower than your glass inserts. The goal is to have the rim of the glass cylinders stand just proud of the wood block.

Now install a full kerf combination blade on your tablesaw, and tilt the arbor to 15 degrees. Make a through pass on one side, near the top. With the same fence setting, flip the blank end-for-end, and repeat the same cut on the other side. The blade height needs to be set at 7/8” for these cuts.

Adjust the fence, and make two more matching cuts. Repeat this process until the louvers are nearly to the bottom of your drilled holes. I was able to make seven 1/8” kerfs on each side of the tea light. In fact, if you use a full-kerf blade with 1/8” wide teeth, you can avoid any math. Just slide the fence over ¼” with each new position.

Create a gentle arch. Mark a fair curve near the bottom of the tea light. I drew a curve starting 1” in from each end, and reaching a maximum height of 1” at the apex. Head over to the bandsaw to cut the waste piece free. Here, the Laguna 1412 equipped with a ½” ProForce blade handles the cut easily. Notice how the tablesaw cuts are now visible inside the drilled holes.

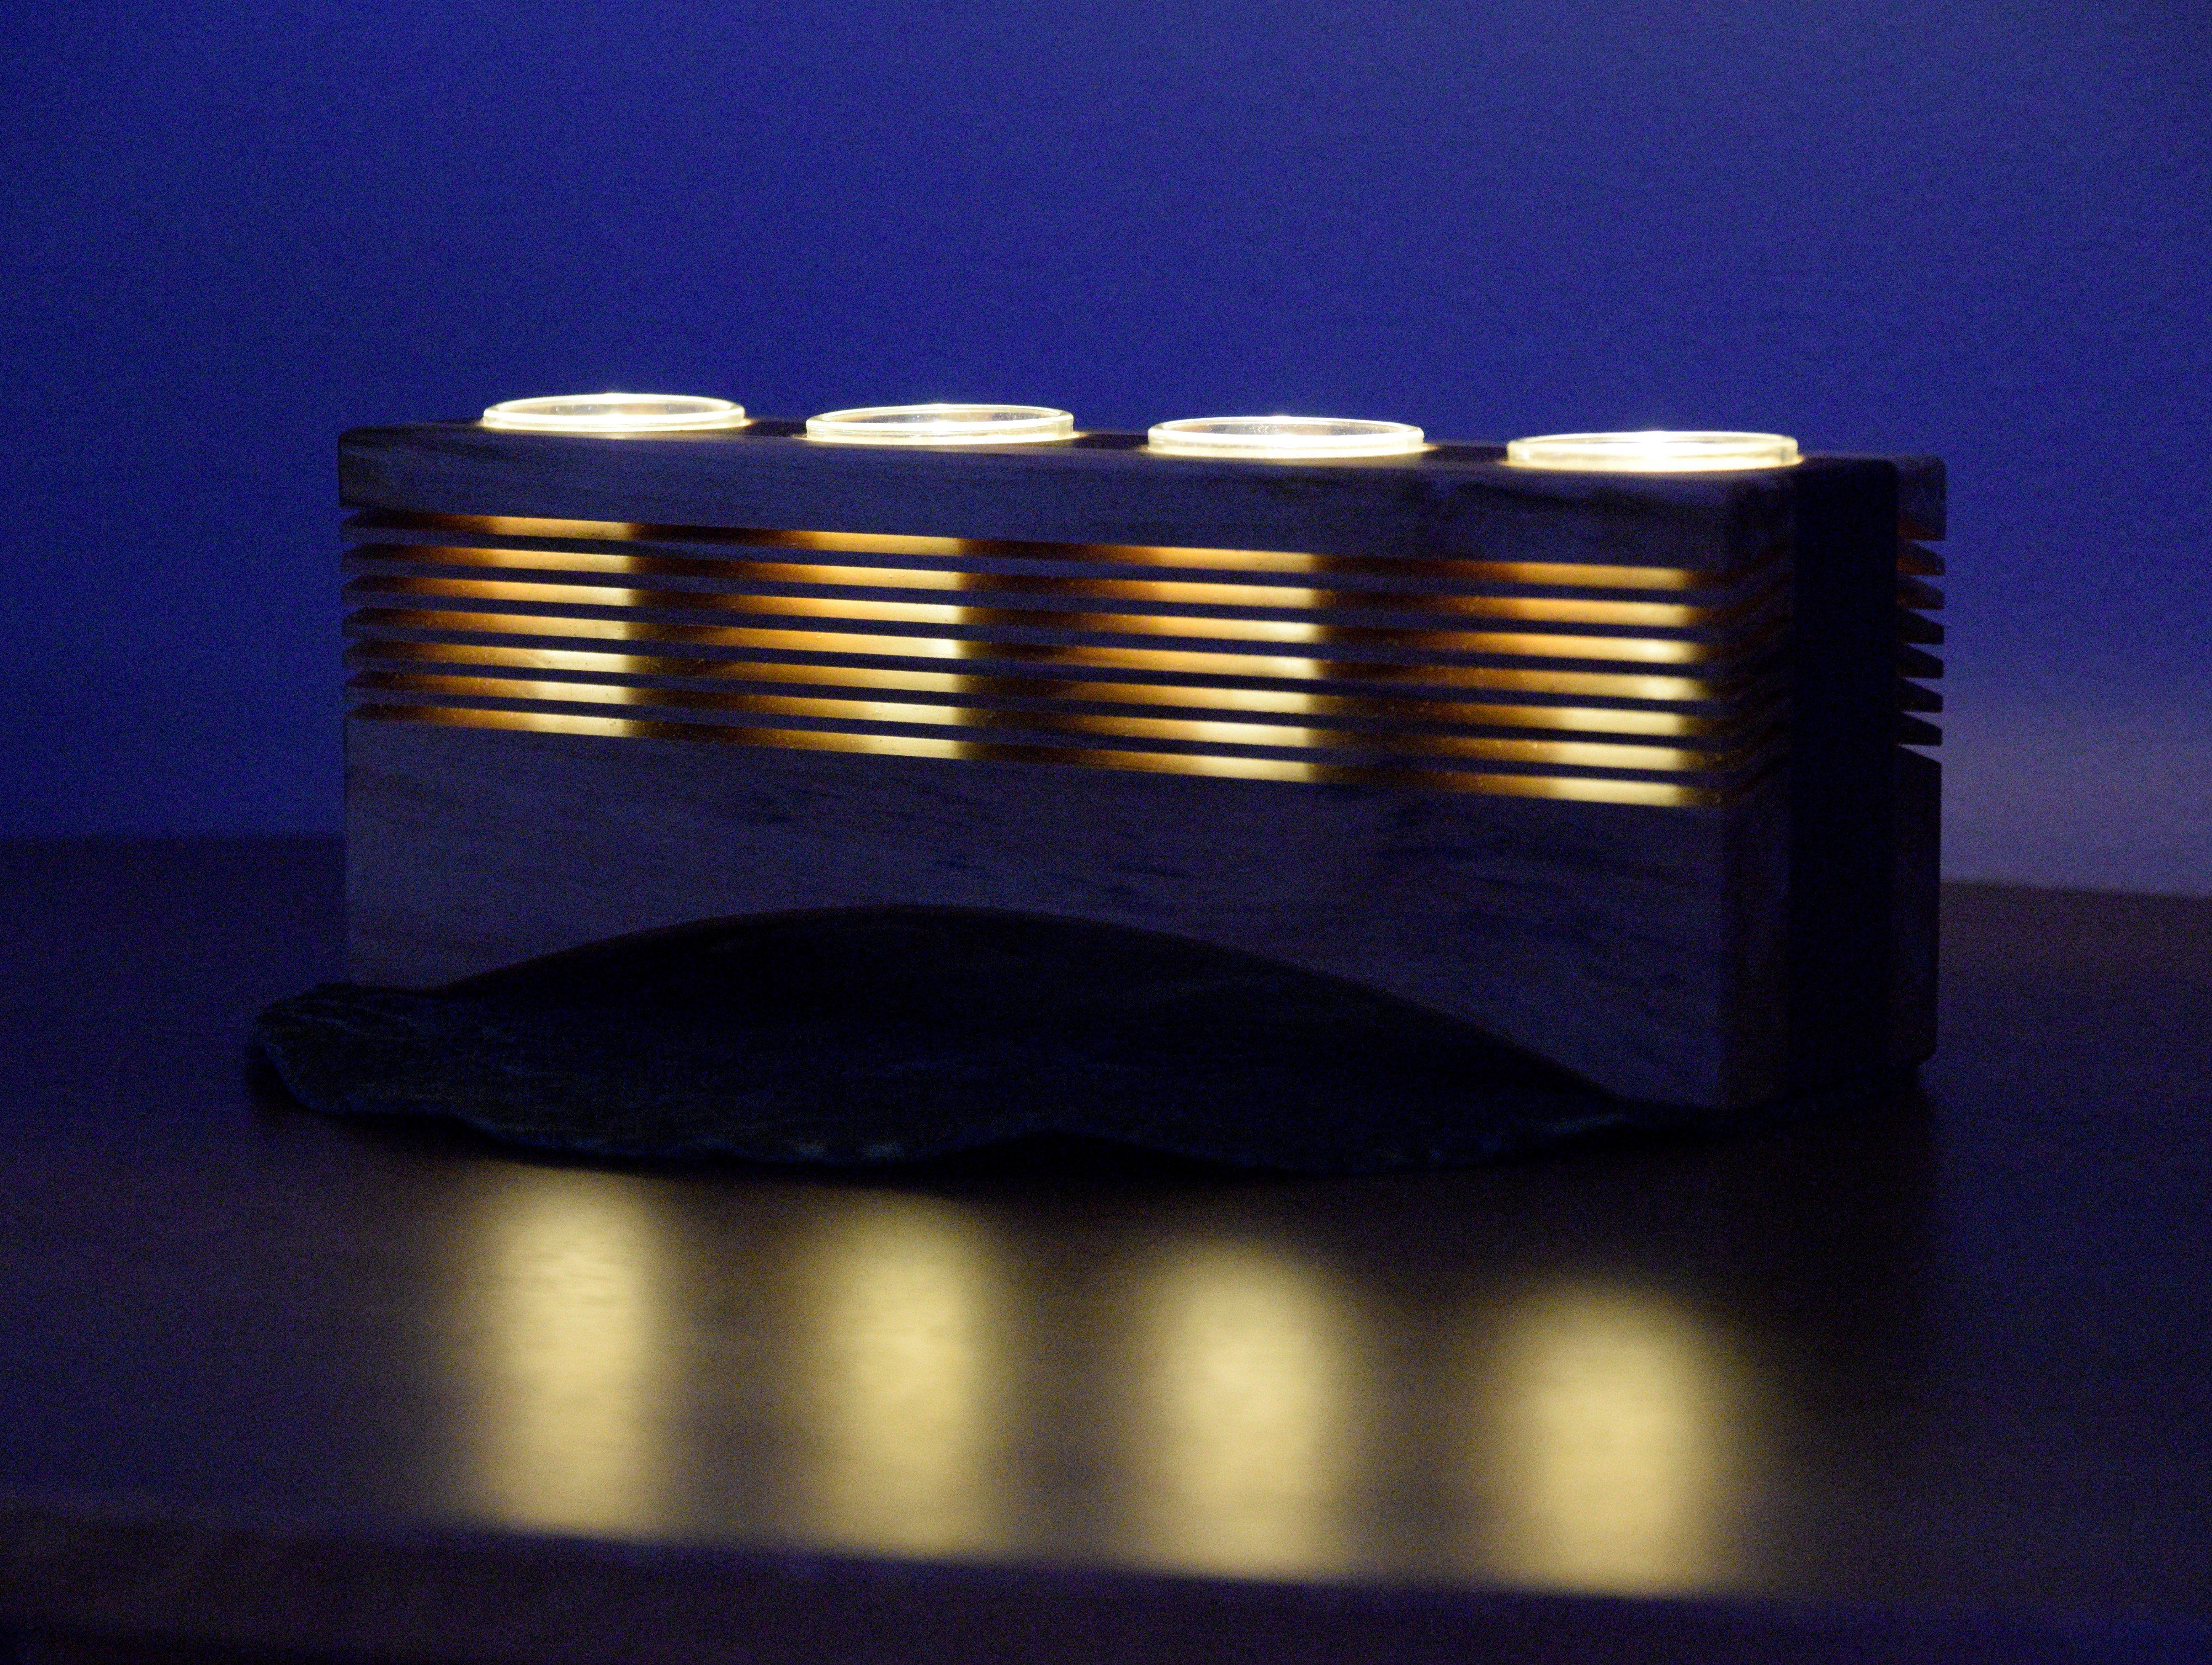
Battery powered flicker lights give the ambience of candlelight, without the fire hazard. I recommend using only these cool-to-the-touch fake candles in your new tea light. Drop them in glass inserts, and install one in each drilled hole.

Apply the finish of your choice, and enjoy your new tea light. Here, a Danish oil in a natural (clear) finish has been applied to bring out the character of the wood. These tea lights make a great gift, and since the construction process is so simple, you might make an extra for yourself!


