Here’s a great way to try something new, that you’ve never attempted before. You can get creative with color, and overall layout for just the look you’re after. These river epoxy boards look great in several different sizes, but the most common are 10”x 20” charcuterie boards, or 12”x 16” serving boards. They’re formed by pouring colored epoxy between two live-edge slabs of lumber. By varying the wood species and epoxy colorant, you can achieve wildly different looks.
Check out a short video of the entire River Epoxy Board process here!


Make a form using a sheet of melamine. Home centers often sell quarter-sheets of white melamine, which is perfect for this project. Cut the bottom of the form the same size as your intended river board. You’ll also need to rip some strips of melamine for the sides of the form.

Predrill and counterbore the side strips as you prepare to assemble the form. The tighter you make the mold, the less chance it will leak. When sizing the strips, just make sure they’ll be taller than the wood to adequately contain the epoxy.

Use house-wrap tape to seal up the joints of the melamine form. Tape both the inside and outside of the form for extra protection against leakage.

Remember to use a release agent to prevent the epoxy from sticking to the melamine. Spray the entire inner surface of the mold, and wipe it down with a paper towel. Spray a second coat and wipe it down again. This works so well, that often you can just turn the form upside and rap it with a rubber mallet to release the cured river board. This is a great benefit, as you can re-use the form many times.

Remove bark from the live edge, and hit it with a wire brush. The goal is to remove any loose fibers, but maintain the woods unique and natural texture.

Seal the Edges. This step is optional, but often it will prevent excessive bubbles from forming on the next step. Mix a small quantity of two-part epoxy (the same stuff you’ll use on the main pour) and brush it liberally on the live edges. Note clamping cauls are wrapped in house-wrap tape so they won’t stick to the wood.

Level the Box. Take a moment to level the form in both directions. Use small wooden wedges to adjust the level as needed.

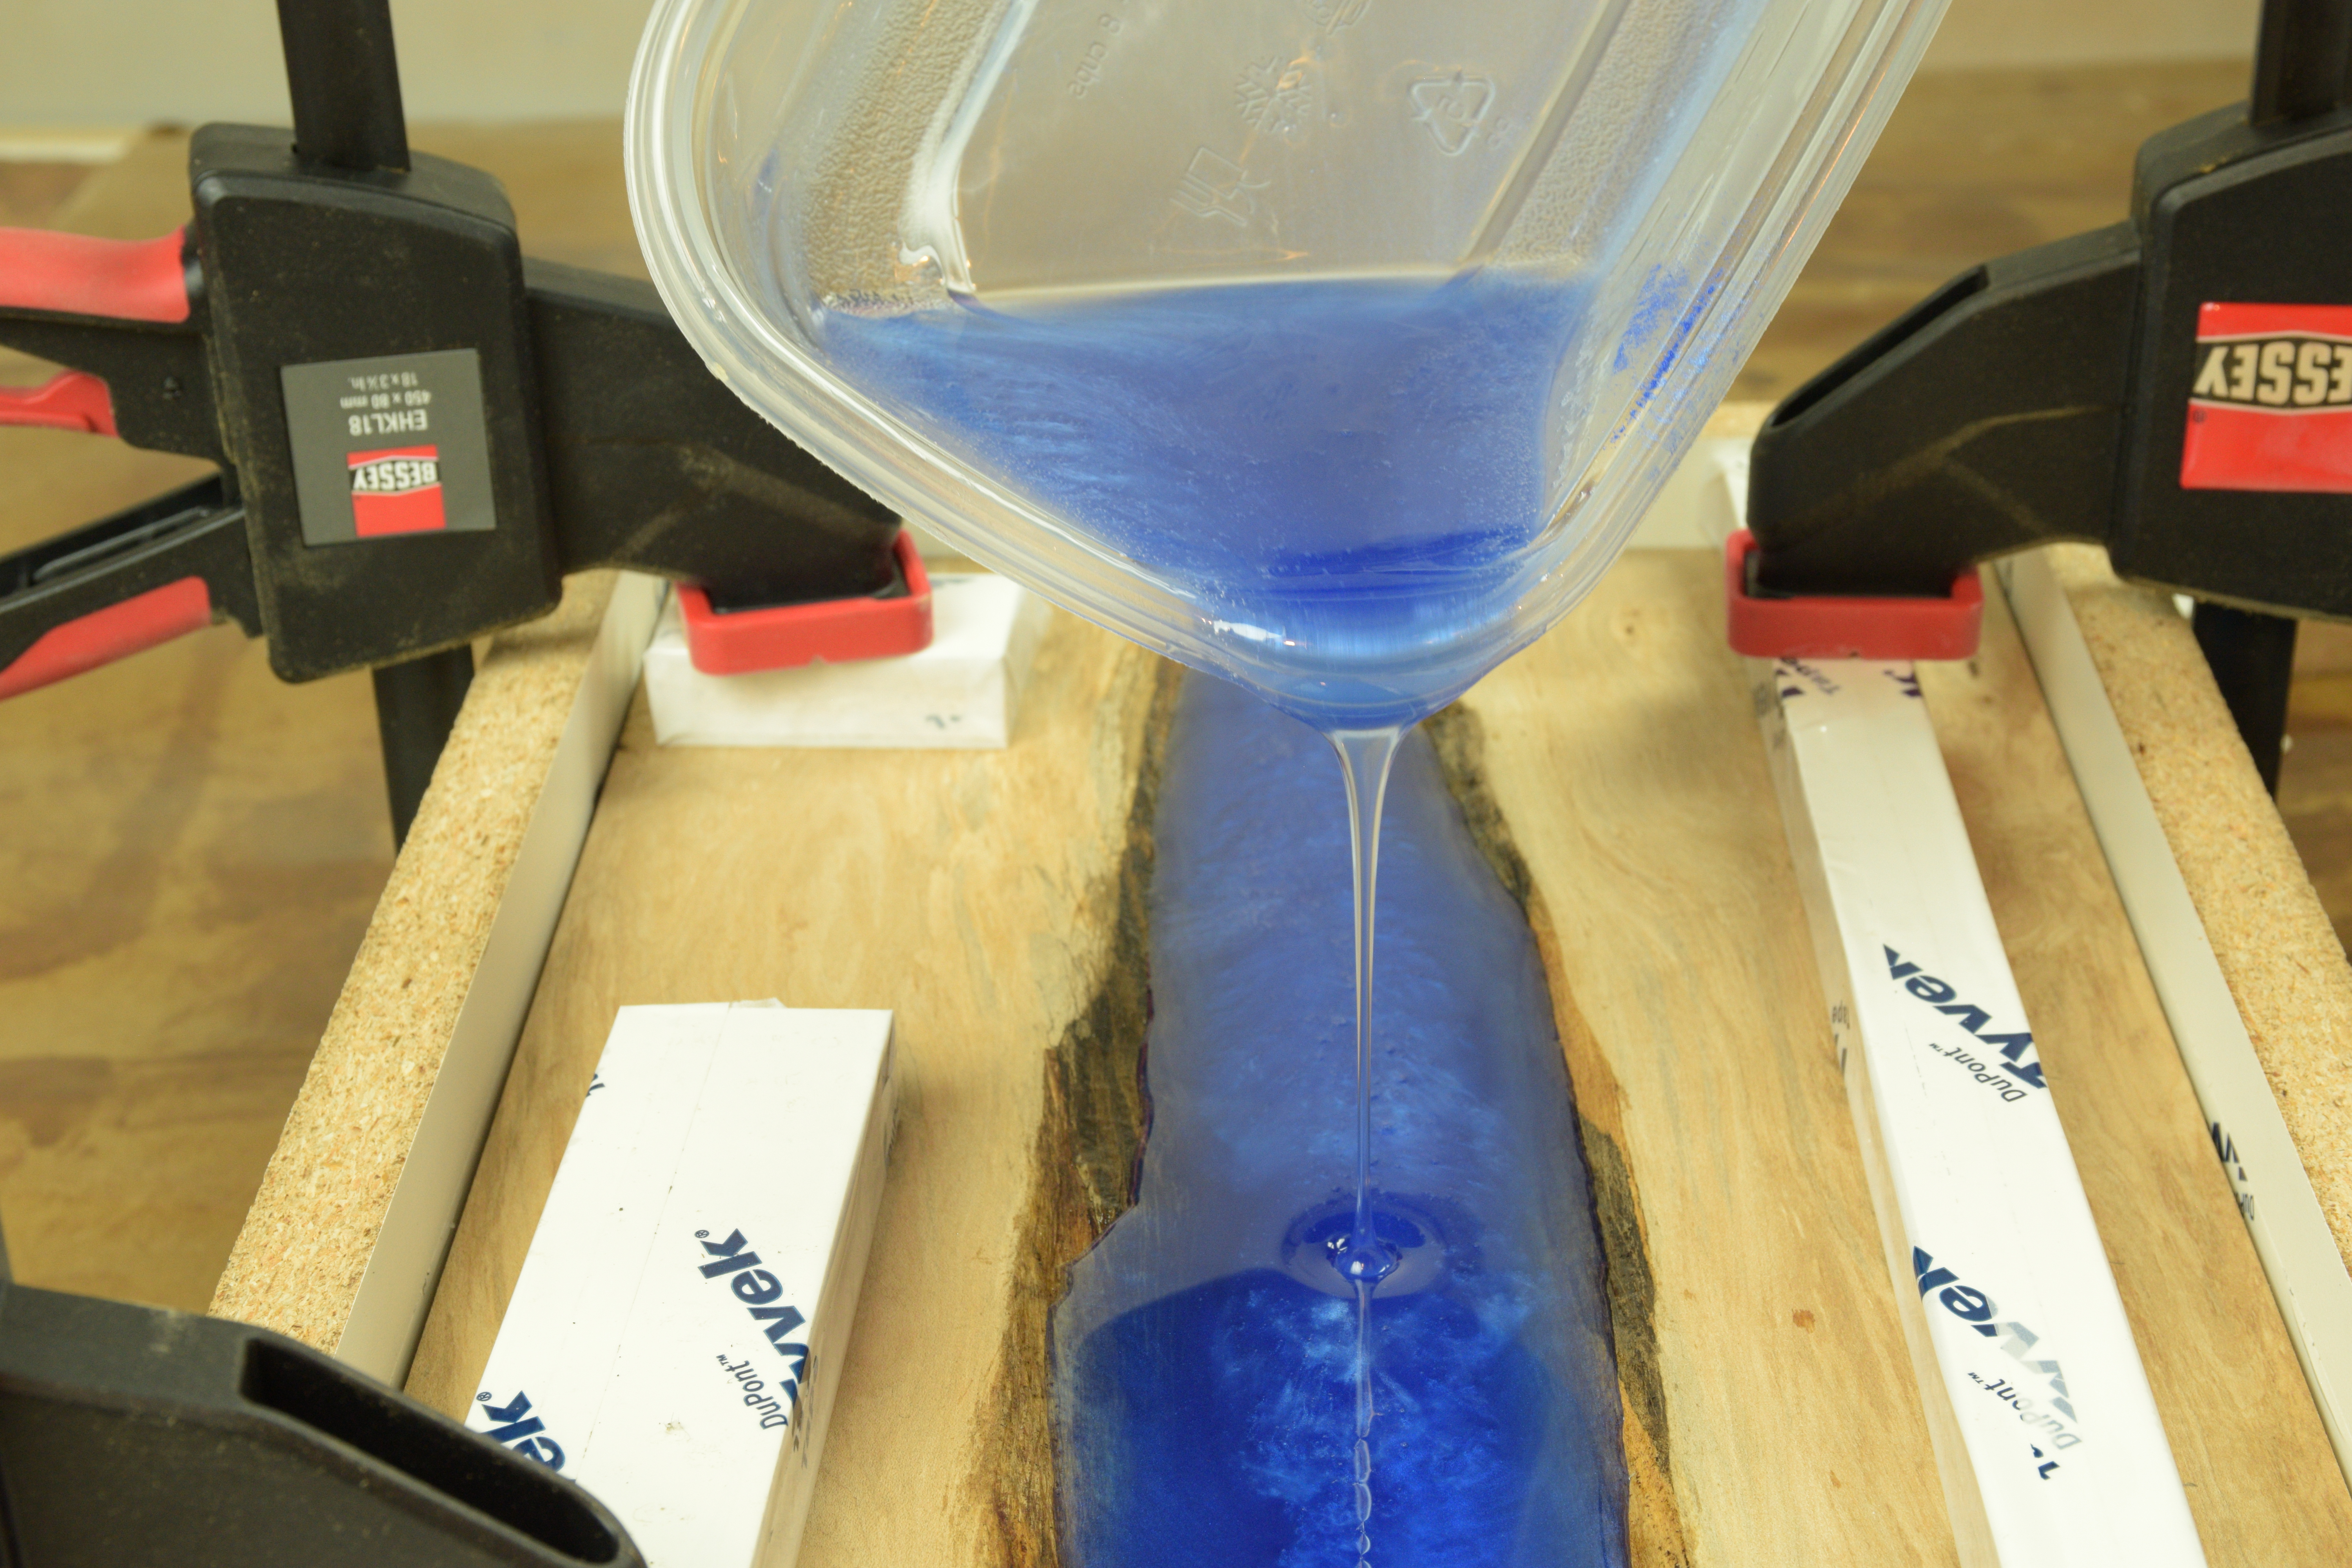
The Big Pour. Mix the two-part epoxy for about five minutes, and add some mica colorant. Typically, you’ll use 3-5 small scoops (1/8 tsp) of mica powder per 30oz of epoxy. Next comes the fun part when you can start pouring the epoxy between the slabs. Fill the void about half way for now, and spend a few minutes removing the bubbles from the wet epoxy.

Heat the Bubbles Out. Use a heat gun or kitchen torch to help lift and remove trapped bubbles. This process moves pretty quickly, and won’t take but a few minutes. Once that’s taken care of, fill the remainder of the void, and repeat the heating process.

Apply the finish of choice. Once the epoxy cures for 24-48 hours, run the board through your planer. The epoxy will look dull and lifeless as it emerges from the planer, but fear not, the deep beautiful color will return in the following steps. Use a planer with carbide inserts, such as the PX12 for best results. Shop PX series planers here! After all, your friends and family will be getting beautiful river boards for the holidays, so you probably deserve a new planer. Power sand through the grits starting at 100 grit, and work up through 1500 grit. Here, a Danish oil is applied to the river board to highlight the grain, and to bring the blue epoxy to life. A natural color (clear) Danish oil was selected to highlight the beauty of the wood, without obscuring the grain.

Time for a Topcoat. I’ve long been in the habit of spraying woodworking finishes. For one reason the topcoat builds more quickly than a wipe-on product. Another reason I like to spray finishes is the glassy smooth results. Often the second coat of lacquer will be smooth right off the gun, without any additional sanding or buffing required. Try spray finishing with a quality HVLP gun just once, and I promise you won’t go back. It goes without saying you’ll use a respirator with organic vapor cartridges any time you spray, and work in a well-ventilated area.

The only limit is your imagination. Experiment with different mica colors mixed into the epoxy, or try different lumber species. The blue and black boards are maple, while the green board is fumed white oak. Add handles or rubber feet as desired, and you’ve got a great addition to your home décor. Or get an early start on those holiday gifts for family and friends!


