I needed to reupholster a large Stickley rocking chair, and discovered the old seat frame was damaged. So, before I could tackle the upholstery, I had to build a seat frame with springs. Build the seat frame with half lap joints at the tablesaw or bandsaw. For a quick review of that technique, see my blog here!
Make 5/8” square notches on the corners of the frame. A custom-built fence and stop block on my Laguna 1412 bandsaw make quick work of the notches.
Watch the entire cushion making video featuring the Laguna 1412 bandsaw here…

The plan is to install zig-zag springs to the frame, so special spring clips are required. Layout the position of four clips, and install them initially with a #6 x 5/8” screw.

One thing with zig-zag springs – you need to bend the cut ends inward. This avoids a sharp point in the finished cushion, and it keeps the spring from ever sliding off the clip in regular use. To bend the springs, you can use a commercially available ‘end former’ tool, or make one yourself. I used a short length of angle iron, and some odds and ends from my shop to make one.

Install the zig-zag springs. There are specialty spring-stretching tools available, but I’ve never found them necessary. A thick pair of gloves and an extra set of hands are always helpful though. Hook the spring around the far clip, and stretch it toward you. The clips will hold the springs in place until you can secure them permanently.

Permanently anchor the spring clips. First hammer the spring clip flat, then finish the job with a pair of 1” long upholstery tacks.

Ruby Twine connects the springs together. Hitch a length of jute twine to the side of the seat frame, and tie the springs together with a double pass of twine. Repeat this in three locations across the seat frame. The twine simply keeps the springs in place, and prevents them from shifting side-to-side.

Add a deck Pad. I’ve torn apart old chairs that only had a piece of thin cardboard or a single layer of burlap separating the springs from the padding. I like to use something a little more substantial. You can use rubber-backed carpet runners (shown) or commercially available deck padding. Either way, you’ll attach it to the seat frame with fine wire 22 gauge upholstery staples.

Mock-Up is Everything. Drop your new seat frame in the chair, and mock up your intended layers of foam padding. Pay attention to seat comfort, as well as the distance between the armrests and seat cushion. Once you’re satisfied, glue the foam layers together with spray adhesive.

Head back to the bandsaw. A good bandsaw is surprisingly handy for upholstery and restoration work. Trim the foam layers at a slight angle, so the cushion will fit between the legs of the chair.

Add Polyester Batting. A layer of high-loft 10oz. polyester batting (aka Dacron) is useful to even out any irregularities in the foam. It also gives the finished cushion a plush, professional look. Attach the batting with spray adhesive, just as you did with the foam layers.

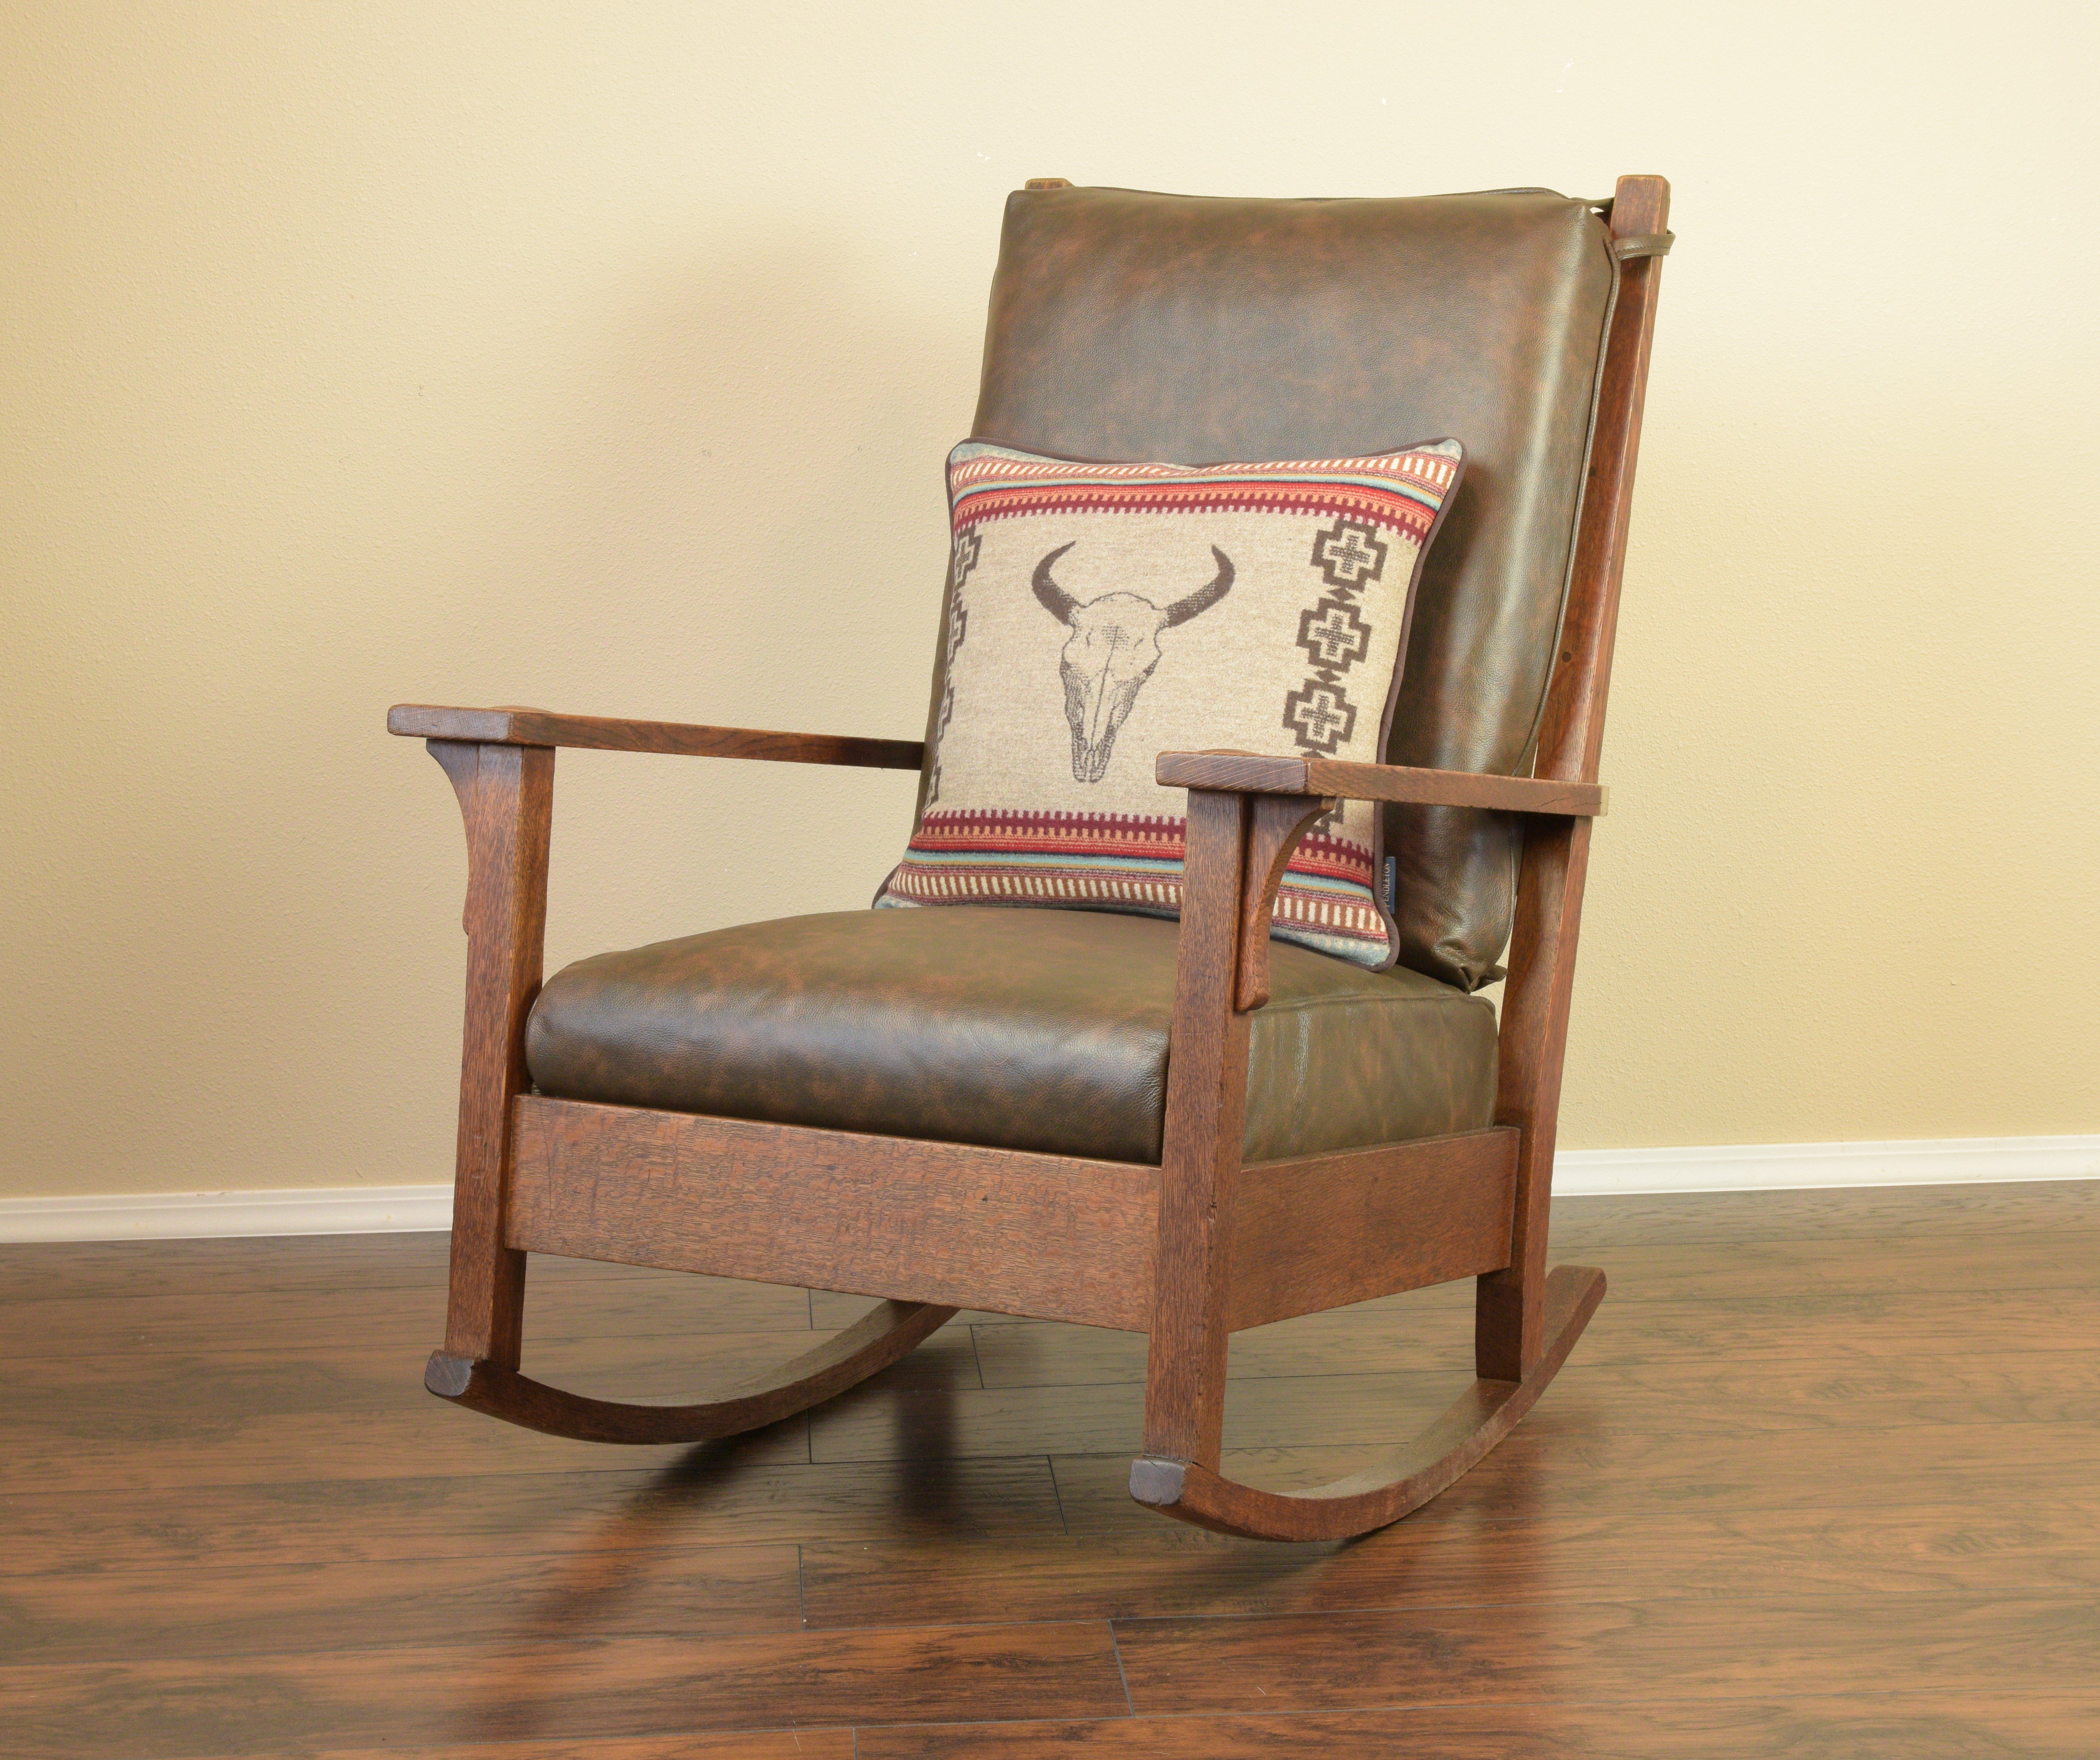
All Dressed Up. Although this Gustav Stickley #319 antique rocker was made over 100 years ago, with new leather cushions it almost looks new again.
Willie Sandry is a Freelance Writer for all the major woodworking magazines, blogger and crafter. Find more woodworking videos on his YouTube channel, the Thoughtful Woodworker (including how to make your own custom bandsaw fence for the Laguna 1412).


