If you have a router table and a tongue and groove router bit set you can easily make frame and panel doors. It’s a simple process and creates a great, elegant look for door frames. Many people call this a Shaker-style door.

In addition to doors, a tongue and groove router bit set allows you to create tongue and groove joints that you might use for edge-to-edge joints. You can also use the groove cutter on its own to create lock rabbet joints. The work is being done on a Kreg router table using their router lift.

Install the tongue cutter in your router table. Set the height so it’s centered on the thickness of your door material.

Make the router table fence even with the ball bearing in the bit by bridging the opening in the fence with a straight edge. Adjust the fence position until the straight edge is touching both sides of the fence and the ball bearing. Unplug the router any time you’re making adjustments to the router or router table.

Make a test cut in scrap. Be sure to use a board behind your test piece to prevent chip out on the exit side, and to stabilize the narrow test piece as you’re cutting it. Check the position of the tongue on the test piece and adjust the height of the bit as necessary to make the tongue centered. Your test pieces must be exactly the same thickness as your project pieces.
When the height of the router bit is correct machine the ends of all of your door rails, the horizontal components.

Install the groove cutter in your router table. Use one of the door rails to set the height of the cutter. The top of the carbide on the slot cutter should be even with the top of the tongue.

Like you did with the tongue cutter, use a straight edge to make the router table fence even with the ball bearing on the router bit.

Install a feather board to help hold the pieces tight to the router table and machine a groove in a test piece.

Check your work. When the tongue and groove joint is assembled the faces should be flush. Adjust the height of the router bit as needed and make additional test cuts.

When the setup is correct machine grooves in all of your door parts. Use a push stick to propel the parts past the router bit.

Dry assemble the door frame. Measure for the panel by inserting a ruler into a groove so it bottoms out in the groove. Make a mark on the door frame at 10-inches.

Insert the ruler so it bottoms out in the groove at the opposite end of the frame, measure to the 10-inch mark, and add the numbers together to get the overall panel dimension. Cut the panel to size, typically 1/16-inch smaller than the dimensions you measured when using a plywood panel.

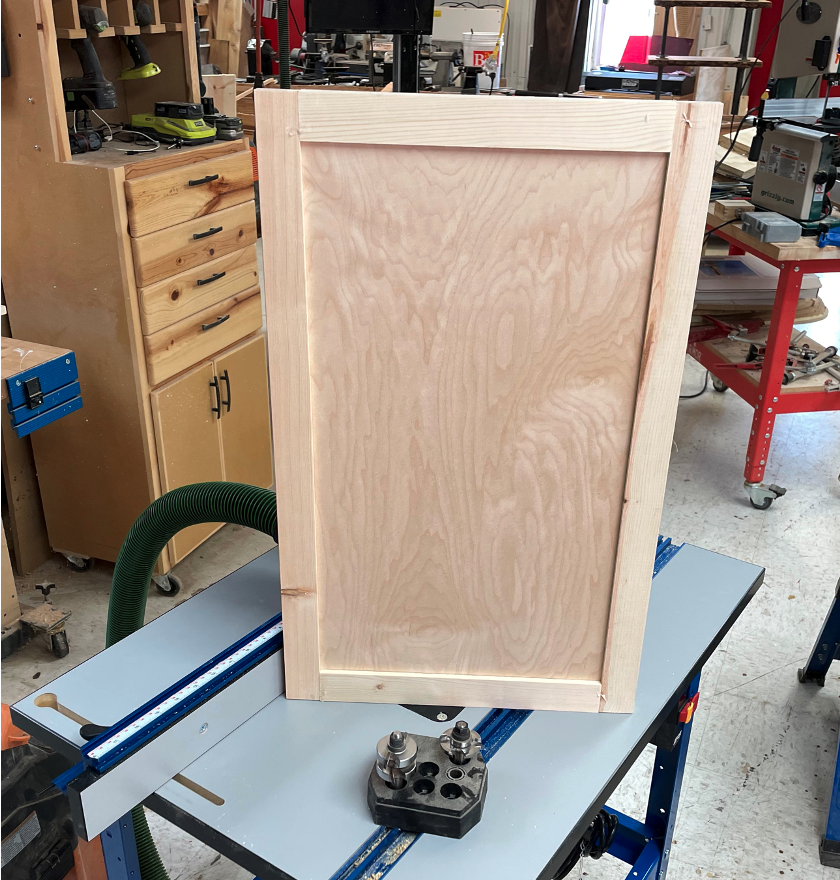
Sand the door panel before assembling the door. Glue and clamp the door frame and measure from corner to corner to check for square. Adjust as necessary, allow the glue to dry. Sand and finish your tongue and groove door.


