Now that you know what a Drag Knife is, let’s do a project and put a drag knife to use. Be sure you follow the recipe in previous article about the spoilboard and Z zeroing the knife.

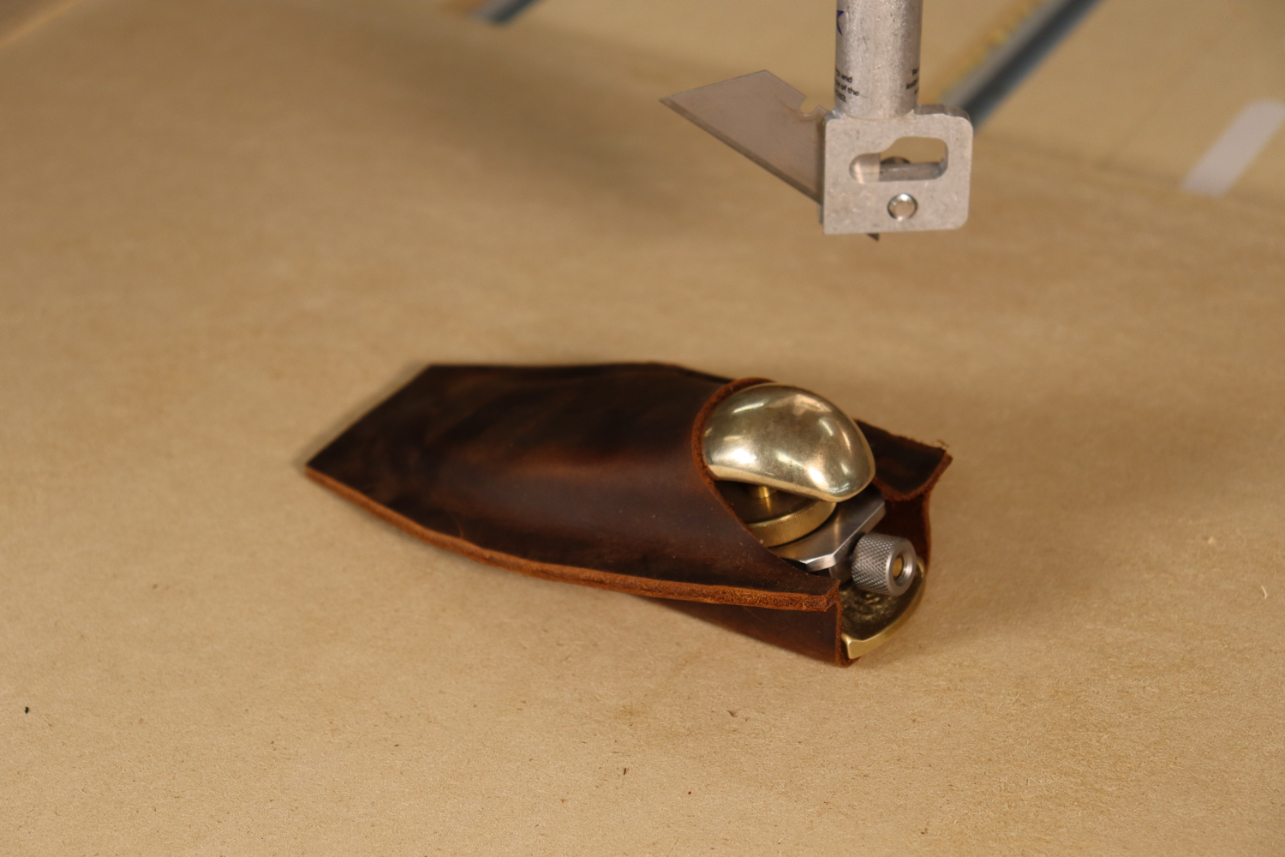
The Donek D3 Drag Knife will cut material up to 1/16” thick, so it will cut leather. You can use your CNC to create custom tool holders for your shop, like this block plane pouch. Your imagination is the only limit on how you can use a CNC and drag knife. Pieces of leather are readily available on Amazon.
VCarve Pro has a Drag Knife Toolpath in the Gadgets menu, but for this project we don’t need to use it.
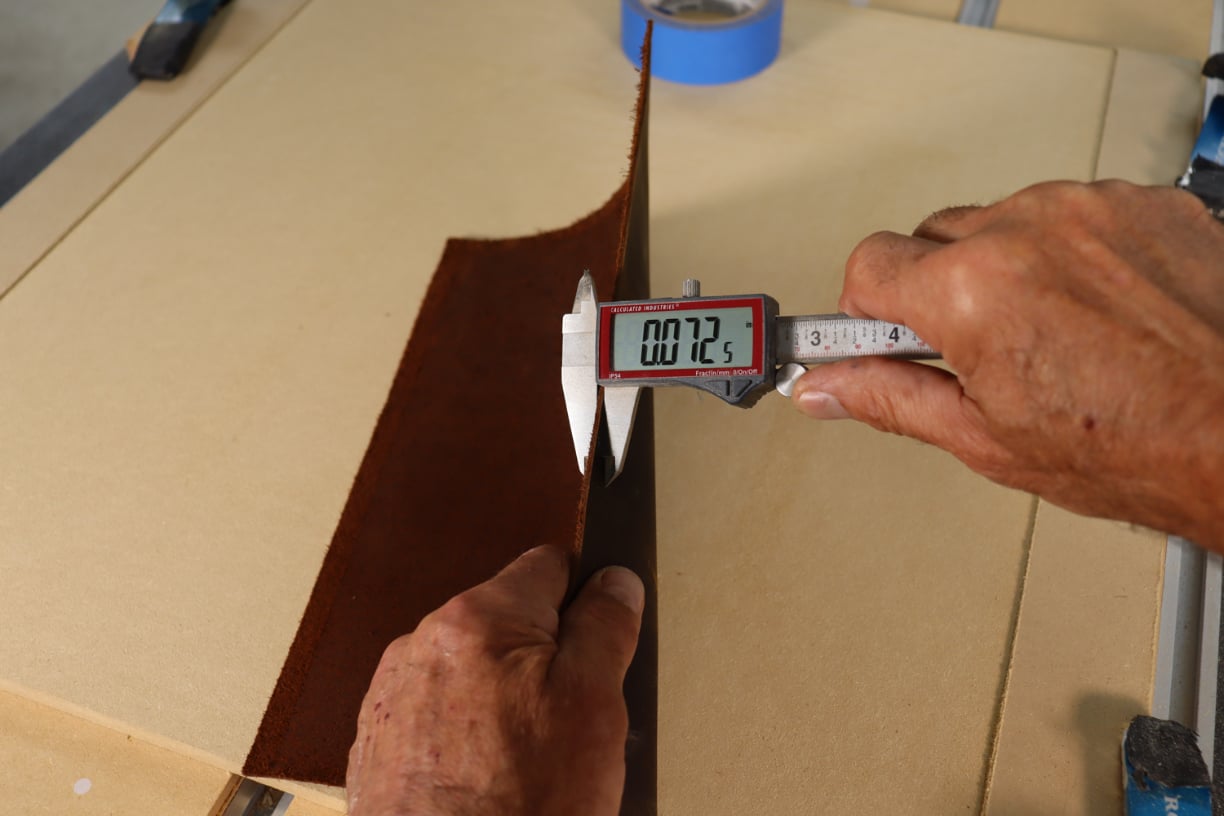
Carefully measure the thickness of the leather. This is slightly over 1/16” thick, but the D3 will handle it. Get the accuracy you need for this measurement by using digital calipers.

Use Job Setup to create a new workspace with your leather’s dimensions. Be sure the Z Zero Position is set to the Machine Bed,
Create your design.
Select the design and open the 2D Pocket Toolpath. Set Machine Vectors to cut On the line. Choose the Donek Drag Knife from your Tool Database. Click Calculate.
If you haven’t already added the drag knife to your database don’t sweat it, it’s easy to do. Follow These Instructions. I copy an endmill and make the Diameter .03”. That’s not the real size of the knife, but this dimension gives us a line we can see in Preview Toolpath. 60 in/min is a good feed rate.
After calculating the toolpath go to the 2D View tab and click on your design to select it. Right click to get the menu and navigate to and click on Node Edit Mode.

This shows you the starting points of the toolpath, which are the green squares. When using the drag knife, it’s better to have a starting point on a straight line, not at a corner. 
Position the cursor in the center of a straight line. Right click. Navigate to and click on Insert a Point. Do this on both designs.
You now have two new points, one on each design. Right click on each one. Navigate to can click on Make Start Point on each one.
The new nodes should now be green, showing you these are the starting points for the toolpaths.

Select the designs and reopen the 2D Profile Toolpath. Click on the Leads tab and add a Circular Lead with a 1” radius and 1” lead length.
The toolpaths now look like this. The lead, the curve that looks like an on ramp, is an important part of the drag knife toolpath. It allows the knife to swivel into alignment with the toolpath before it’s actually cutting the toolpath. The lead always goes into the toolpath’s starting point, which is why we moved it to the center of a straight leg.
The next accommodation we need to make is for crisp corners on the design. If the knife simply follows the 2D Profile Toolpath it’ll round the corners slightly as it turns. We can overcome this by adding fillets.

Navigate to and open the Fillet tool.

Select the Plasma/Drag Knife Fillet and assign it a ¼” radius.

Click on any corner you want to keep crisp, and the software automatically adds a fillet or loop. The loop is now part of the design and it’s all one continuous vector.

Run Preview Toolpaths. This is why we assign a .03” diameter to the drag knife, so we can see the toolpath here. You can see that the loops we added allow the knife to run past the corner, turn and then come back so the corner is sharp.
Run the toolpath

Use masking tape to secure the leather to the spoilboard.

Run the toolpath.
Assemble your project
Use leather adhesive to fasten the leather components together.

Use wax paper, a caul and a weight to hold the parts until the glue dries.
Now, imagine the different things you can make, from knife sheaths to leather inlays, by cutting leather with a drag knife on your CNC router.