I like to restore antique furniture, especially when it’s a classic piece of arts and crafts history. My favorites are rocking chairs and armchairs from Limbert or Stickley. As much as I try to maintain the original finish on collectible furniture, sometimes it’s necessary to match an antique finish. Recently I built an ottoman to accompany an antique armchair. I like the original fumed oak finish on this oversized chair, but matching an existing finish can be a challenge.

Start by making a sample board to test various finishes. I usually make scoring cuts at the tablesaw to divide the board into small squares for use as a palette. This way the sample finishes won’t bleed together as you apply them. Use a variety of dyes and stains to see which one matches the antique finish best. Check out a quick tutorial on how to build this handy “X-Cut” Crosscut Sled here.

Apply dye to half the board as an initial coloring step. Then apply various stains on top of the dye to match an existing finish. The remainder of the board can be colored with stain only for comparison. It’s important to remember that a topcoat such as shellac or lacquer will alter the color and sheen of the finish. For that reason, the sample board should be sanded, dyed, stained, and topcoated just like your intended project. Label each coloring step as you go, so you can use the sample board as a reference in the future. Once you select the best color from your sample board, you can proceed with confidence on your project.
Often, the best match won’t be found with just one simple stain application. Usually there’s a combination of products that result in a perfect match. With this ottoman project, I started with a non grain-raising dye (NGR Dye) by mixing Golden Brown Transtint dye in a 50/50 mixture of denatured alcohol and lacquer thinner. Because the dye isn’t mixed with water, it won’t raise the grain and require additional sanding. Wipe the dye on with a staining sponge, which is just a sponge covered in terrycloth. “Dip it, Don’t Dunk It” is my mantra for applying dye finishes. What I mean is dip the staining sponge in the dye and apply it sparingly. If you apply the dye too liberally, and don’t get it wiped off in time it will leave streaks and lap marks in the finish.

Thoroughly sand the project to remove any bandsaw or milling marks before applying the finish. Sand through your normal sequence of grits, which for my process is 120 grit and 150 grit.

Apply dye to the project with a staining sponge. Remember “Dip it Don’t Dunk It.” By applying the dye sparingly, and moving along quickly, you’ll achieve the best possible finish.

Next apply the stain. The product I selected is an Old Masters Dark Walnut stain, which is a liquid (not gel) oil-based product. Wipe the stain on with a lint-free wash cloth, and let it dry overnight. The walnut stain adds a rich color to the orange-brown dye underneath. The finish will likely look beautiful when the stain is wet, but dries to a rather dull lifeless look. Keep in mind... this is normal… and the rich depth of color will return once the topcoat is applied.

Finally, apply the finish of your choice. While I usually choose lacquer for most of my furniture projects, I like how shellac warms up the orange-brown tones of this finish. Spraying yields the most consistent results, but a wipe-on topcoat works fine as well.

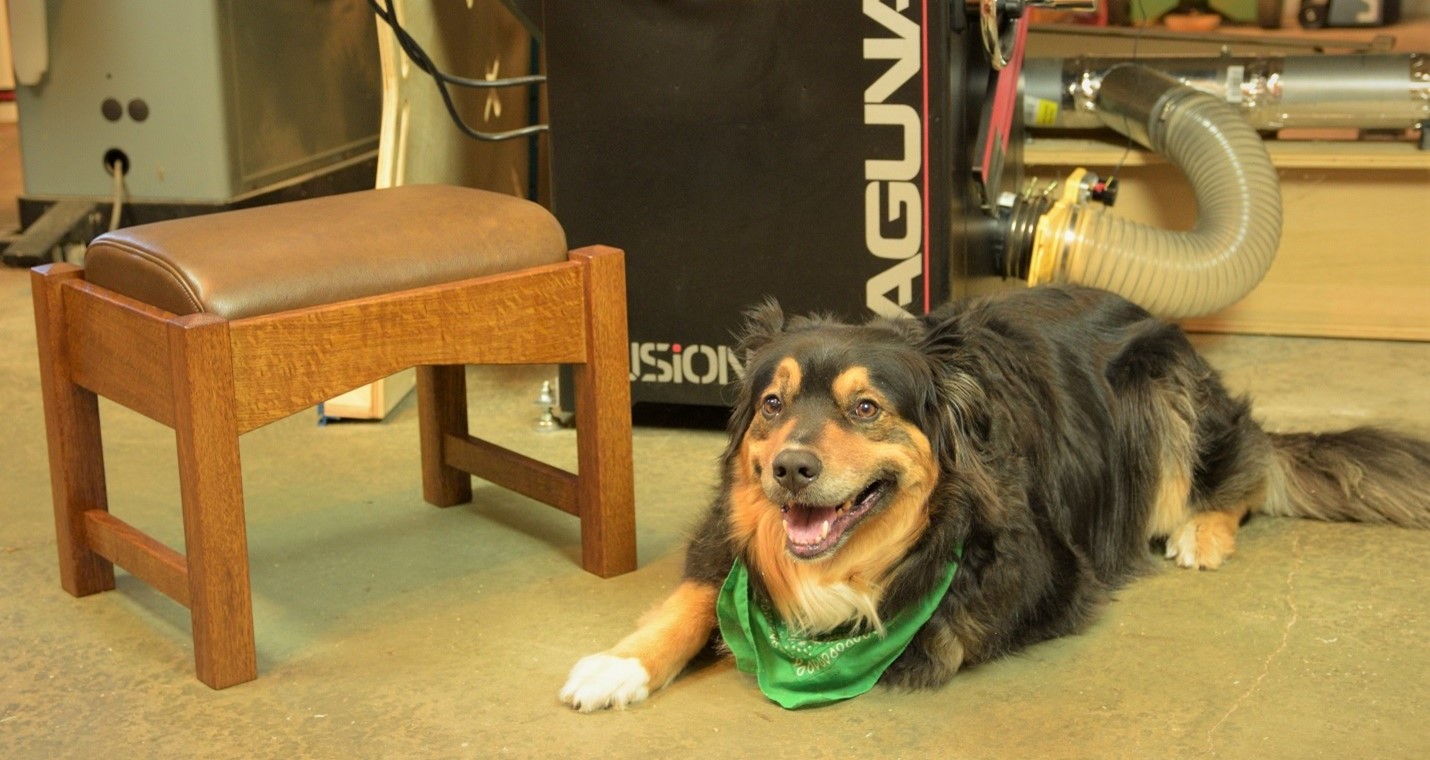
Now sit back and enjoy the fruits of your labor. This custom-made ottoman is a perfect fit for an antique Limbert armchair, and it’s a great spot to unwind after a busy day in the shop! Despite the fact that the armchair was built 110 years before the ottoman, a perfect color match is possible with a little patience and this multi-color layering technique using both dye and stain. Look for the how-to video to build this ottoman with leather upholstery on Laguna’s YouTube channel!


