The beauty of 3D clipart is its complexity. There are few, if any, flat planes. Despite that you can easily personalize 3D clipart by adding text to it. Check out this article to learn more about creating 3D clipart.
The software used in this article is VCarve Pro by Vectric.
Designing

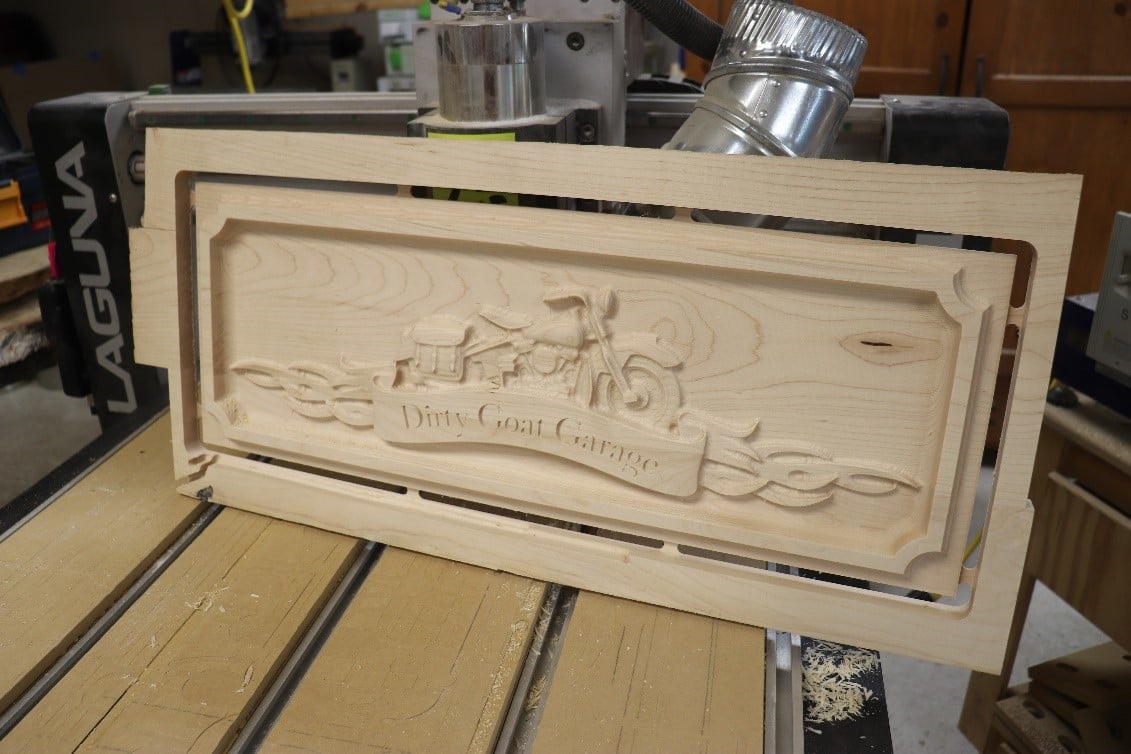
Open your 3D clipart. The art used here is called Let’s Ride No. 2 and is from Design and Make.

Use the Draw Rectangle tool to create a rectangle that is approximately the size of the area where you want to place your text. It doesn’t have to be exact. The size of the text can be edited and finalized later. The rectangle is only to help with layout and isn’t part of the design.

Select the rectangle and use the Draw Text-within a vector box tool to create your text.

The text is forced to fit into a given space, in this case, the rectangle you created. Don’t worry about the text’s alignment to the artwork. We’ll fix that. You can now delete the rectangle.

If you need to do additional editing on the text, change its size or move it, click on it to select it, and use the handles on the corners to make it larger or smaller. Use the keyboard arrows or Align objects tool to position the text.

With the text selected, it should be magenta, click on the Edit Text Spacing and Curve tool.

Notice the green handles that have been added to the text. These handles allow you to bend the text up and down.

Click your mouse on the top or bottom green handle, hold the mouse button down, and pull the text in the direction you need it to bend. The text is being bent to match the curve in the artwork. When you’re happy with the bend hit the Escape button.
Toolpath

Select the text and open the VCarve toolpath. Select the bit. A 45-degree V-bit is being used on this toolpath.

Within the VCarve toolpath click on the Project toolpath onto 3D model button. This is the key to “telling” the software that you want the text to conform to the surface created by the 3D toolpaths.

Use Preview Toolpaths to check your work.
Running the toolpaths

Run the 3D toolpaths before running the lettering toolpath. Install the router bit you’re using for the lettering and set its Z zero to an uncut surface, NOT a surface that has been cut by the 3D toolpaths. This is important to remember. All of the toolpaths Z zero from the same reference surface, the Material surface or Machine bed, whichever you selected within Job Setup.