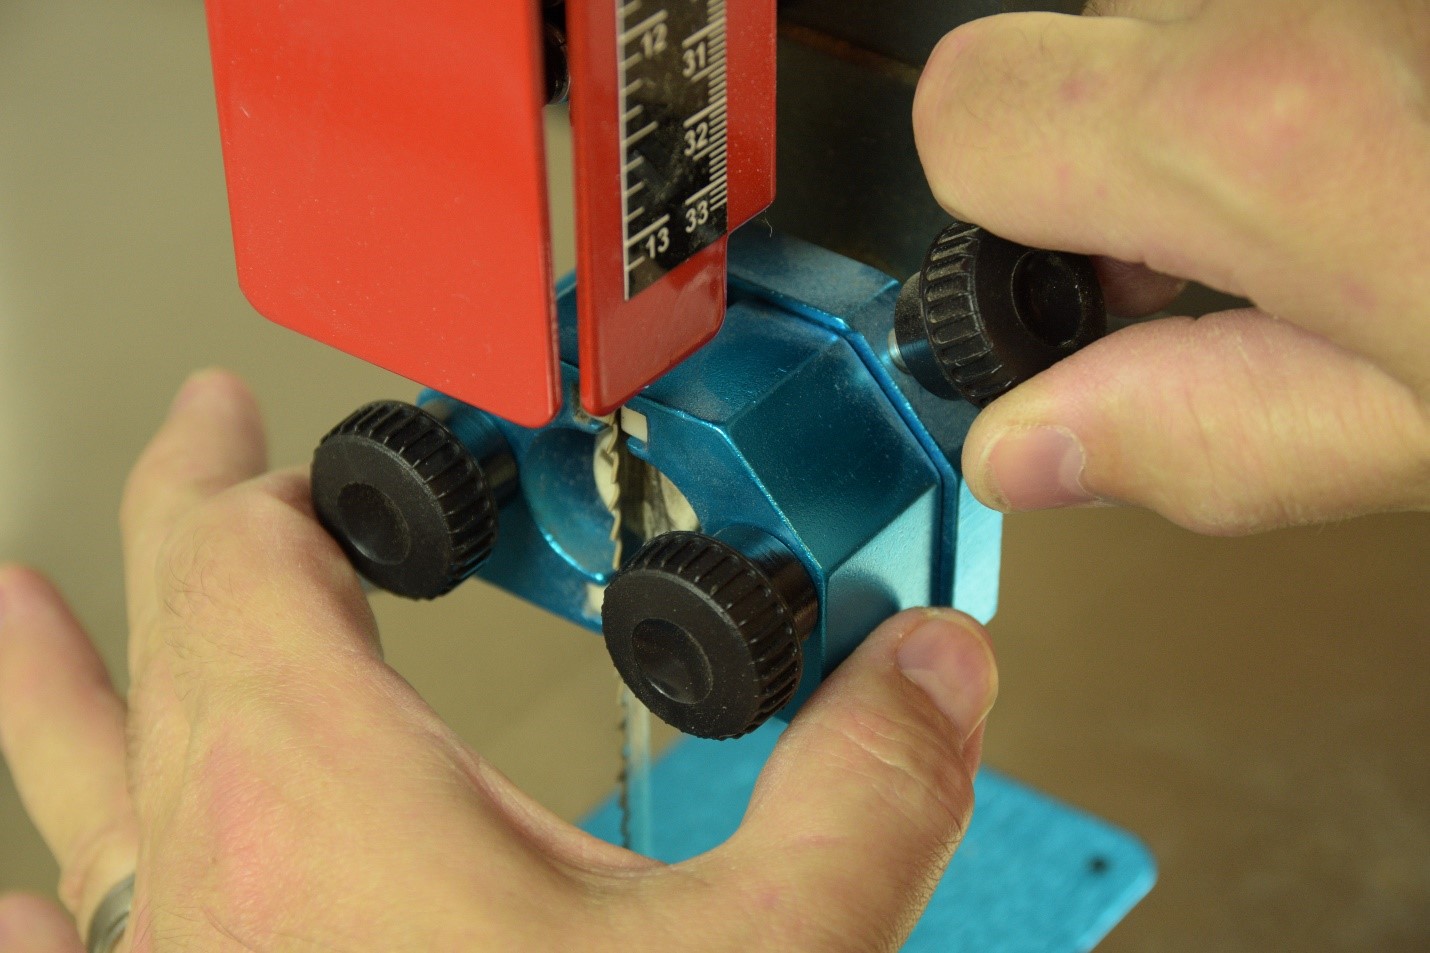
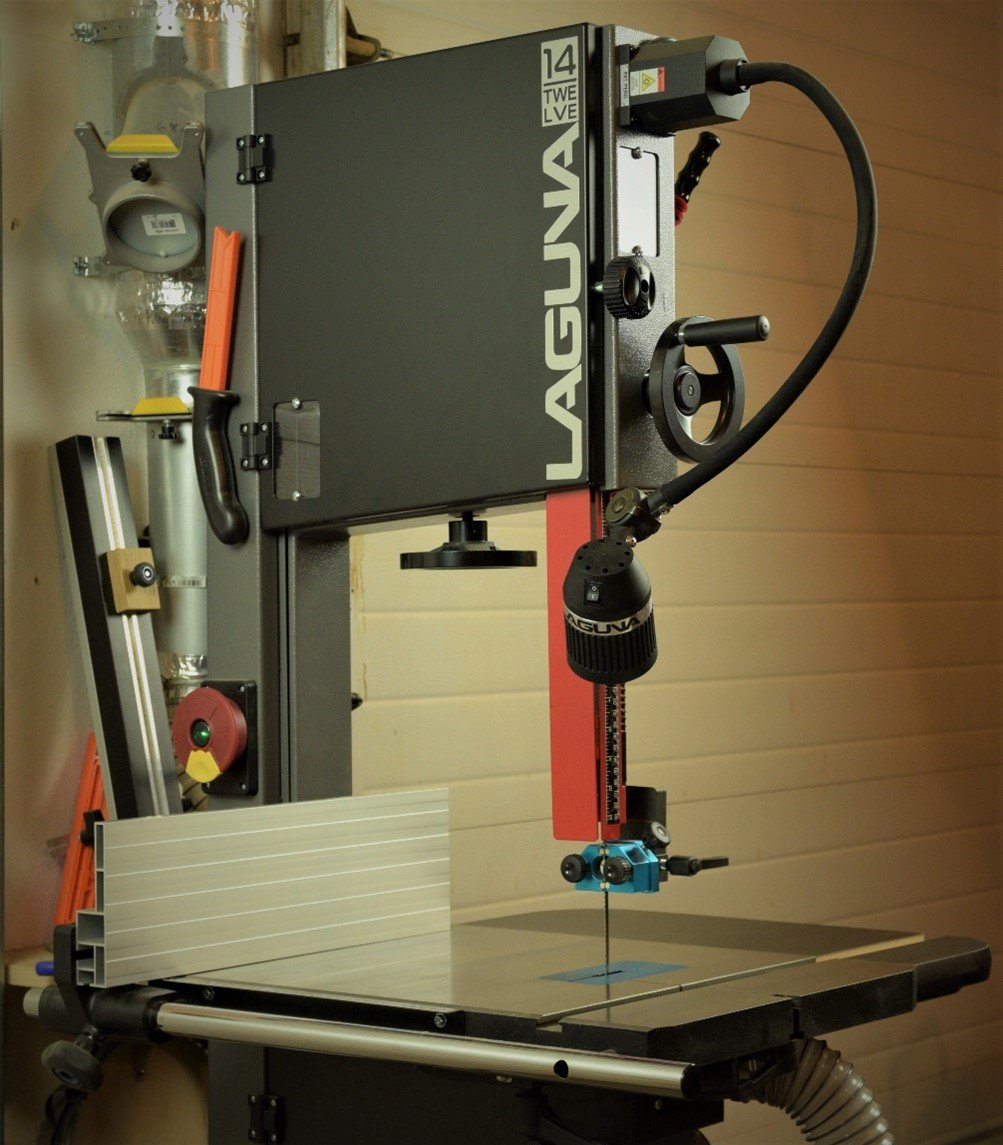
One of the best features of the 14|12 bandsaw is the ceramic guides. Ceramic is one of the hardest materials known to man, and lasts an incredibly long time in this application. I had struggled with bandsaw guides for years, having problems with guide bearings or small guide blocks. Guide bearings have some merit I think, at least when they’re new. But my personal struggle with guide bearings on other saws was always the same. The so-called “sealed” ball bearings would eventually clog up with sawdust and seize up. Replace the bearings. Have them seize up again. Repeat.

It was a vicious cycle I wanted to get away from. Enter ceramic guides on the Laguna bandsaws. First, I noticed the ceramic keeps the blade running cool and quiet, and I really like that. But beyond that, the particular guides on the 14|12, and in fact many Laguna bandsaws, offer additional points of contact to fully support the blade.

The ceramic guides offer not 2 or 3 points of contact, but 5 points of contact above and below the table. That’s 10 total points of blade contact for absolute blade control, even in difficult situations such as tall resawing. Set you’re guides correctly, and they will offer years of predictable service. When changing blades, be sure to loosen the guide blocks and back them out of the way. Open the mouth on the blade guides to be well clear of the blade for tensioning and tracking.

Tension and Tracking First! When changing bandsaw blades, it’s of paramount importance that you tension and track your blade before setting the guides. Use the scale inside the upper wheel cover to adjust blade tension based on the size of your blade. A ½” blade will naturally need more tension than a ¼” blade.

Once properly tensioned, spin the upper wheel by hand to track the blade. It should be centered on the crown of the bandsaw tire.

Amazingly, my 14|12 never needs tracking adjustments when switching between blades. If slight adjustment is necessary, make that now with the knob and wing nut on the back of the saw.

Now set the Guides. Slide the guide blocks forward, and gently pinch the ceramic guides against the blade. Position the guide blocks so the ceramic guides contact the blade just behind the gullet of the blade (The guides should never contact the teeth of the blade). While holding this gentle pinch position, advance the thrust guide and start tightening the two knobs that hold the overall guide block position and thrust guide position. Finally, tighten the guide block knobs. Remember – the blade is boss. You have already tensioned and tracked the blade. All you’re doing now is setting the ceramic guides exactly where the blade tells you to.

Repeat on the Lower Guides. The process is the same for the lower guides, although I will share a tip that helped me with accessing the lower guides. The 14|12 is often shipped with the lower guide block knob pointing backwards. This position allows maximum table tilt, so it’s the preferred position from the factory. However, since 95% of my bandsaw cuts are made with the table square to the blade, I chose to move the knob to the front of the guide block for easy access. Conveniently, Laguna has tapped a second location for just this purpose.

Once you’ve practiced this simple procedure a couple times, it becomes intuitive. Just remember to tension and track the blade first. And the “blade is boss” when setting the guides! Before long you’ll be resawing with control thanks to the ceramic guides and 5 points of contact both above and below the table. Check out a quick video on blade types and how to set your Laguna guides here.


