Sign Making: Where to Start
Making your own wooden, metal, or acrylic signs is a great opportunity for a lucrative side business – or simply for an enjoyable hobby. DIY signs are an easy way to refresh the look of your home or business, and they make great gifts, too. If you’d like to learn how to make signs to use as wall art, here’s what you need to get started.
Skills You Need
You don’t need to be a trained carpenter or metalworker to create a handmade sign. All you need are some basic woodworking skills, a little patience, creativity, and a sense of humor. It helps to know:
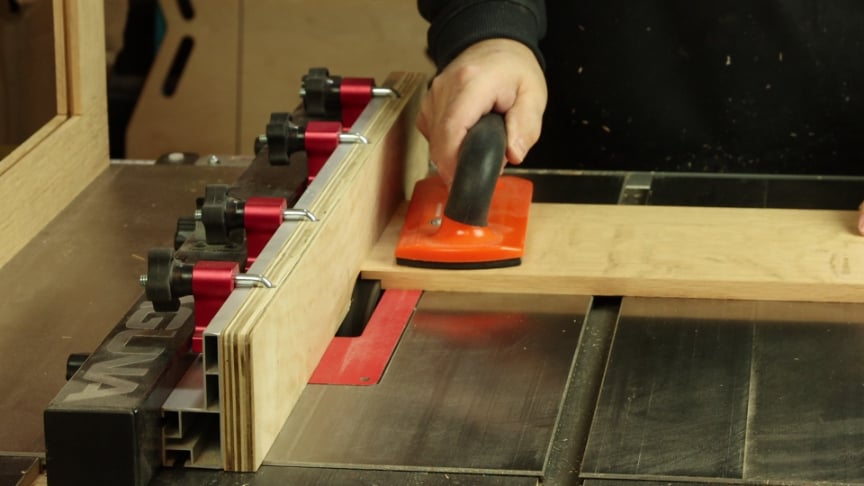
- How to use a saw: Wood signs vary in shape and size. To cut your material to the desired dimensions, you’ll need access to a circular saw or a miter saw. If you want to engrave letters directly on a piece of wood, you’ll need a plunge router.
- How to hand-letter or use a stencil: Engraving can add flair and style to your sign, but it’s not the only option for lettering. You can create beautiful wood signs simply by painting on the words or applying a vinyl stencil.
- How to sand and stain wood: To prepare your sign, you’ll likely want to sand down the edges of your workpiece for safety and aesthetics. You can create a sign on unfinished wood, but paint or stain gives it a more professional look.
You may have to do a few practice runs before you can bring your vision to life – but you’ll learn a lot along the way. If you get stuck, check for an online tutorial or instructional video. There are plenty of free resources to help DIYers get started.
.png) How To Laser Engrave a Wooden Sign
How To Laser Engrave a Wooden Sign
 Why Sign Makers are Upgrading to CNC Machines

Tools That You need
It’s possible that you already have most of the tools and supplies to make a DIY sign lying around your house. If you’re making a wooden sign for the first time, here’s what you need to assemble:
- Scrap wood
- Latex or acrylic paint
- Paintbrushes
- Wood stain, such as Minwax
- Stencil
- Miter saw
- Sandpaper
- Wood glue
- CNC Machinery
You can create a vinyl stencil by hand, or you can use a cutting machine, such as a Cricut. Designed for hobbyists and DIYers, a Cricut can quickly cut patterns and stencils based on a digital design you crea
te in a computer program. These die-cutter machines can be found at most big-box craft stores.
Some DIY wood signs don’t require mounting – they may have a standalone base or you might simply lean them
against a bookcase or mantle. But if you want to hang your sign, it helps to have a cordless drill and mounting hardware like hooks, screws, or nails. Be sure to use levelers to confirm the sign isn’t crooked before fastening it to the wall.
Many Styles to Choose From
There’s no limit to what you can create once you get some experience with DIY sign-making. Common styles include:
DIY Farmhouse signs
The farmhouse trend is here to stay. Visit any home furnishing store and you’re likely to see farmhouse-style wooden signs. Some have inspirational words or quotes; others are simply useful labels to mark the powder room, laundry room, or pantry. Instead of spending a fortune on mass-produced signs, you can recreate the rustic, weathered look of these home decor pieces yourself.
Yard signs
Signs are a budget-friendly way to spruce up your front or backyard. You can use handmade signs to label your garden beds, identify your house number, or as holiday decor. To help an outdoor wood sign stand up to the elements, use a water or oil-based sealant, available at hardware stores like Home Depot or Lowe’s.
Front porch signs
You’ve probably seen these on a porch or front stoop before. A popular style of front porch sign is a board, usually about five feet long, with vertical lettering that says “Welcome.” You’ll often see these propped up next to the front door. A horizontally placed welcome sign might instead say “Welcome to our home,” or “Welcome to our porch.” Other common styles for front porches feature the owner’s name, such as “The Smith Family” or simple “The Smiths.”
Wedding Signs
Artistic, hand-painted wooden signs are often used at both indoor and outdoor weddings. These beautiful signs add to the decor and also help with wayfinding. Signs can direct guests to the ceremony or reception, identify parking areas, or label where guests of the bride or groom should sit. Small wooden signs can even be used as table numbers.
Different Types of Materials for DIY Signs
With the various kinds of materials for making signs, you can craft a piece that matches your aesthetic tastes and functional needs. Consider the following tips depending on the material you use:
DIY wood signs
Once you’ve created your stencil, there are plenty of ways to complete your design. Instead of using craft paint and a paintbrush, you could also use a paint pen, which some beginners find easier for creating neat, uniform lettering. You can also use a Cricut machine to create vinyl letters and apply them with transfer tape.
Plastic and acrylic signs
You can make a simple DIY plastic sign by creating a design on heat transfer vinyl (HTV) which is then applied to a piece of acrylic. If you want the lettering etched directly onto the acrylic, you’ll need more advanced equipment, like a computer numerical control (CNC) router.
Metal signs
If you’re making a metal sign, you’ll probably need a CNC machine called a plasma cutter. This allows you to create and program a digital design. Once you have a plasma cutter, there’s no limit to what you can create using a wide variety of metal, wood, or acrylic workpieces.
Tips on how to make signs
Whether you’re working with wood, metal, or plastic, there are some similarities in the design process. Here are a few tips and tricks for DIYers:
Plan ahead
While a decorative sign is a very doable weekend project, make sure you have all your materials before you begin so you’re not making a run midway through to the hardware or craft store. Print out your design on paper first. If you’re painting your sign by hand, have a few different widths of brushes. And if you’re creating a vinyl stencil, it helps to have extra material in case you make a mistake on your first try.
Consider your budget
You don’t need to spend a lot of money on a handmade sign, especially if you’re going for a rustic look. You can use pallets or scrap pieces of wood left over from previous DIY projects. For basic DIY signs, medium-density fiberboard (MDF) works just as well as plywood and is often less expensive.
Get working
Don’t be afraid to get creative with paint colors, lettering styles, and finishes. If you’re not sure what kind of font you want to use or how to arrange your design, look for free printables online to use as a template. And remember: measure twice, cut once.
Practice on scrap material
If you’re not sure about your design, try it out on a piece of paper or cardboard before you begin. This will give you some practice and help you build up your confidence. You’ll get a better idea of how your design will look in real life and can tweak the font or layout as needed.
How to Improve Your Sign-making Skills and Go Pro
If you enjoy making signs, you might want to invest in professional equipment. Once you’ve built up your skill set, you could even sell your signs online through a platform like Etsy.
Take a sign-making class
A great way to get better at sign-making is simply to practice. But you can also take an in-person class where you can learn from a more experienced woodworker. As an added benefit, you’ll get to network with other makers and build your professional contacts if you eventually want to turn sign-making into a business venture. If classes aren’t available in your area, try watching a tutorial on YouTube.
Consider investing in CNC and professional machinery
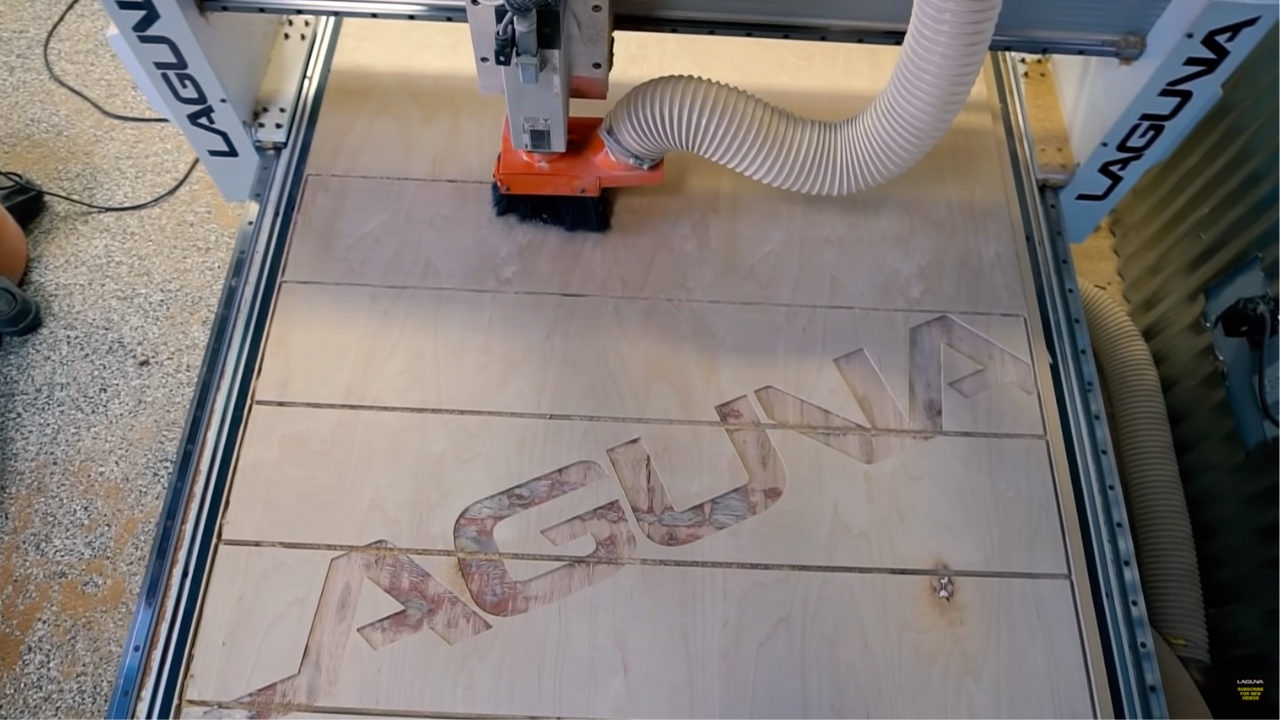
As your designs become more complex or you find yourself with more and more projects in the pipeline, you may want to upgrade to a CNC machine. A CNC router saves you time and money, allowing you to design and cut signs efficiently. You can shorten your project turnaround times and minimize wasted material.
Explore Our Sign-Making CNC Machinery
See our collection of CNC machines and routers for sign-making projects. Increase your production efficiency drastically and speed up your sign-making projects.
Many CNC machines are compatible with multiple kinds of computer-aided design (CAD) software and have wireless connections. That means you can create your design on the computer (rather than by hand) and program it into your CNC equipment.
Founded in 1983, Laguna Tools is an industry leader in woodworking equipment, tools, and accessories, serving both hobbyists and business owners alike. For more information about how to make wood signs or our DIY sign-making products, contact us today.

