Here’s a great CNC router project you can still kick out in time for the holidays. These are great stocking stuffers, and easy to batch out. Even if you don’t want to make this piece, this article teaches you how to add 3D clipart to your VCarve Pro software.

The Clipart
The 3D artwork is from Design and Make. If you’re not familiar with this website, and you use 3D clipart on your CNC, you should have a look.
They have a huge assortment of clipart available for sale. This article uses Style A. Artwork like the one used in this article cost as little as $15.

After you purchase and download the clipart, install it in your VCarve Pro software. Do this by navigating to the Vectric Files, typically found under Public Documents.

Open the Clipart folder. You’ll see folders for all of the clipart in your system. Right click and add a new folder, in this case “Christmas.”

Double click to open the Christmas folder. Drag and drop the Joy file from your Download folder to the Christmas folder.

When you open VCarve, the new clipart will be in your Clipart library. Create a New File and drag and drop the clipart to your workspace.
Working with 3D Clipart
Modeling
We need to do a few things to get the 3D clip art ready for CNC work.

Select the clipart and open the Modeling tab. Find and click on the icon for Create vector boundary around selected components.

Doing this creates a vector (line) around the clipart. We need this in order to cut the clipart out (Profile toolpath).
The new vectors, magenta colored, are grouped together. Right click on them and Ungroup objects.
Layout

If you’re making multiples, duplicate the clipart as needed in your workspace.
2D Profile Toolpath

Select the outside vector and create a 2D Profile Toolpath. This project will be onion skinned. Read this article for more info on that process. Note that this toolpath is cutting Outside/Right.

Select the inside of the O and create another 2D Profile Toolpath. In this case cut Inside/Left.
3D Toolpaths

Select the clipart and start with a 3D Roughing Toolpath. The clipart in this example is 3-1/2”x 5-1/2”.
The roughing toolpath is done with a 1/4" endmill. If you change the size of the clipart you may need to use a larger or smaller endmill.

Next, use the Finish Machining Toolpath. In this case a 1/4" ball nose is used. Use a larger or smaller ball nose bit as needed if you change the scale of the clipart.

Use Preview Toolpaths to check your work. Make adjustments to your layout and toolpaths as needed.
Make the Cuts

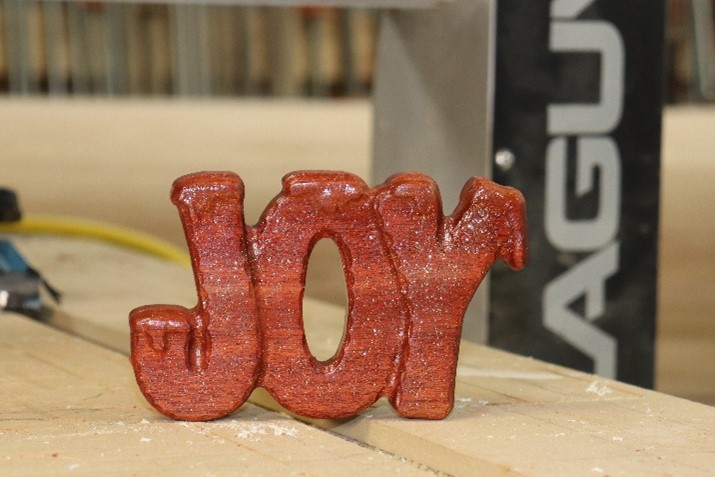
Secure the material on your CNC router and zero the X, Y and Z axes. Bloodwood is being used here. Its natural red color works great for Christmas items.
Of course, stain or paint on other materials can give you any look and color you’re trying to achieve.

Use the 1/4" end mill to rough out the clipart. Although the same bit is being used for the profile toolpath, don’t run these toolpaths back to back.
The parts are more stable, and you’ll get better cuts from the ball nose cutter, if the profile toolpath is done after the finishing toolpath.

Run the finishing toolpath, then change back to the 1/4" endmill and run the profile toolpath.

Once you complete the onion skinning process (check the article cited above for info about setting the parts free) your Joys are ready for a light sanding.
Finishing

I used an aerosol can of gloss finish as a topcoat on this project. While the first coat of finish was still wet I sprinkled metal flakes in it to give it a little Christmas glitter. Put on one more coat to seal in the glitter after the first coat is dry.
Items like this are easy to produce and make great stocking stuffers. Have fun!


