
If you’ve made many tenons on the tablesaw, you know there are a several common ways to get the job done. One is simply to use a dado blade and miter gauge with the workpiece flat on the tablesaw. However, it’s nice to have the option to use a vertical tenoning jig as well. Follow along to build a custom tenoning jig that works on a High-Low style rip fence.
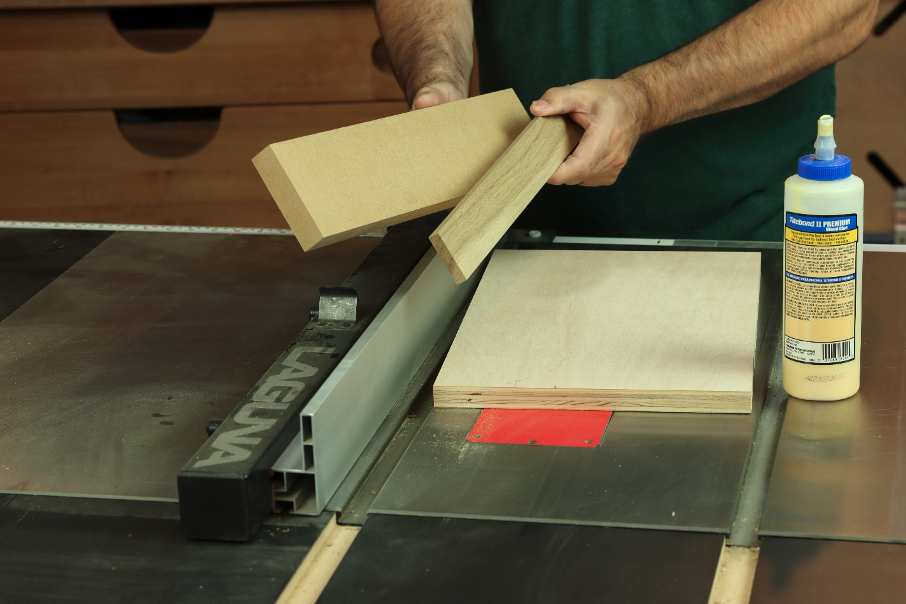
Build the base of the jig first, which only requires three basic parts. The slider is made from 1” thick MDF (you can substitute hardwood), the spacer is a thin hardwood strip, and the vertical jig face is ¾” plywood. Size the spacer to slide easily between the steel and aluminum parts of the High-Low fence. The spacer is ran through a planer until its thickness exactly matches that of the rip fence. 
Assemble the jig with glue and 18-gauge brad nails for now. It’s helpful to start the assembly right on the rip fence and move it to a flat surface once the pieces are locked in position. The base will be reinforced with screws later.
Make sure the jig base sits 90 degrees to the cast iron table saw top. Once everything is square, reinforce the assembly with screws installed from the back.

Pre-drill through the 1” thick MDF slider and hardwood spacer block.

Add several #8 x 2” long square drive screws to permanently hold the jig together.

Install a backer block on the jig with glue and 18-gauge brad nails. This backer block will support your workpiece when cutting tenons and needs to be positioned exactly square to the tablesaw.
Add a pair of toggle clamps to secure your workpiece to the jig. #10 x 5/8” screws work well for this.

Turn a hardwood handle and notch one corner. Use glue and a pair of 2” long screws to anchor the handle to the jig. Locate the handle about 1/3 of the way from the end. This will make the handle easy to reach, while also giving you maximum control.

There are two distinct ways to use this tenoning jig – with a dado blade, or with a combination blade. With a dado blade, you’ll easily create two faces of the tenon in two passes.

The more common technique is to use a full kerf combination blade to cut the tenons. It requires the shoulders to be pre-cut using a miter gauge. Once the shoulders are established, turn the workpiece on end to complete the cheek cuts. Make sure to adjust the rip fence so the waste will fall to the open side of the cut. You never want an offcut trapped between the jig and the blade.

If you get creative, you’ll find many ways to use the new tenoning jig on your tablesaw. I find it cuts clean tenons with either a dado stack or a full kerf combination blade.
Willie Sandry is Freelance Writer and his work appears regularly in woodworking magazines. Check out his YouTube channel The Thoughtful Woodworker for more woodworking inspiration here: https://bit.ly/3PkpkhU