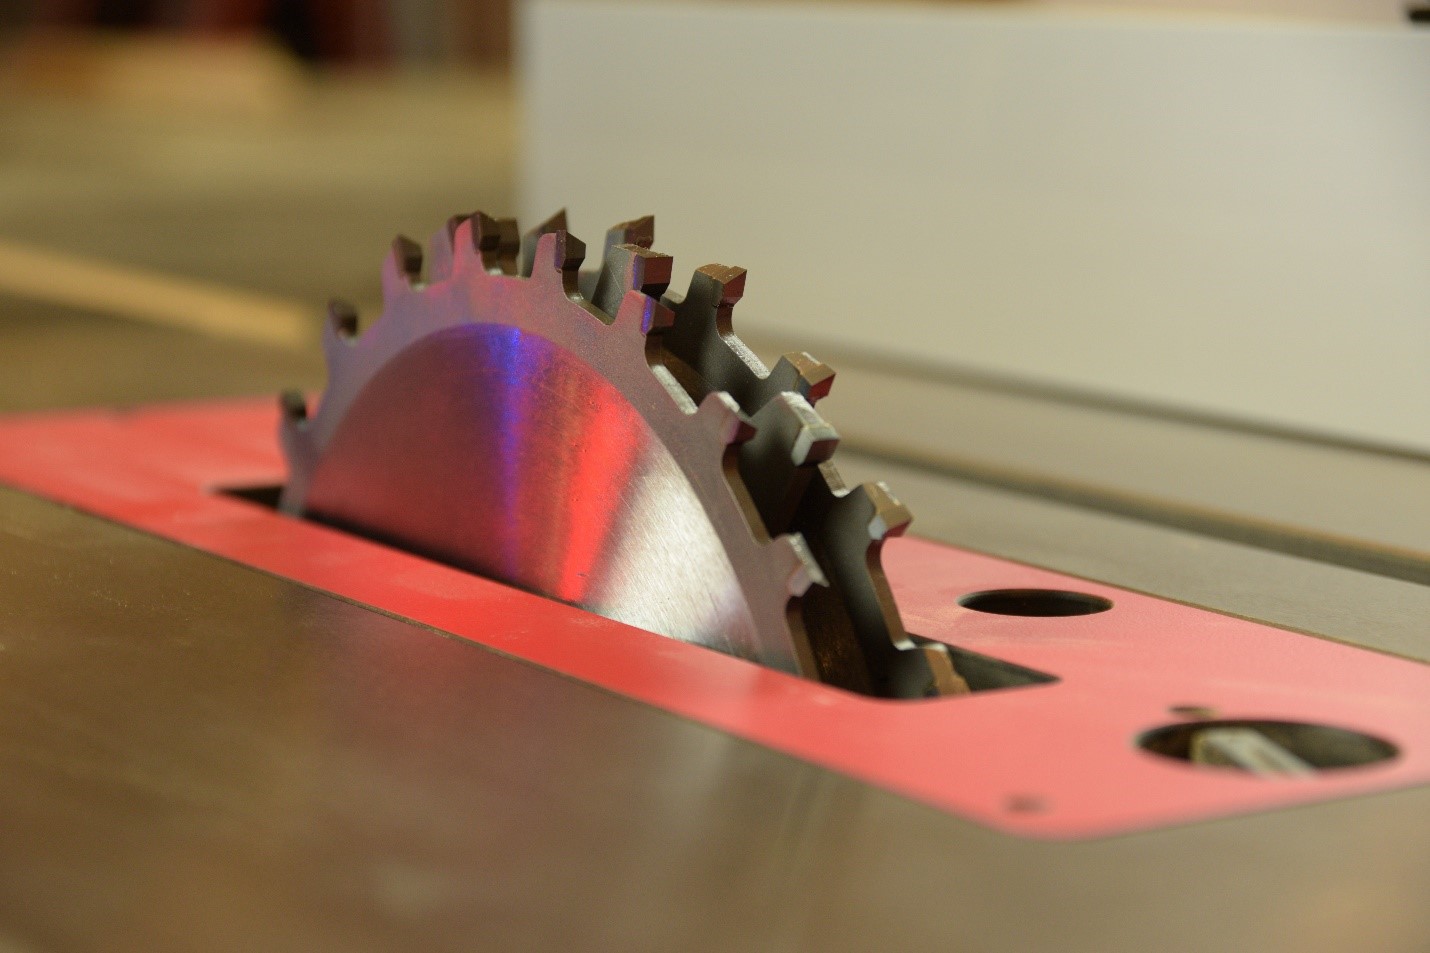
A dado blade, sometimes called a dado head or dado stack, is a great accessory to have for your tablesaw. It can accomplish so many tasks it’s almost astonishing. Plus, working with a dado blade is faster and more precise than many other methods. You’ll be amazed at the joinery you can make with a good dado set and a capable tablesaw.

First, make sure your current tablesaw is up to the task. Some portable tablesaws don’t have the power or ability to run a dado blade. Your tablesaw should have at least 1.5hp to run an 8” dado set. In addition, you’ll need a tablesaw arbor long enough to accept a full ¾” dado stack. The Fusion line of saws have long arbors to accept a full dado stack.

There’s an incredible variety of dado blades to choose from. Usually, the more teeth on the blades, the finer cut it will produce. Select a dado set with at least 24 teeth on the outer blades, and at least four teeth per chipper.

Make sure you can thread the arbor nut fully. If not, simply omit the blade washer so the arbor nut can thread fully in place. The one-wrench blade changing system on the Fusion F2 makes it easy to change blades. Simply raise the blade height all the way up, and depress the red arbor lock button. Rotate the blade until it locks, and change the blade with a single wrench. It sure beats the system I used on my very first tablesaw… I had to wedge a piece of 2x4 under the blade to allow blade changes! That wasn’t very safe, and it certainly wasn’t any fun. Luckily the Laguna single-wrench system has changed all that.

The blade wrench stows conveniently on the right side of the F2 when not in use. There’s also a spot to store the riving knife and miter gauge. A nearby hook can also store an extra throat plate.

Once installed, the possibilities with a dado stack are nearly endless. You can cut dados (cross-grain cuts), grooves, tenons, half-lap joints, bridle joints and more. To make cuts with the blade very close to the fence, like rabbets or tenons, you’ll want to install a sacrificial fence*. I usually make these from ¾” plywood, but MDF would work as well. For ease of installation, cut the sacrificial fence the same length as the fence. That way, every time you install it, the cutout will be centered perfectly over the blade.

Quick Rabbets. Often times I need to cut a rabbet to receive a panel. For instance, the back of book cases and cabinets are typically cut this way. I can’t think of a quicker or easier way to cut a rabbet than with a dado blade. I suppose you could cut a rabbet at the router table, but I always like the smooth predictable action of a good dado blade on the tablesaw. Despite the fact that you’re removing so much material, the operation is nearly dust-free at the tablesaw.

Cutting Tenons. With a sacrificial fence still installed, try cutting tenons with a dado blade. This is my preferred method to cut tenons because there’s only one setup! Once your dado blade is installed, you can cut both the cheeks and the shoulders of tenon without changing the saw setup. This is one notable advantage of cutting tenons with a dado blade. By contrast, cutting tenons with a tenoning jig requires two separate setups… one for the cheeks and another for the shoulders.

What about cut quality? With modern dado blades that sport 4-tooth or even 6-tooth chippers, the cut quality is outstanding. Of course, tablesaw arbor runout plays a roll, but on my Fusion F2, I’m getting absolutely flat-bottom grooves and crisp, clean tenons every time. If you’ve been wanting to add to your joinery arsenal, I suggest trying a dado blade on the tablesaw. Or, if you’re an old hand at woodworking, maybe it’s time to give the new generation of dado blades a spin. You’ll be amazed at what they can help you accomplish.
*Stay tuned for a blog on how to install the sacrificial fence and custom make the clamps depicted in this blog! Coming soon (in the first week of August).


